Healthy Peanut Butter Greek Yogurt Banana Bread Muffins
Healthy Peanut Butter Greek Yogurt Banana Bread Muffins

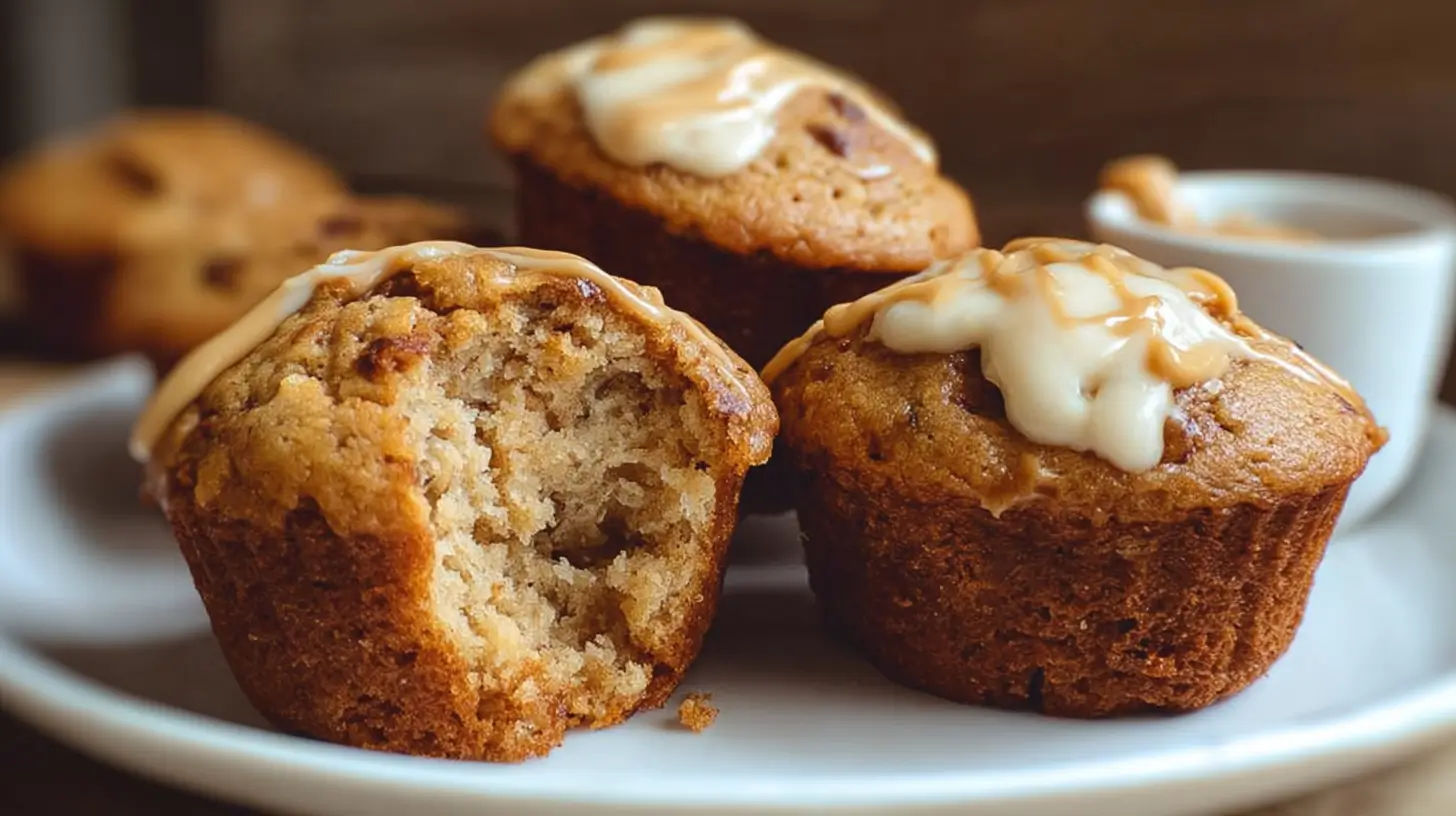
Moist, protein-packed muffins made with ripe bananas, creamy peanut butter, and Greek yogurt — perfect for a healthy breakfast or snack!
- Prep Time: 10 minutes
- Cook Time: 20 minutes
- Total Time: 30 minutes
- Yield: 12 muffins 1x
- Category: Breakfast, Snack
- Method: Baking
- Cuisine: American
- Diet: Vegetarian
Ingredients
-
3 ripe bananas (mashed)
-
1/2 cup natural peanut butter
-
1/2 cup Greek yogurt (plain or vanilla)
-
2 eggs
-
1/4 cup honey or maple syrup
-
1 tsp vanilla extract
-
1 cup whole wheat flour
-
1/2 tsp baking soda
-
1/2 tsp baking powder
-
1/4 tsp salt
-
Optional: chocolate chips or chopped nuts
Instructions
• Preheat oven to 350°F (175°C). Line or grease a muffin tin.
• In a large bowl, mix mashed bananas, peanut butter, Greek yogurt, eggs, honey, and vanilla.
• In another bowl, whisk flour, baking soda, baking powder, and salt.
• Add dry ingredients to the wet ingredients and stir until just combined.
• Fold in optional add-ins if using.
• Fill muffin cups about 3/4 full.
• Bake for 18–22 minutes or until a toothpick comes out clean.
• Cool in the pan for 5 minutes, then transfer to a wire rack.
Notes
• For sweeter muffins, increase honey or use vanilla Greek yogurt.
• These freeze well for up to 2 months.
• Use mini muffin tins for bite-sized snacks.
Nutrition
- Serving Size: 1 muffin
- Calories: ~150 kcal
- Sugar: 7g
- Sodium: 100mg
- Fat: 6g
- Saturated Fat: 1.5g
- Unsaturated Fat: 4g
- Trans Fat: 0g
- Carbohydrates: 18g
- Fiber: 2g
- Protein: 5g
- Cholesterol: 30mg
- What Makes These Muffins Healthy Anyway?
- How to Make Healthy Peanut Butter Greek Yogurt Banana Bread Muffins
- Serving Suggestions
- Real Results: A Quick Table for Muffin Nerds
- Common Questions
- Give These Muffins a Shot (Seriously)
Ever find yourself standing in the kitchen, bananas going mushy on the counter, trying to talk yourself out of just tossing them? Me too. Enter my go-to hero: Healthy Peanut Butter Greek Yogurt Banana Bread Muffins. These are what I grab when I want something a little sweet, a little wholesome, and—bonus points—they actually fill you up without that sugar crash. They’re just different enough to keep breakfast (or, let’s be real, midnight snacking) from getting boring. These muffins nail that perfect balance of soft, nutty, and satisfying. No more staring at sad bananas wishing for a miracle. Here it is.

What Makes These Muffins Healthy Anyway?
People always ask if a muffin can be healthy. Yes, absolutely, these are not your run-of-the-mill, cake-in-disguise muffins. The trick is in the swap outs. Instead of using a pile of butter, I mix in creamy Greek yogurt for that soft texture. Not only does it keep these muffins moist (I mean, who likes dry muffins?), it packs in a little protein too. Peanut butter… I’m obsessed, and it brings healthy fats that do more than just taste good.
I’ll be honest, keeping the sugar low here makes me feel pretty smug. The ripe bananas do most of the sweet talking. And hey, you’re getting fiber from whole wheat flour if you want to take it up a notch. This is the kind of snack that isn’t gonna wreck your day but actually makes breakfast feel like you’re doing something good for yourself.

How to Make Healthy Peanut Butter Greek Yogurt Banana Bread Muffins
You won’t need anything fancy here. I usually grab two bowls—one for dry, one for wet—and that’s about it. Mash up your bananas (the browner, the better. I’m weirdly proud when mine look almost scary). Stir the Greek yogurt, peanut butter, and a splash of vanilla into the banana, then mix your flour and the usual baking essentials together in a different bowl.
Pour the wet stuff into the dry and combine just until you can’t see flour. Please, trust me, do not over-mix. That’s how you get rubbery muffins and nobody wants that. Scoop into muffin cups and bake. My oven claims it’s 350°F, but check yours. My sister’s runs hot and her muffins burned once.
Here’s where I get creative—sometimes I pop a few chopped walnuts on top, or even a sprinkle of dark chocolate chips if I’m feeling fancy. Do what makes you happy. They puff up, crack a little on top, and the kitchen smells like peanut butter dreams.
Serving Suggestions
I may be dramatic, but these Healthy Peanut Butter Greek Yogurt Banana Bread Muffins are a legit game changer. Here’s what I love:
- Warm from the oven with a dab of extra peanut butter—true happiness.
- Sliced with a drizzle of honey or a little cinnamon. Oof, so good.
- Freeze a batch for busy mornings or snack emergencies.
Super flexible, right? I’ve even snuck ’em into a couple of kids’ lunchboxes… zero complaints so far.
Real Results: A Quick Table for Muffin Nerds
Here’s a non-boring table to help you size up these muffins at a glance (because some of us need to know):
| Ingredient Focus Why It’s Good Texture Boost Nutrition Perk | |||
| Greek Yogurt | Swaps out oil/butter | Makes it super moist | Extra protein hit |
| Peanut Butter | Healthy fats, duh | Nutty depth | Satiety (it fills you up!) |
| Banana | Natural sweetener | Soft muffin vibe | Fiber & potassium |
“I tried these after you posted on your Insta, and oh man—they actually tasted like dessert but kept me full through my morning workout. My kids wolfed them down. Total win.” – Jen L.
Common Questions
Q: Can I use any kind of Greek yogurt?
A: I stick with plain, low-fat Greek yogurt, but full-fat works if you want a richer muffin. Just don’t use the super runny kind.
Q: What if I only have regular flour?
A: That’s no big deal. Whole wheat just adds a little more fiber, but all-purpose flour works fine.
Q: Can you freeze these muffins?
A: Absolutely. I wrap them up, toss ’em in the freezer, then reheat in the microwave. Perfect for lazy days.
Q: Will chunky or creamy peanut butter work best?
A: Totally up to you. Creamy blends smoother, but I love the little peanut bits you get from the chunky kind.
Q: How ripe do my bananas need to be?
A: Go as ripe as possible. If they look a little scary, you’re on the right track. The flavor will be way deeper.
Healthy Peanut Butter Greek Yogurt Banana Bread Muffins
Give These Muffins a Shot (Seriously)
So, that’s my pep talk. Healthy Peanut Butter Greek Yogurt Banana Bread Muffins are simple, forgiving, and basically foolproof. They’re kid-tested, friend-approved, and let’s be honest—waaaay better than letting spotted bananas go to waste. Give them a shot and if you need more baking tricks, you’re not alone—find more snack inspo from these helpful baking tips and recipes. Drop me a note if you try ‘em!
Healthy Peanut Butter Greek Yogurt Banana Bread Muffins


Healthy Peanut Butter Greek Yogurt Banana Bread Muffins
Ingredients
Method
- Preheat oven to 350°F (175°C). Line or grease a muffin tin.
- In a large bowl, mix mashed bananas, peanut butter, Greek yogurt, eggs, honey, and vanilla.
- In another bowl, whisk flour, baking soda, baking powder, and salt.
- Add dry ingredients to the wet ingredients and stir until just combined.
- Fold in optional add-ins if using.
- Fill muffin cups about 3/4 full.
- Bake for 18–22 minutes or until a toothpick comes out clean.
- Cool in the pan for 5 minutes, then transfer to a wire rack.