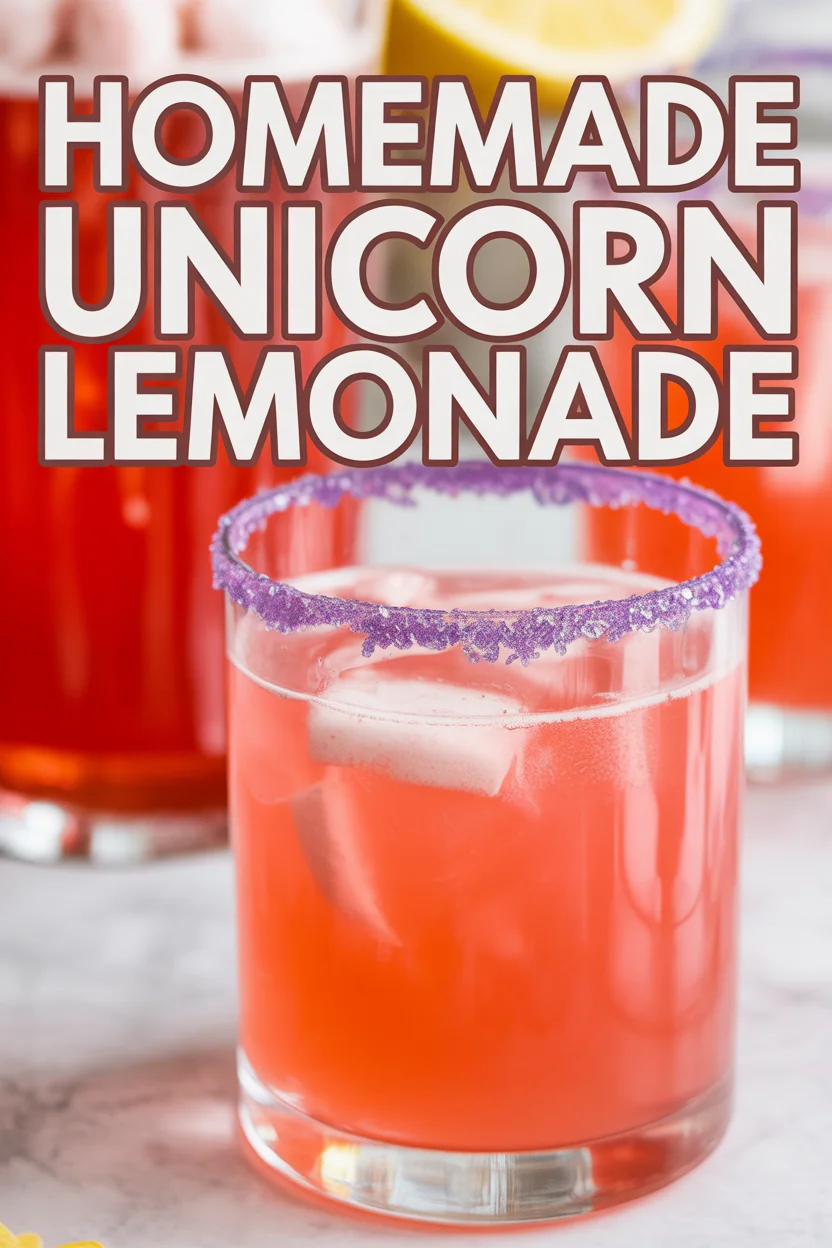
Homemade Unicorn Lemonade
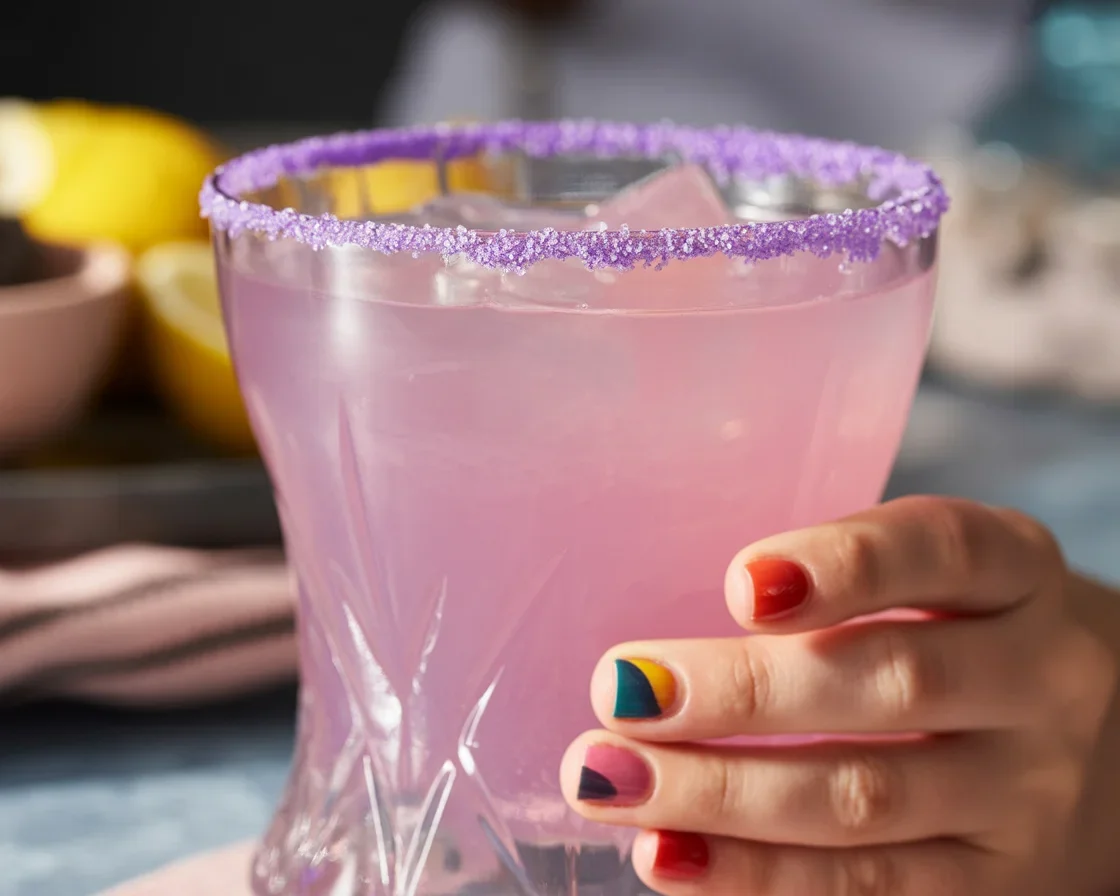
Homemade Unicorn Lemonade always saves the day when kids’ energy hits a fever pitch and regular old juice just isn’t going to cut it. (You ever throw a birthday party and realize—wait, this is way too ordinary?) If you want a fun, almost magical twist, unicorn lemonade checks ALL the boxes.
Once you see those colors swirling around in the glass, everyone’s gonna flip. Oh, and quick tip before we get rolling—if you like drinks and treats with a wow factor, check out these adorable Lemonade Scones for an easy bake your whole crew will love.
Homemade Unicorn Lemonade
What’s in a Unicorn Drink
Okay, so let’s get honest for a sec. Unicorn lemonade is not pulled from a fairy tale book, but the colors might fool you. What goes in? It’s mostly real stuff from your fridge—don’t stress about fancy syrups. The base is just classic lemonade, made with real lemons and a touch of sugar. You need food coloring for those layers, but I swear, if you’re careful, it won’t taste like a crayon box.
The fun part? You can get crazy creative. Strawberry puree, a splash of blue sports drink, or even a touch of dragon fruit (I know, wild) for that wow. Some people toss in edible glitter, but I almost always skip that because I don’t need stuff sparkling in my teeth all day. I’ve experimented with natural colorings like butterfly pea tea too. Works great if you want less sugar and more “grown-up” magic. Kids usually want everything brighter, though!
Honestly, you don’t have to break the bank or your sanity making this. Just use what you have, swirl your colors (light hand please; it gets muddy fast!), and serve it up with a paper straw for max effect. My neighbor’s daughter once told me, “This tastes like a rainbow, but with lemons.” Mission accomplished, right?
Homemade Unicorn Lemonade
How to Make a Unicorn Drink – Step by Step
Alright, no overthinking. I kinda laugh remembering the first time I made this—I used WAY too much purple food dye and ended up with a muddy gray mess. So, here’s the easy road.
Start by making lemonade. Squeeze fresh lemons; about 4 or 5 for one pitcher. Mix the juice with water and about a cup of sugar. Stir until combined. Taste it first—add more sugar or water if it’s not your style. Split the lemonade into separate cups (two or three, depending on how many colors you want). Now grab food coloring. One drop goes a LONG way—trust me, my kitchen once looked like an art project gone wrong.
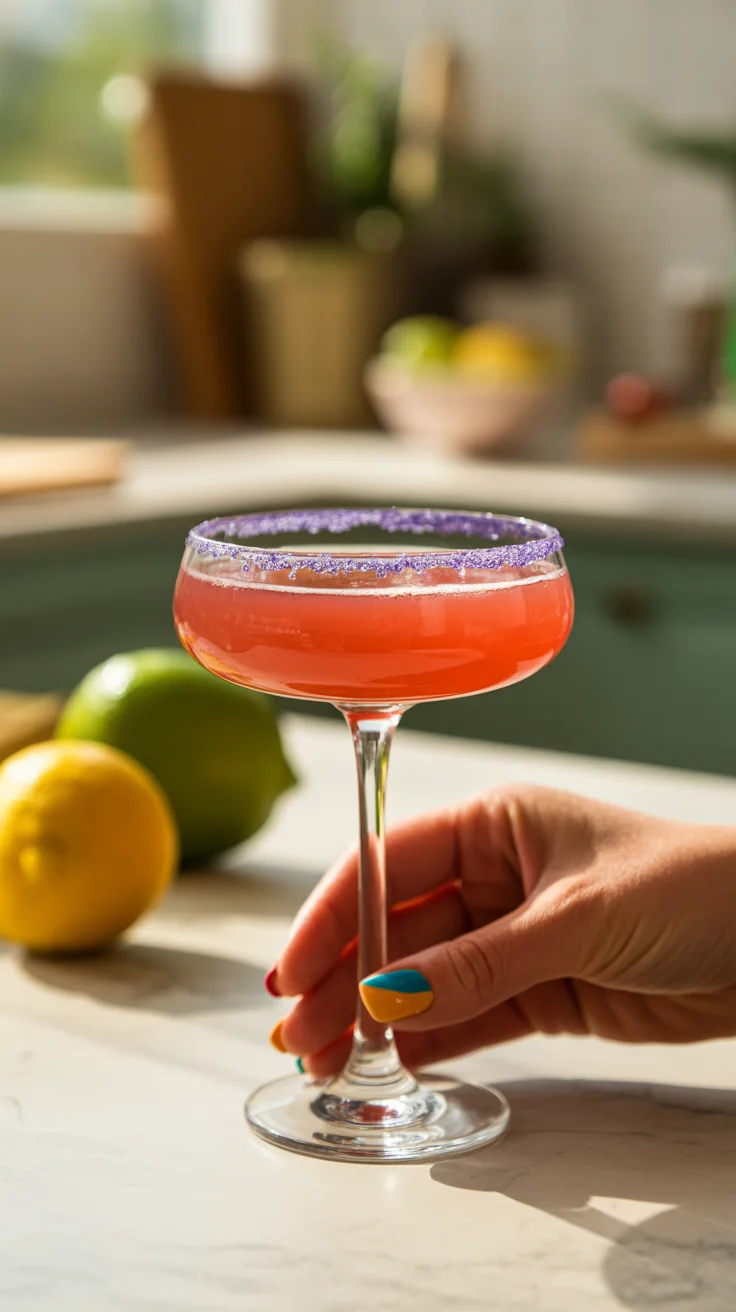
Use a little blue in one, pink in another, maybe a touch of purple or yellow for that pastel unicorn vibe. Pour layers gently into a glass, starting with the heaviest (sugariest) at the bottom, or try pouring slowly over the back of a spoon for cool separation.
Finish with something fun on top—maybe berries, lemon wheels, or even those crazy paper umbrellas if you’re feeling zesty. Take a picture before anyone stirs it up, because five seconds later, it’s a tasty, pastel tornado.
“My eight-year-old niece begged for this drink at her party, and I was totally intimidated—turns out, it’s easier than making regular lemonade and the kids kept asking for more. Five stars. No unicorns harmed.”
Homemade Unicorn Lemonade
Recipe Tips for Unicorn Drinks
Over the years (let’s be real… over many kitchen fails), I’ve picked up a few game-changer tricks to avoid mess and maximize fun.
- Make syrup with sugar and warm water separately, then mix it in. No gritty bottoms!
- Want layers? Thicker (more sugar) drinks on the bottom. Pour super slow.
- For adult parties, top with a little soda water for fizz—super festive.
Usually, popsicles go great as a unicorn lemonade stirrer too, especially in summer. Frankly, if something spills, just say the unicorns got overexcited.
Homemade Unicorn Lemonade
How to Squeeze Lemons Easily
If you don’t have a fancy juicer, no stress. I always grab the lemon, roll it with my palm on the counter, and press pretty hard before slicing. Makes the juice flow like nobody’s business. Sometimes, microwave the lemon for about 10-15 seconds—sounds weird, but the juice comes out easier! Use a fork or just squeeze by hand (catch the seeds, trust me).
Seriously, hand juice tastes miles better than the bottled lemon stuff. Kids join in, you get bonus workout points, it’s a win-win.
Homemade Unicorn Lemonade
How to Store Homemade Lemonade
This one’s quick because, let’s be honest, unicorn lemonade rarely survives more than a day at my house. But just in case, pour the leftovers into a sealed pitcher or big jar and stash it in the fridge. It keeps for about three days. If you notice it’s getting bitter, it’s probably the peels—strain those out if you chilled it with lemon slices.
If the lemonade settles or separates (it happens, especially with real fruit), just give it a stir. Layers won’t last, but the flavor’s still knockout. Oh, and I’ve learned the hard way not to store with berries inside unless you want weird floaty things by day two.
Want more treat ideas to go with your Homemade Unicorn Lemonade? These lemonade scones are a classic pairing for summer spreads. If you’d rather sip coffee with your treat, there’s homemade coffee ice cream to match that sugar rush. And don’t forget to check out the full Homemade Unicorn Lemonade Ingredients: Granulated white sugar …, in case you want the exact rundown. Give it a try and let me know if your crew loved it—or if the unicorns in your house demanded a round two!
PrintHomemade Unicorn Lemonade
A fun and colorful twist on traditional lemonade that’s perfect for kids’ parties and gatherings.
- Prep Time: 15 minutes
- Cook Time: 0 minutes
- Total Time: 15 minutes
- Yield: 4 servings 1x
- Category: Beverages
- Method: Mixing
- Cuisine: American
- Diet: Vegetarian
Ingredients
- 4–5 fresh lemons
- 1 cup granulated white sugar
- Water
- Food coloring (various colors)
- Berries (for garnish)
- Lemon wheels (for garnish)
- Optional: Paper umbrellas
Instructions
- Squeeze fresh lemons to make lemonade. Mix the juice with water and sugar, stirring until combined.
- Split the lemonade into separate cups for coloring.
- Add food coloring to each cup, one drop at a time.
- Pour different colored lemonade into a glass starting with the heaviest color at the bottom for layered effect.
- Garnish with berries, lemon wheels, or paper umbrellas.
Notes
For layered drinks, pour slowly and use thicker (more sugary) drinks at the bottom. You can also top with soda water for an adult version.
Nutrition
- Serving Size: 1 glass
- Calories: 200
- Sugar: 42g
- Sodium: 5mg
- Fat: 0g
- Saturated Fat: 0g
- Unsaturated Fat: 0g
- Trans Fat: 0g
- Carbohydrates: 54g
- Fiber: 0g
- Protein: 0g
- Cholesterol: 0mg