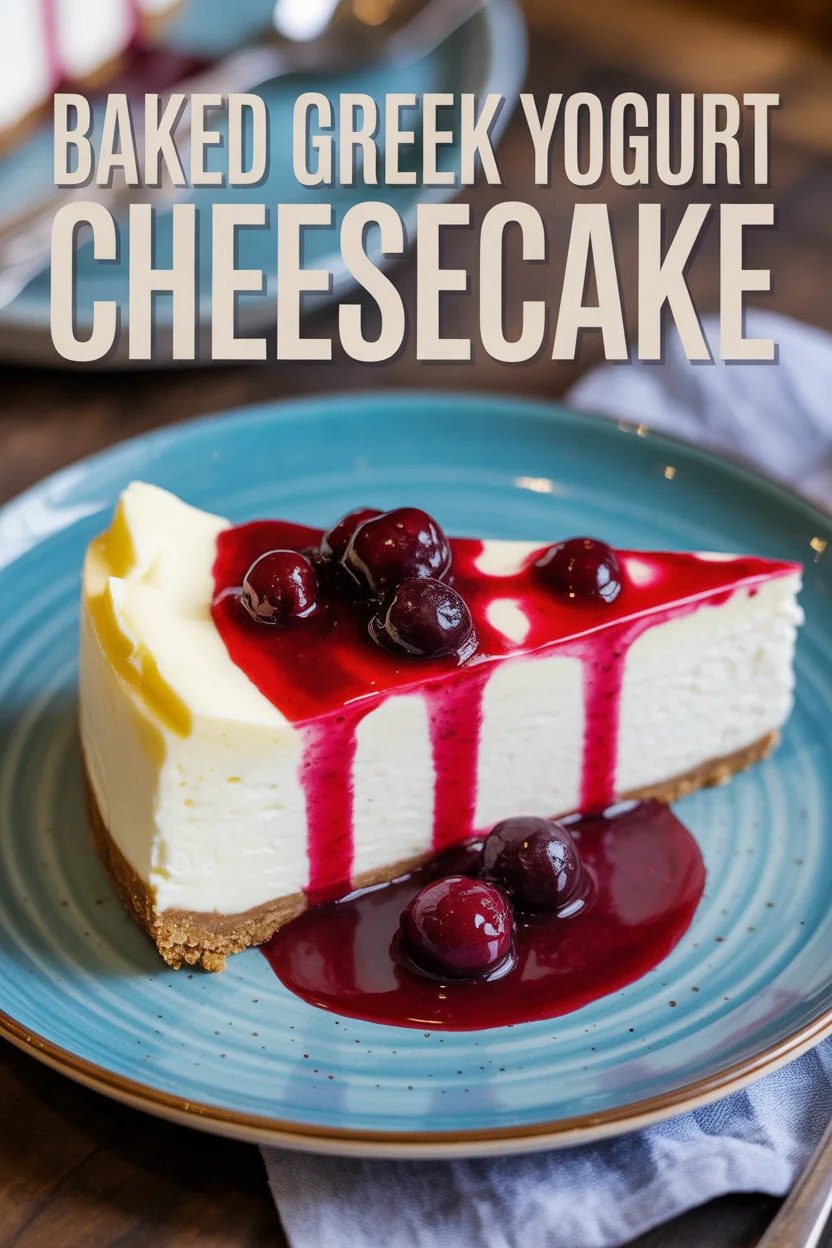
Baked Greek Yogurt Cheesecake
Is it just me or does a Baked Greek Yogurt Cheesecake sound almost too good to be true? I used to think cheesecake was one of those things you had to save for birthdays or holidays because, you know, it’s normally a sugar-and-cream-bomb. But after a million failed attempts to “eat healthier” and still live my best dessert life, I fell hard for Baked Greek Yogurt Cheesecake. No weird aftertaste, no complicated steps.
And honestly, after finding out how easy it is to swap ingredients for lighter stuff, like in this 5-minute healthy greek yogurt chia pudding recipe, I wondered why I ever made the heavy original in the first place. If you want a slice of cheesecake AND to zip your jeans the next morning, friend, you’re home.

The Best Healthy Cheesecake Recipe
Okay, let’s set the record straight. I adore the real deal, but sometimes you need something that won’t make you feel like a sloth after one bite. What’s wild is how Greek yogurt magically adds that perfect cheesecake tang and creaminess without all the guilt. Plus, it sneaks in a bit of protein. Not that I’m counting, but still feels like a teeny win.
I started using Greek yogurt basically out of desperation. My cream cheese ran out once, and all I had was this big tub of plain yogurt glaring at me from the fridge. Took a shot. Baked Greek Yogurt Cheesecake came out so fluffy and rich that honestly, nobody believed the difference. Half the family thought it was “bakery-style” until I spilled my secret.
It’s not only lighter, but it bakes up without the cracks that haunt regular cheesecake. You know what I mean. Clean slices, super chill recipe, and no fancy equipment required unless you live for kitchen gadgets. I swear, this healthier version is just as dreamy as any five-star restaurant slice. Pinky promise.
“Honestly? I was skeptical. Cheesecake without all the cream cheese? I tried this recipe and I don’t think I’ll ever go back! It’s easier, lighter, and still tastes decadent.” – Rebecca G.
Baked Greek Yogurt Cheesecake
How to Create Healthier Cheesecake
I get a little riled up when folks say “healthier baking” means flavorless cardboard. Lies. The trick is swapping, not sacrificing. You still need that little bit of decadence. For a baked Greek yogurt cheesecake, the hero is, well—Greek yogurt. No surprise there.
I prefer full-fat or 2% plain Greek yogurt. Fat-free’s good in smoothies, not in cheesecake. Then you swap out half the usual cream cheese for the yogurt. I’m not completely anti-cream cheese, to be clear. It helps hold things together and brings that familiar taste. But trust me, the yogurt takes over from there.
A couple other secrets: just a touch of honey or maple syrup for mellow sweetness, and I usually reach for oat flour in the crust. Sometimes I press in chopped nuts, or coconut if I’m feeling wild. Also, fresh lemon juice. Brings brightness and helps the flavors pop.
What keeps me making this so often? Super easy cleanup, and no wrestling with water baths (unless you really want to). You get to eat a “treat” without that sugar-crash regret. If you don’t have patience for impossible recipes, this one’s especially for you.
Baked Greek Yogurt Cheesecake
Greek Yogurt Cheesecake Recipe Tips
Want to avoid mistakes? You’re in good company. I make them all the time. So here are my top tips if you want a truly show-stopping baked Greek yogurt cheesecake:
- Let all ingredients come to room temp: If the eggs, yogurt, and cream cheese are cold, you get a lumpy batter. Not good.
- Don’t over-mix: Air in the batter makes cracks (or a weird soufflé situation) so mix until just combined, then stop.
- Line your pan with parchment: Trust me, you want neat slices, and nothing beats how easy the cake pops out.
- Cool gradually: Let the cake sit in the oven with the door cracked open for about 30 minutes after baking. This really helps keep it pretty and avoids collapsing.
Those little things really make a difference. Oh, and always taste the batter before it goes in—because what’s the point if it’s not banging?
Baked Greek Yogurt Cheesecake
Greek Yogurt Cheesecake Topping Options
Nobody ever complained about extra toppings, right? That’s honestly where a basic Baked Greek Yogurt Cheesecake goes from “yum” to “CAN I HAVE THE RECIPE?” So, here’s my not-exactly-official guide to jazzing up your slice:
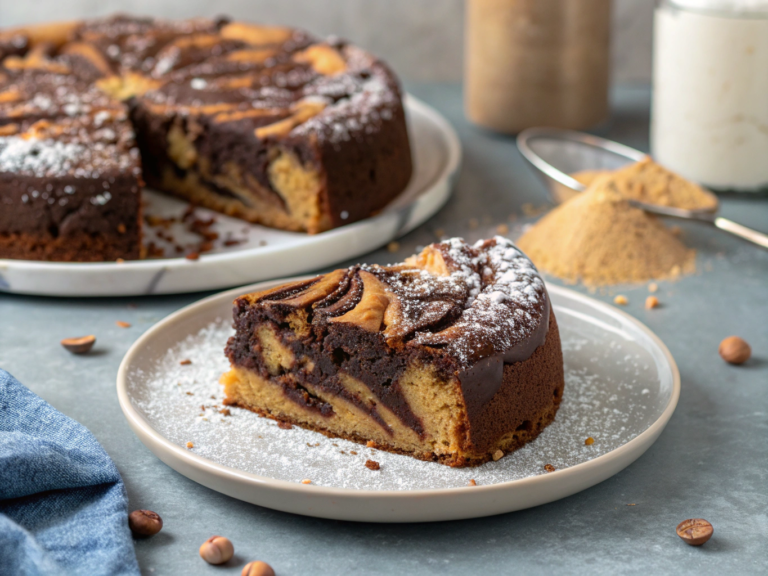
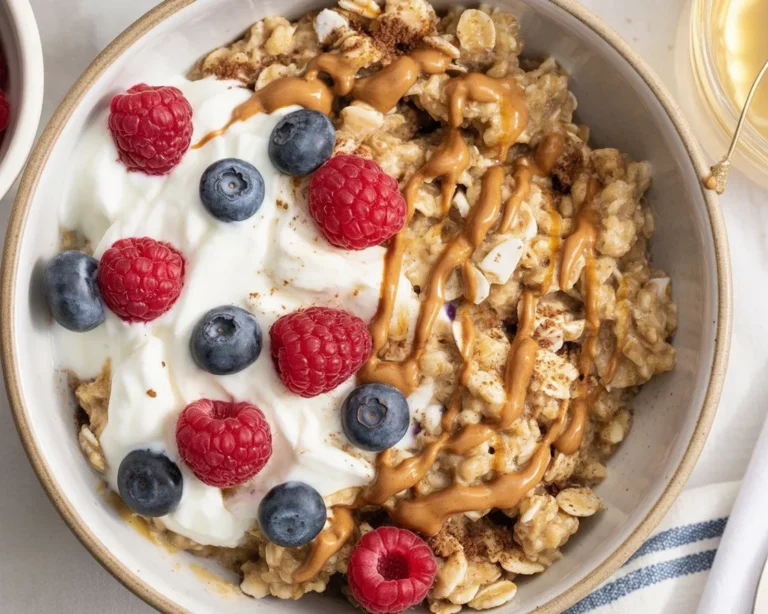
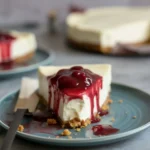
Fresh berries are classic, but I’m super into roasted strawberries or cherries right now. If you want a cozy autumn vibe, sprinkle a little cinnamon and honey-roasted nuts (pecans, especially). Sometimes, I do a swirl of warmed nut butter right before serving. And when I’m feeling bold—dark chocolate chips on top, finished under the broiler for like one minute. Melty, magical.
I’ve even seen folks use greek yogurt and chia seeds as a topping, which blew my mind. You could basically riff on these ideas until you’ve made something totally personal. Just keep it simple, or pile things on like it’s a sundae bar, your move.
Baked Greek Yogurt Cheesecake
Using a Water Bath
Confession time: water baths used to terrify me. All that fussing with pans and towels. Turns out, for a baked Greek yogurt cheesecake, a water bath isn’t strictly necessary but it…helps. If you want that super-silky, even texture, you’ll want to give it a go.
Here’s what I do: wrap the bottom of your springform pan in foil. No gaps. Then set the pan in a bigger tray. Pour hot water in (not too wild, just up to halfway the cake pan) and bake as usual. The damp heat keeps everything gentle. It’s not hard, I promise, just feels a little old-school.
Most weeks though, I skip it, and the cheesecake still looks gorgeous and tastes amazing. If you’re a perfectionist, try it once and see which style you love best.
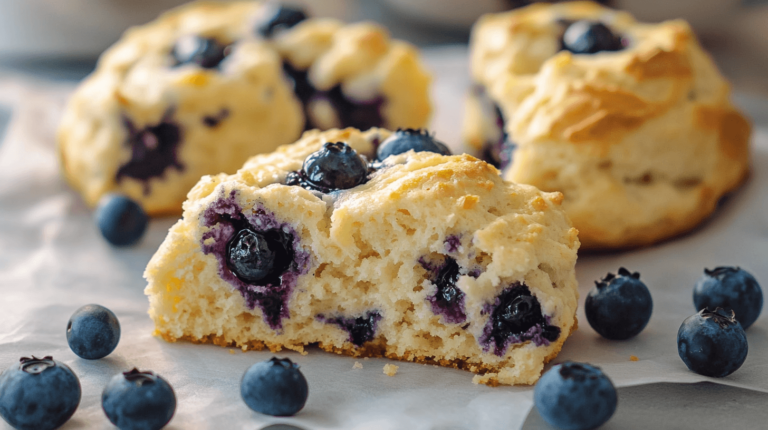
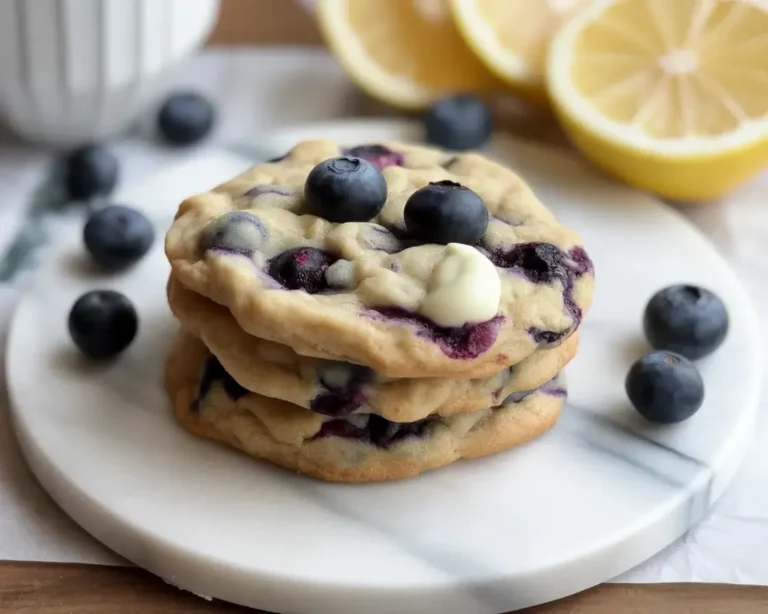
Not even kidding, turning Greek yogurt into something this decadent sort of changed my kitchen game forever. I’m always after more ideas with Greek yogurt, so check out this greek yogurt blueberry scones recipe if you want another brunch-y treat to impress (zero effort, high reward). You can totally customize your baked Greek yogurt cheesecake for every season, every mood. For more healthy cheesecake inspiration and tricks, here’s my go-to source: The Best Greek Yogurt Cheesecake {healthier!} • Fit Mitten Kitchen. Trust me, dessert doesn’t have to mean an instant regret. With a trick or two—and a tub of Greek yogurt—you’re basically winning at life.
Baked Greek Yogurt Cheesecake
Baked Greek Yogurt Cheesecake
Ingredients
Method
- Preheat the oven to 325°F (163°C).
- Prepare the crust by mixing oat flour, melted butter or coconut oil, and honey or maple syrup. Press the mixture into the bottom of a springform pan.
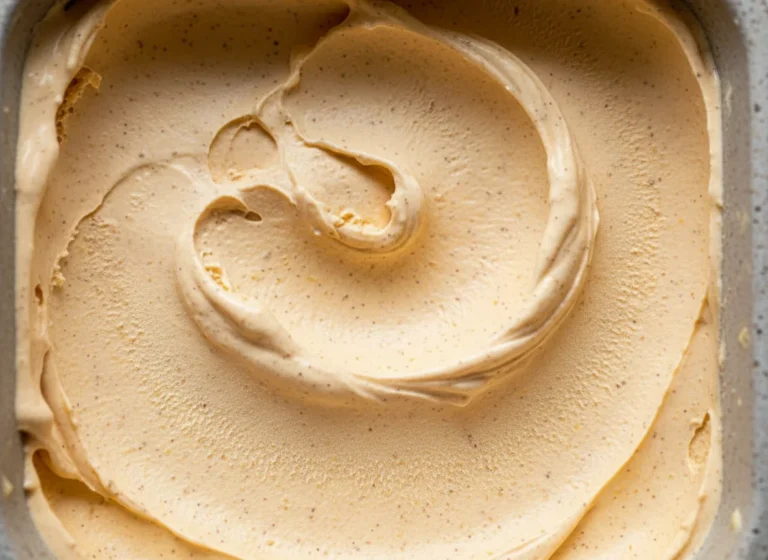
- In a large bowl, combine Greek yogurt, softened cream cheese, honey or maple syrup, lemon juice, and eggs. Mix until just combined.
- Pour the cheesecake mixture over the crust in the springform pan.
- Bake for 45 minutes until set, but still slightly jiggly in the center.
- Turn off the oven and leave the cheesecake inside for 30 minutes with the door cracked.
- Remove from the oven and cool completely at room temperature.
- Refrigerate for at least 4 hours before serving.