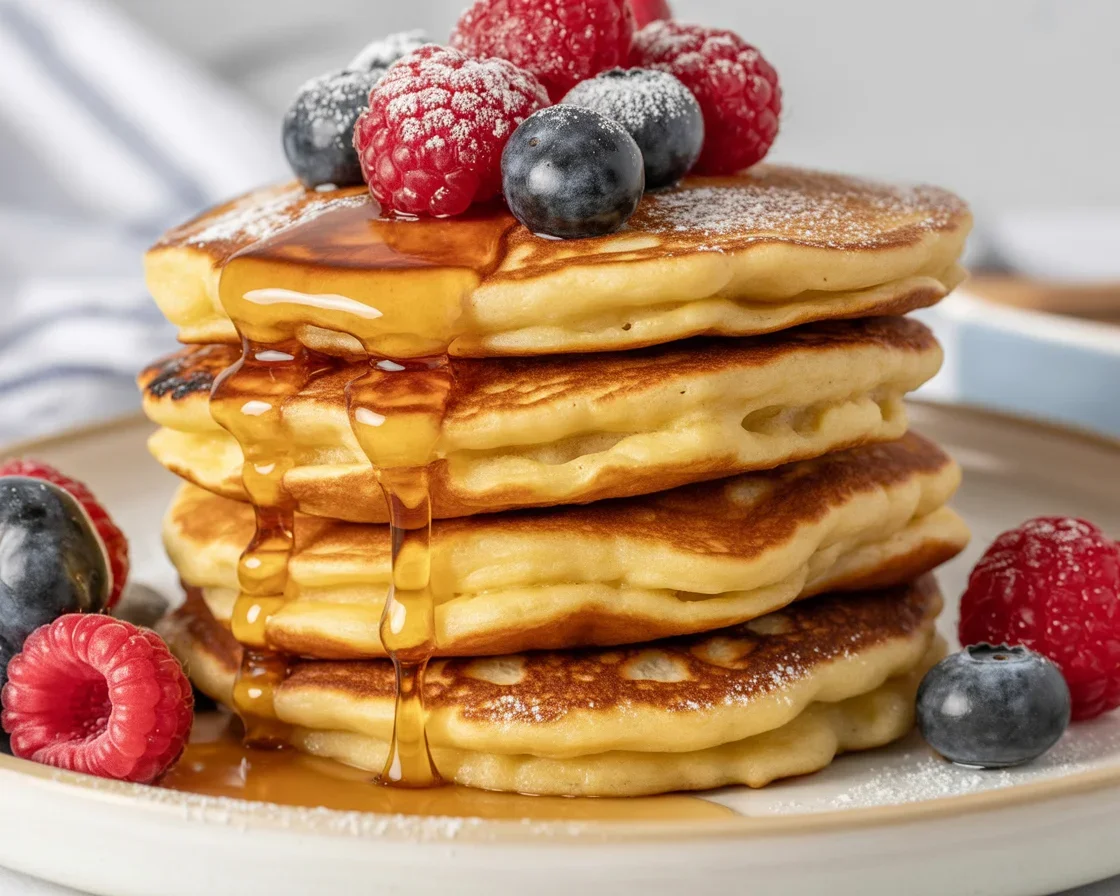
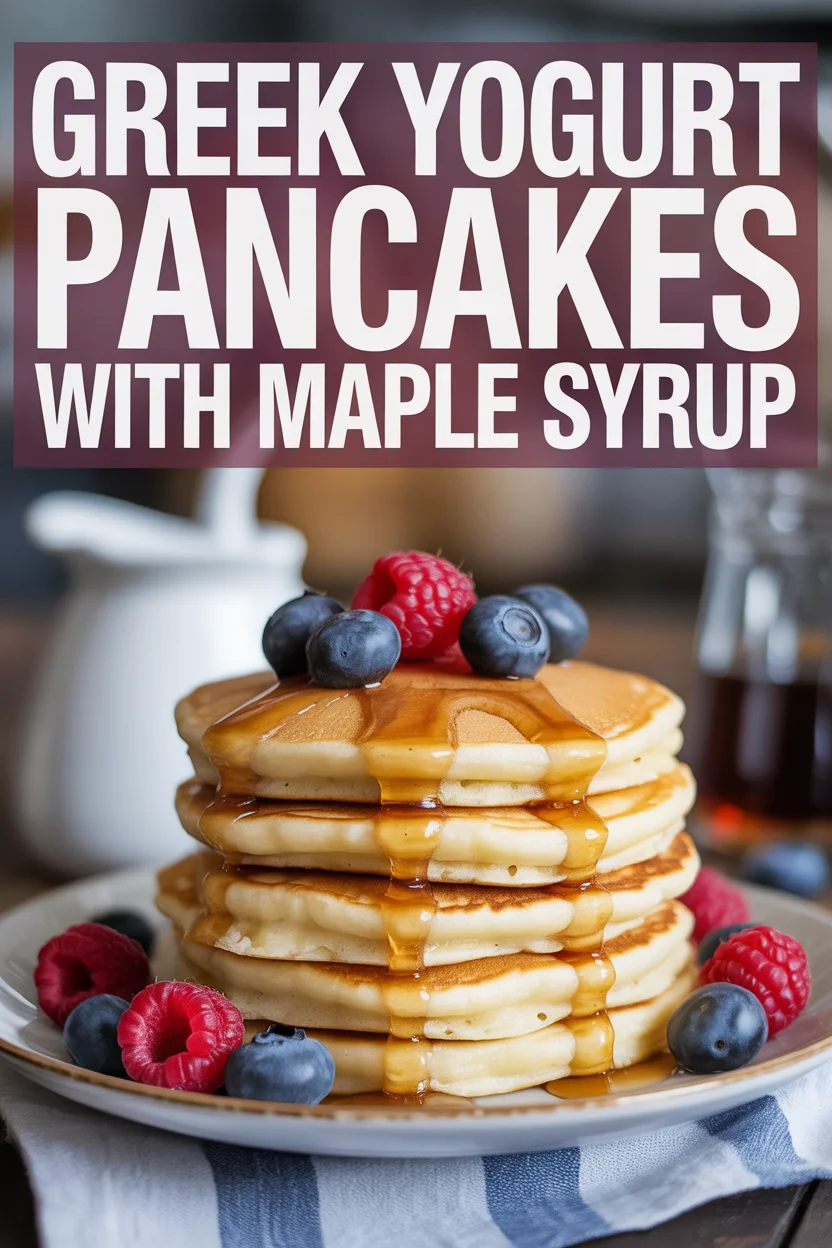
Greek Yogurt Pancakes with Maple Syrup
So you know those lazy weekend mornings when your stomach’s rumbling louder than an old car engine and you really want pancakes, but you’re over the same old boring ones? Greek Yogurt Pancakes with Maple Syrup totally solve that problem. Seriously, I was exhausted with flat pancakes (and even worse, stodgy ones), so I figured I’d switch things up.
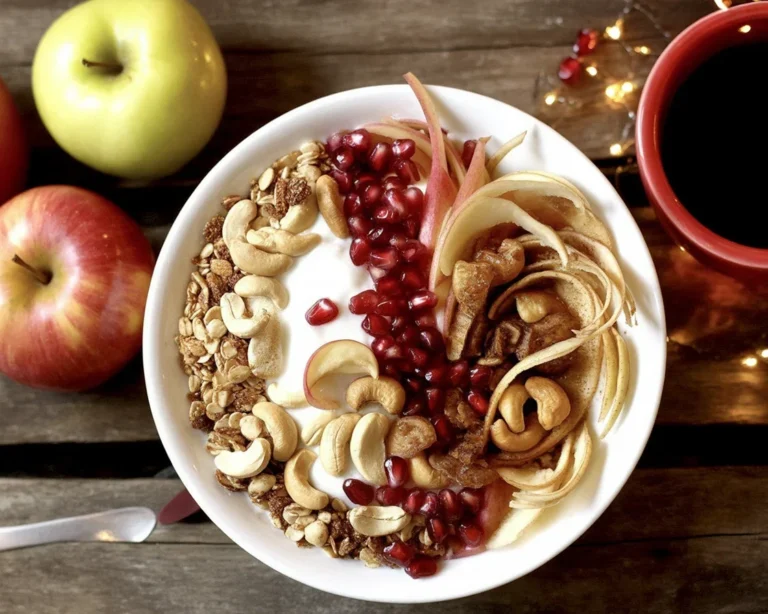
Plus, Greek yogurt keeps popping up everywhere in so many cool breakfast recipes. So, why not in pancakes, right? If you adore healthy breakfast ideas, you might wanna check out these ridiculously easy fluffy healthy Greek yogurt bagels too. Anyway – let me get to why these pancakes changed my mornings forever.
Greek Yogurt Pancakes with Maple Syrup
Why You’ll Love This Recipe
Trust me, once you get your fork into these fluffy Greek Yogurt Pancakes, you’re never going back to those box mixes. They come out light but still have some “oomph” (that’s my word for it). If you’ve ever had dry pancakes that soak up all your syrup before you even get a bite…ugh, not here!
I mean, these pancakes have protein thanks to the Greek yogurt, and that means you won’t be hungry thirty minutes later. Plus, they’re not too sweet, so the maple syrup gets to shine. My younger cousin even said, “They taste like fancy cafe pancakes.” That’s probably a bit of an exaggeration (unless you live in a five-star pancake restaurant), but hey, I’ll take it.
“Perfect Sunday pancakes. My whole family went wild for them—didn’t leave a crumb!”
If you’re a topping experimenter like me, these stand up really well to fresh fruit or chocolate chips, and you won’t feel like you’re eating dessert before noon.
Greek Yogurt Pancakes with Maple Syrup
Ingredients and Substitutions
When it comes to Greek Yogurt Pancakes, the ingredient list is mercifully short—no scavenger hunt at the grocery store. You’ll want all-purpose flour (or swap for whole wheat if you want more fiber). Use baking powder for the fluffy rise. Need it dairy free? You can actually use a non-dairy Greek-style yogurt, although the tang shifts a bit.
I reach for honey or a little sugar. Both work. Eggs are crucial for binding, but—okay, I tried with a flax egg once, and it mostly worked, though a bit less fluffy.
Milk adds moisture. Plant milk like almond or oat is fine too (if you’re like me and sometimes run out of regular milk). Of course, Greek yogurt is the star. Go for full-fat, low-fat, whatever’s in your fridge. The pancakes are forgiving. Don’t forget a pinch of salt—makes all the difference if you ask me.
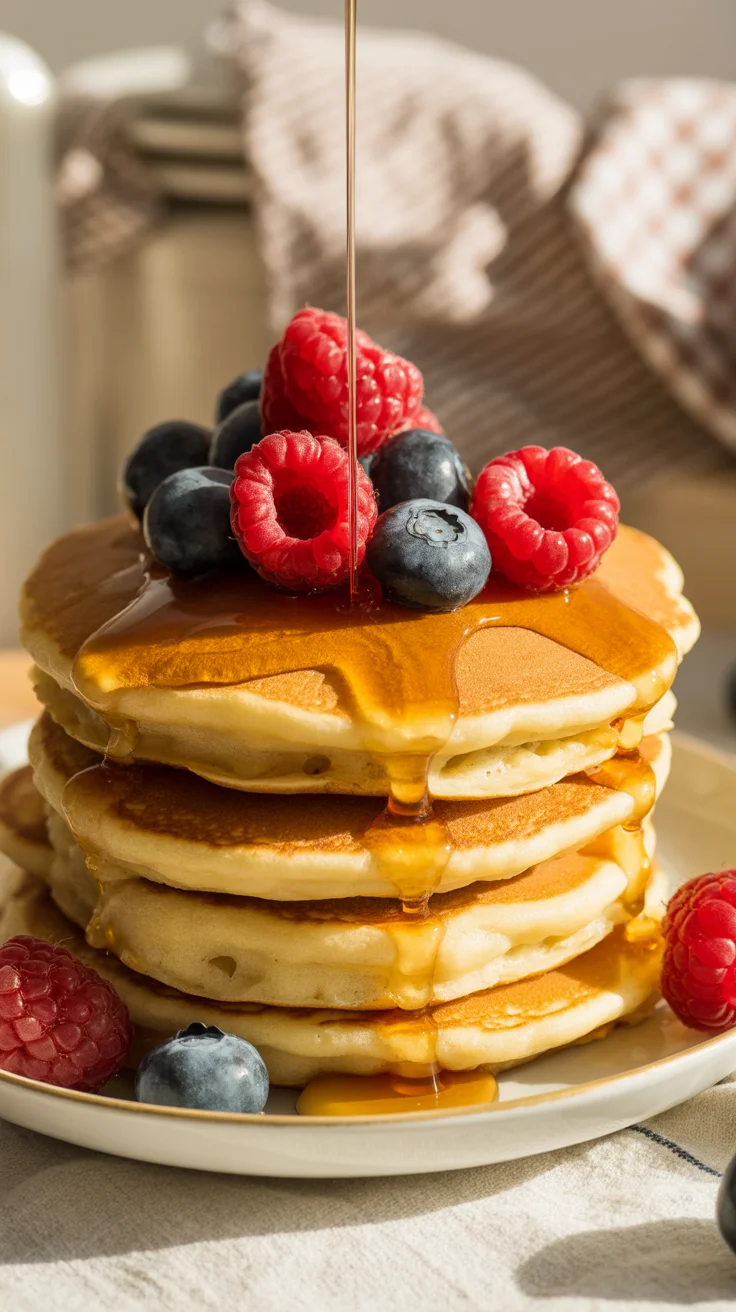
For topping, pure maple syrup obviously, or next-level: toss in blueberries or bananas while pancakes cook. No rules here except “make it good.” If you want to get a bit wild, lemon zest is a surprising touch!
Greek Yogurt Pancakes with Maple Syrup
Tips for Making the Best Greek Yogurt Pancakes
Here’s my (sometimes messy) wisdom for Greek Yogurt Pancakes that are actually as good as you’re hoping: Mix the wet and dry stuff separately first, otherwise things get lumpy and weird. Don’t overmix the batter or your pancakes get tough—just enough that the flour disappears.
Let your pan heat up before you even think about pouring batter in. Cold pans make pale, sad pancakes. I set mine to medium and wait till a drop of water sizzles. I also use a little butter for that golden edge—if my future self forgets, I know things go sideways.
The secret? Let the batter rest for five to ten minutes before cooking. It helps the baking powder do its thing. If you make mini pancakes, they cook faster and look extra cute—my niece thinks they’re more fun to eat too.
Flip gently when you see bubbles. Don’t squish them down! Let them puff. Stack ’em, drown them in maple syrup, and smile.
Greek Yogurt Pancakes with Maple Syrup
How to Store & Reheat Greek Yogurt Pancakes
Cool the pancakes completely before storing so you don’t end up with a soggy mess. Place them in a zip-top bag or airtight container—paper towel in between keeps them fresh.
You can fridge them for three days (I know, shocking, but true), or freeze for up to two months. Reheating? Pop them in a toaster for crispy edges, or microwave for speed, but only for twenty seconds at a time. Pancakes that taste like they’re just-made? Yup, even on a crazy Tuesday.
If I prep a batch ahead and freeze, my kids actually eat breakfast without complaining. That alone makes these pancakes a win for me.
Greek Yogurt Pancakes with Maple Syrup
More Pancake Recipes:
Just can’t get enough pancakes? Try these ideas:
- For a brunch twist, check out the Greek yogurt lemon blueberry pancake bites. They look fancy, but they’re easy.
- Protein hunters, Greek Yogurt Pancakes with chia seeds are a winner. Easy to toss them into the batter.
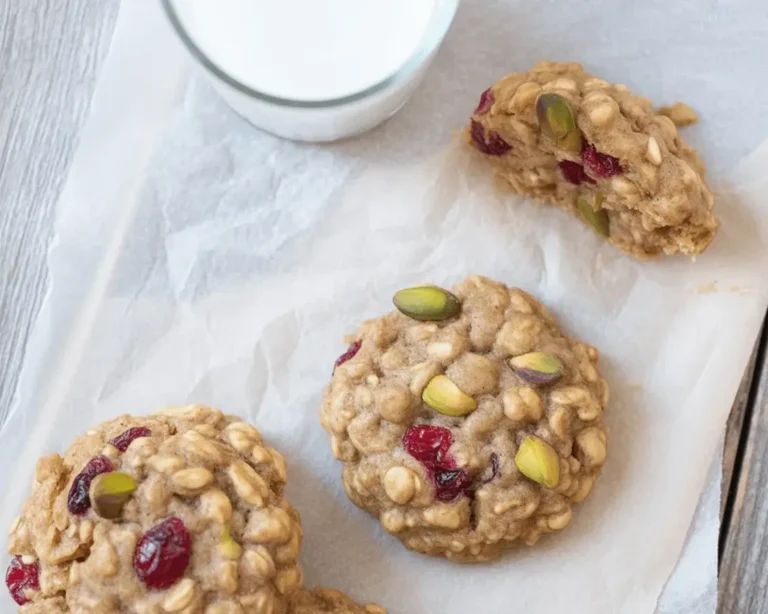
- Want something not-so-sweet? Greek Yogurt Blueberry Scones are pretty darn satisfying for breakfast or snack time.
- Honestly, if you’ve got Greek yogurt, you have loads of options.
Pancake lovers, I promise, if you give Greek Yogurt Pancakes with Maple Syrup a try, you’re in for a real treat. And trust me, these aren’t the bland pancakes you had in your school lunchroom. For even more protein-packed breakfast ideas, honestly don’t miss this Greek Yogurt Pancakes (High Protein and Fluffy) – Cooking With Ayeh. You might just find your new morning favorite.
Greek Yogurt Pancakes with Maple Syrup
Greek Yogurt Pancakes
Ingredients
Method
- In a mixing bowl, combine flour, baking powder, and salt.
- In another bowl, whisk together the egg, milk, Greek yogurt, and honey.
- Pour the wet ingredients into the dry ingredients and mix gently until just combined; avoid overmixing.
- Let the batter rest for 5-10 minutes.
- Heat a frying pan over medium heat until hot. Add a little butter.
- Pour in the batter, using about 1/4 cup for each pancake.
- Cook until bubbles form on the surface, then flip gently and cook the other side until golden brown.
- Serve warm with maple syrup and toppings of choice.