Homemade Cherry Pie: 7 Delicious Secrets to Master the Perfect Dessert
Homemade Cherry Pie. Just the sound of it conjures up images of warmth, family gatherings, and that unmistakable aroma wafting from the kitchen. If you’ve ever dreamt of baking a pie that makes everyone sigh with contentment, you’re in the right place.
We at helthrecipe.com believe that every baker, from novice to seasoned pro, deserves to experience the sheer joy of creating a truly spectacular homemade cherry pie.

This isn’t just about following a recipe; it’s about understanding the soul of the pie, the little whispers that turn good into gorgeous. We’re going to dive deep into making a homemade cherry pie that doesn’t just taste amazing, but tells a story with every bite. So, roll up your sleeves – your perfect homemade cherry pie adventure starts now!
What makes a homemade cherry pie undeniably superior to store-bought versions?
Forget those rubbery, overly sweet, and often bland imitations you find on grocery shelves. A homemade cherry pie is a whole different ballgame. It’s an experience, a labor of love that shines through in every aspect.
The Unbeatable Freshness Factor
When you bake a homemade cherry pie, you control the ingredients. You choose plump, ripe cherries, fresh butter for your crust, and real vanilla. This level of freshness is something no mass-produced pie can ever replicate, giving your homemade cherry pie an edge.
A Symphony of Authentic Flavors and Textures
Store-bought pies often taste one-note, masked by excessive sugar or artificial flavors. Your homemade cherry pie bursts with the natural tartness and sweetness of the fruit, complemented by warm spices. And that crust? It’s a flaky, tender dream, a stark contrast to the often tough or gummy crusts found elsewhere. For more delightful cherry experiences, check out our Cherry Amaretto Tiramisu recipe.
The Warmth of Personal Touch and Customization
There’s an intangible magic in a homemade cherry pie that comes from your hands, your care, and your personal touch. You can adjust the sweetness, add a hint of almond extract, or create a lattice top that’s uniquely yours. This personal connection makes your homemade cherry pie a gift in itself.
Which cherry varieties and essential ingredients unlock the most vibrant flavor for your pie?
The secret to a truly memorable homemade cherry pie often begins right at the fruit stand. Choosing the right cherries and pairing them with a few key ingredients makes all the difference.
The Great Cherry Debate: Sour vs. Sweet
For the quintessential sour cherry pie, Montmorency cherries are your best friend. Their bright, tangy flavor truly sings when balanced with sugar. If you lean towards a sweet cherry pie baking experience, dark sweet cherries like Bing or Rainier are lovely, though they might need a touch of lemon juice to prevent them from tasting flat. Many bakers love to combine both for a complex, layered flavor in their homemade cherry pie.
The Supporting Cast: Thickeners and Spices
Beyond the cherries, a good thickener is crucial for that perfect, gooey, but not watery, cherry pie filling recipe. Cornstarch, tapioca, or arrowroot powder all work wonders. Don’t forget a pinch of salt to enhance all the flavors, and a whisper of almond extract or vanilla bean paste to elevate your homemade cherry pie to new heights. You might also enjoy our recipe for Simple Cherry Pie Filling if you’re looking for just the filling.
Quality Fats for a Flaky Foundation
For your homemade pie crust from scratch, high-quality butter is non-negotiable. It creates those beautiful, tender layers. Some bakers swear by a mix of butter and shortening for extra flakiness. Whatever your preference, cold fat is key for a truly exceptional homemade cherry pie.
How can you master the art of a flaky, golden crust and a perfectly balanced cherry filling?
Crafting the perfect crust and filling is where the true artistry of a homemade cherry pie comes into play. It’s about technique, patience, and a little bit of love.
The Secrets to a Tender, Flaky Pie Crust
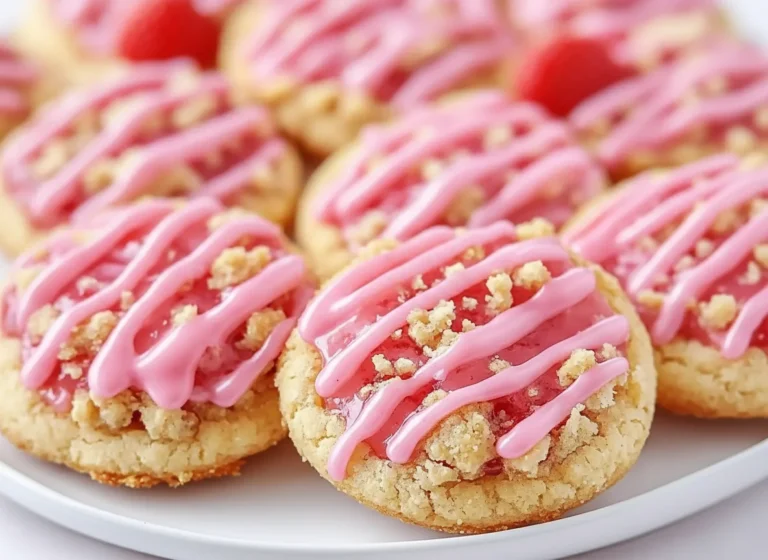
Cold ingredients are paramount for flaky pie crust tips. Work quickly, handling the dough as little as possible to prevent gluten development. Cut your butter into small pieces and chill it thoroughly. You want pea-sized bits of butter throughout your dough – these will create steam in the oven, leading to those coveted flaky layers for your homemade cherry pie. For more cherry dessert ideas, check out Cherry Snowball Cookies.
Crafting the Ideal Cherry Pie Filling Recipe
Achieving that perfect balance in your cherry pie filling recipe means tasting as you go. Start with less sugar than you think you need, especially with sour cherries, and adjust. The goal is a filling that’s sweet enough to complement the fruit without overwhelming it. A dash of lemon juice brightens the flavors immensely in your homemade cherry pie. We also have a great recipe for Sweet Cherry Crumble Bars if you like cherry desserts.
The Delicate Art of Dough Handling
When rolling out your homemade pie crust from scratch, use a lightly floured surface and turn the dough frequently to prevent sticking. Roll from the center outwards, maintaining an even thickness. Don’t stretch the dough when transferring it to the pie plate; gently ease it in. This attention to detail will ensure a stunning homemade cherry pie.
What are the crucial secrets to prevent a soggy bottom and achieve a beautifully baked cherry pie every time?
A soggy bottom is the bane of every pie baker’s existence. But fear not! With a few clever tricks, your homemade cherry pie will emerge with a crisp, golden base.
The Power of Blind Baking Your Crust
One of the most effective strategies for preventing soggy bottom pie is to blind bake your bottom crust. This pre-baking step creates a barrier, setting the crust before the wet filling goes in. Line your dough with parchment paper, fill it with pie weights or dried beans, and bake until lightly golden. This simple step makes all the difference for a perfect homemade cherry pie.
Thickeners and Temperature Control
Ensure your cherry pie filling recipe uses enough thickener. A runny filling will inevitably lead to a soggy crust. Also, start your homemade cherry pie at a higher temperature (around 425°F/220°C) for the first 15-20 minutes, then reduce it to 375°F/190°C. The initial high heat helps to set the bottom crust quickly. You could even try our Quick Cherry Pie Bites for a similar, smaller treat.
The Aluminum Foil Shield and Cooling Process
If your crust edges start browning too quickly, fashion a foil shield around the perimeter of your homemade cherry pie. This protects the edges while the center finishes baking. Once baked, cool your pie completely on a wire rack. Cutting into a warm pie, while tempting, allows steam to re-condense, leading to a soggy bottom. Patience is a virtue when perfecting your homemade cherry pie. For another great cherry recipe, consider Classic Cherry Delight.
Beyond the classic: How can you creatively customize your homemade cherry pie for an extraordinary dessert experience?
While a classic homemade cherry pie is pure perfection, there’s always room to play and personalize. Make it your own, and surprise your guests with unique twists.
Flavorful Additions and Boozy Blends
Consider adding a splash of something extra to your homemade cherry pie filling. A tablespoon of brandy, bourbon, or Kirsch (cherry liqueur) can deepen the cherry flavor beautifully. A hint of orange zest or a pinch of cardamom can also add an unexpected, delightful complexity. For a refreshing beverage, try our Cherry Iced Tea.
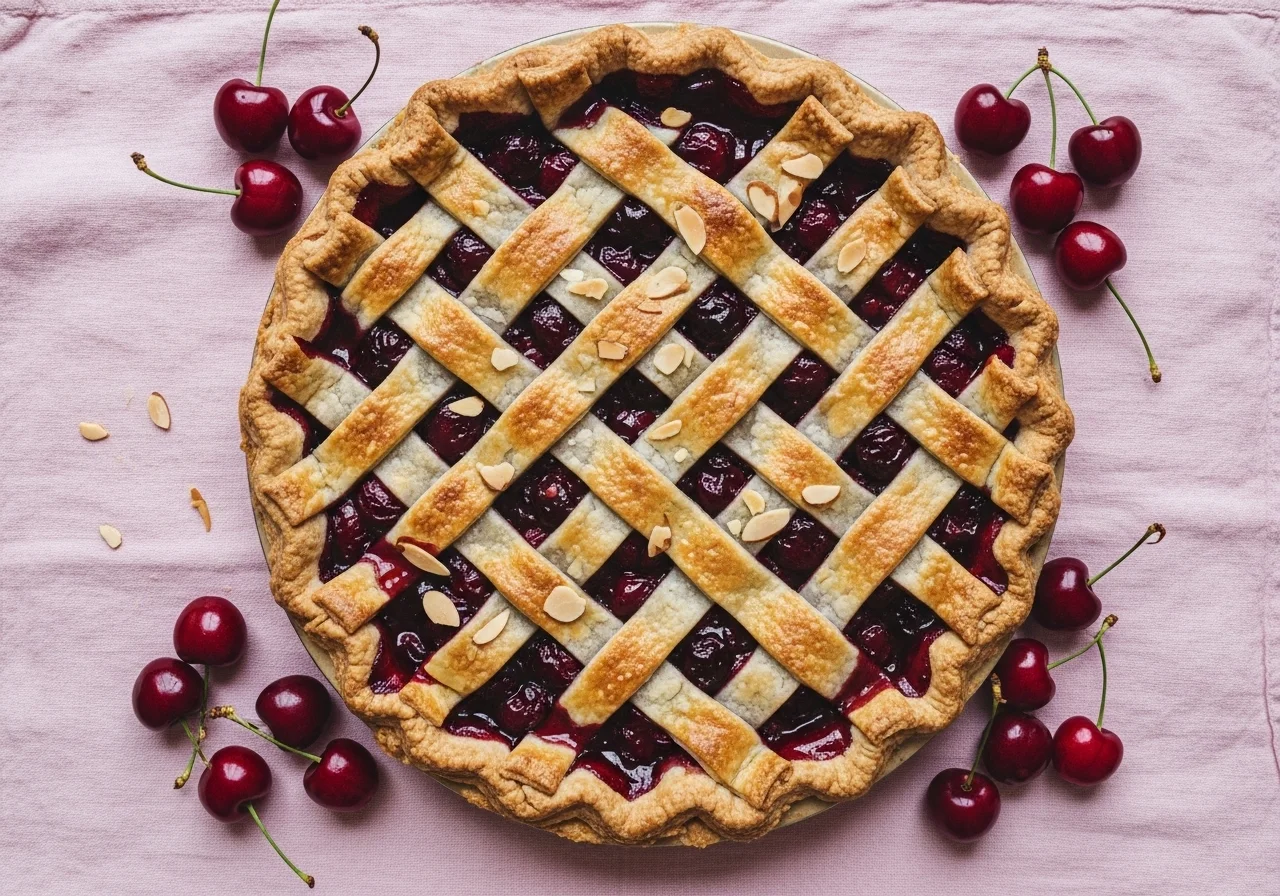
Crumb Toppings and Decorative Touches
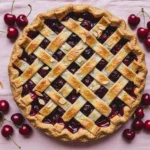
Instead of a traditional double crust, try a streusel topping made with oats, butter, flour, and brown sugar for a delightful textural contrast. Or, get creative with your top crust design! A braided lattice, cut-out shapes, or even a simple crimped edge can turn your homemade cherry pie into a showstopper. We have a fantastic Easy Cherry Clafoutis if you’re looking for another simple yet elegant dessert.
“Baking a pie is an act of love, a tangible way to share warmth and comfort. Every homemade cherry pie carries a piece of the baker’s heart.”
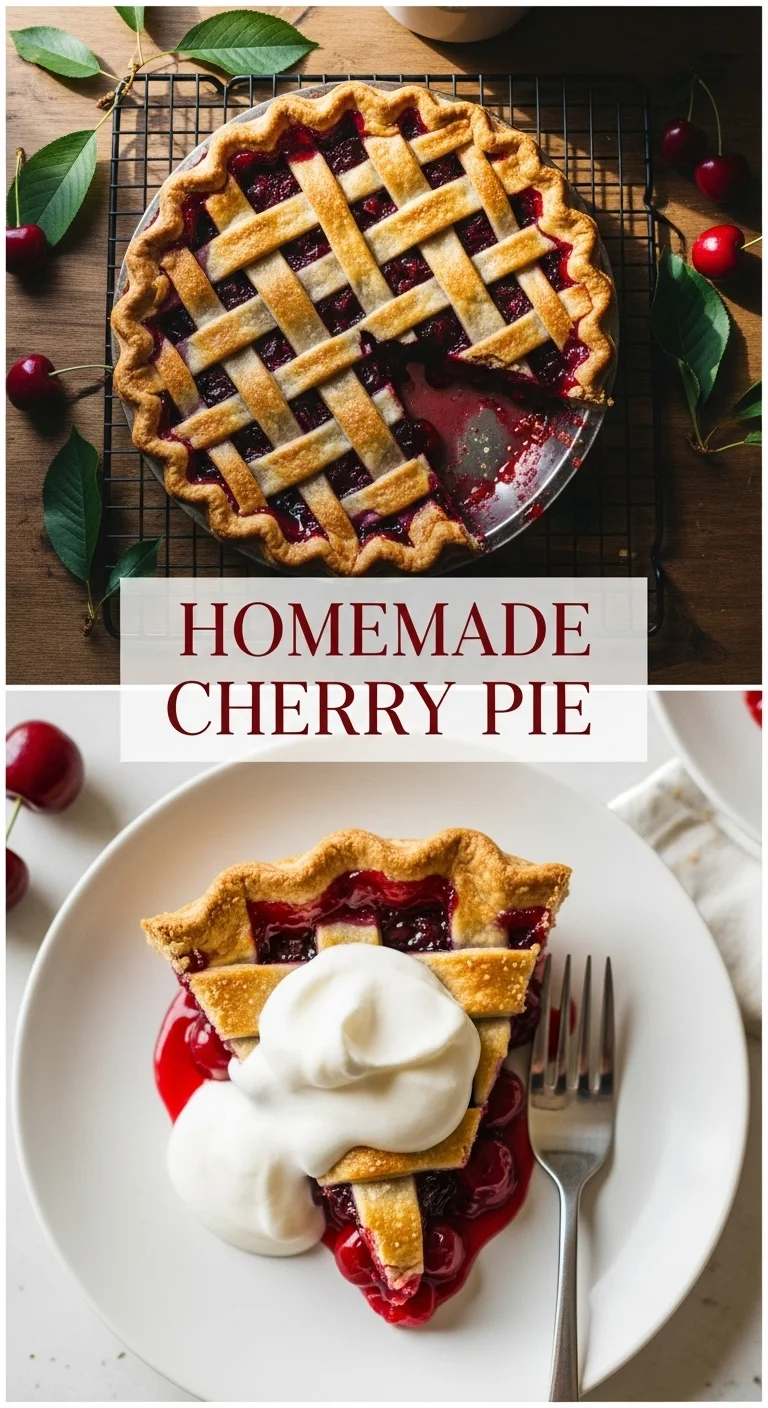
Serving Suggestions and Gift Ideas
A slice of homemade cherry pie is heavenly on its own, but a scoop of vanilla bean ice cream or a dollop of freshly whipped cream takes it over the top. For a thoughtful gift, bake mini homemade cherry pies in ramekins or small tart pans, tie them with a pretty ribbon, and share the joy. You could also explore our Cherry Pie Bars for a convenient, shareable treat. Don’t forget to check out our Simple Cherry Pie Filling again for more filling variations.
Key Takeaways
- Freshness Reigns Supreme: A homemade cherry pie always triumphs over store-bought due to superior ingredients and personalized care.
- Cherry Choice Matters: Sour cherry pie varieties like Montmorency offer bright flavor, while sweet cherries are great for a milder taste. A mix is often best.
- Crust is King: Master flaky pie crust tips by using cold butter and minimal handling for your homemade pie crust from scratch.
- No More Soggy Bottoms: Blind baking and proper thickeners are crucial for preventing soggy bottom pie.
- Creative Freedom: Don’t hesitate to customize your homemade cherry pie with spices, liqueurs, or unique toppings for an extraordinary dessert.
Homemade Cherry Pie
Ingredients
Method
- In a large bowl, mix flour and salt.
- Cut in the cold butter until the mixture resembles coarse crumbs.
- Stir in ice water, a tablespoon at a time, until the dough comes together.
- Divide the dough in half, shape into discs, wrap in plastic wrap, and refrigerate for at least 1 hour.
- In a large bowl, combine cherries, sugar, cornstarch, vanilla extract, almond extract, lemon juice, and salt.
- Let the mixture sit for about 15-20 minutes to allow the cherries to release their juices.
- Preheat the oven to 425°F (220°C).
- Roll out one disc of pie dough to fit your pie plate and place it into the plate.
- Fill with the cherry mixture.
- Roll out the second disc of dough and place it over the filling, sealing the edges. Cut slits in the top to allow steam to escape.
- Blind bake the bottom crust for 15 minutes before adding the filling if desired.
- Bake the assembled pie in the preheated oven for 15-20 minutes, then reduce the temperature to 375°F (190°C) and bake for an additional 30 minutes.
- Cool completely on a wire rack before serving.