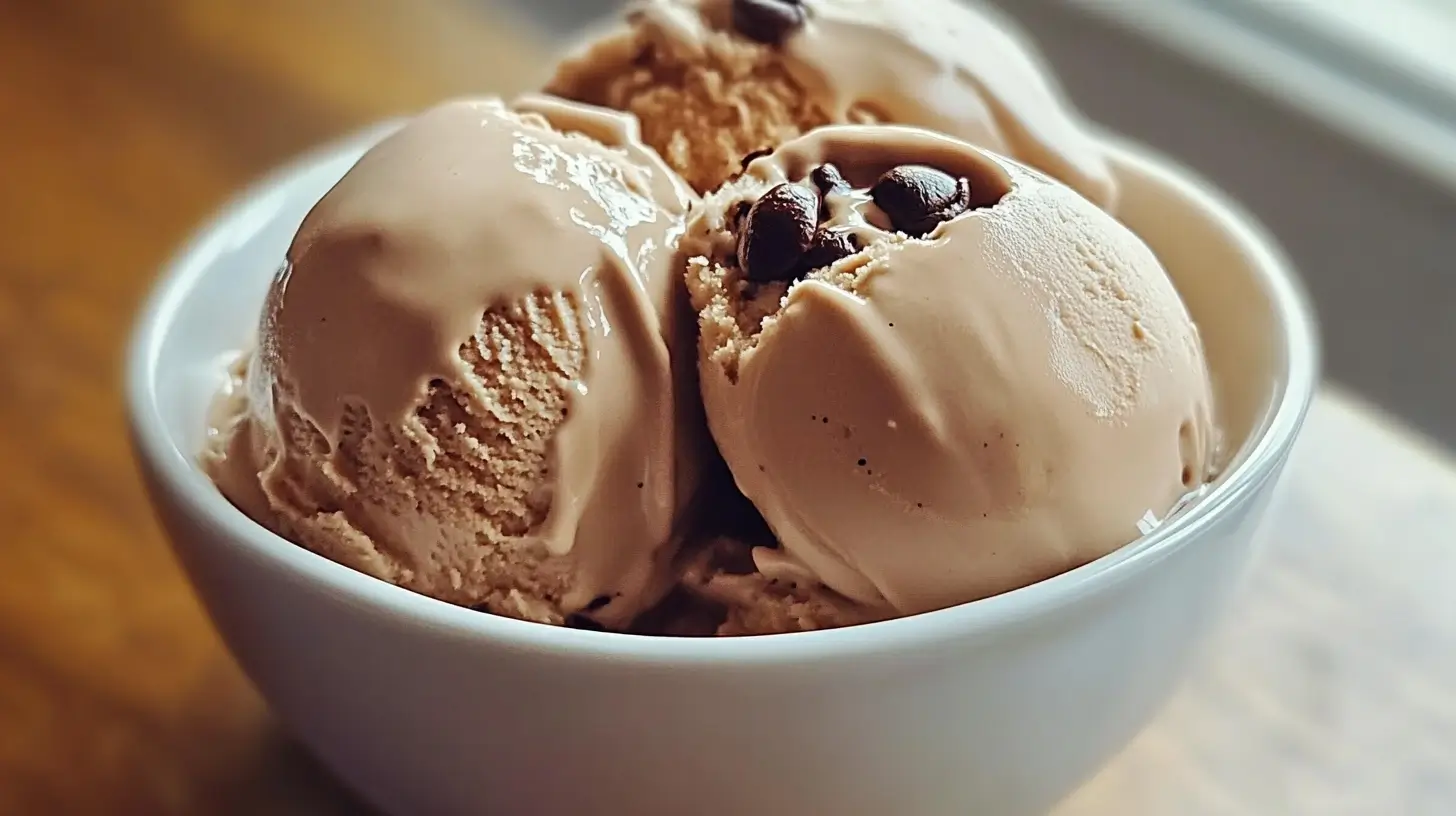
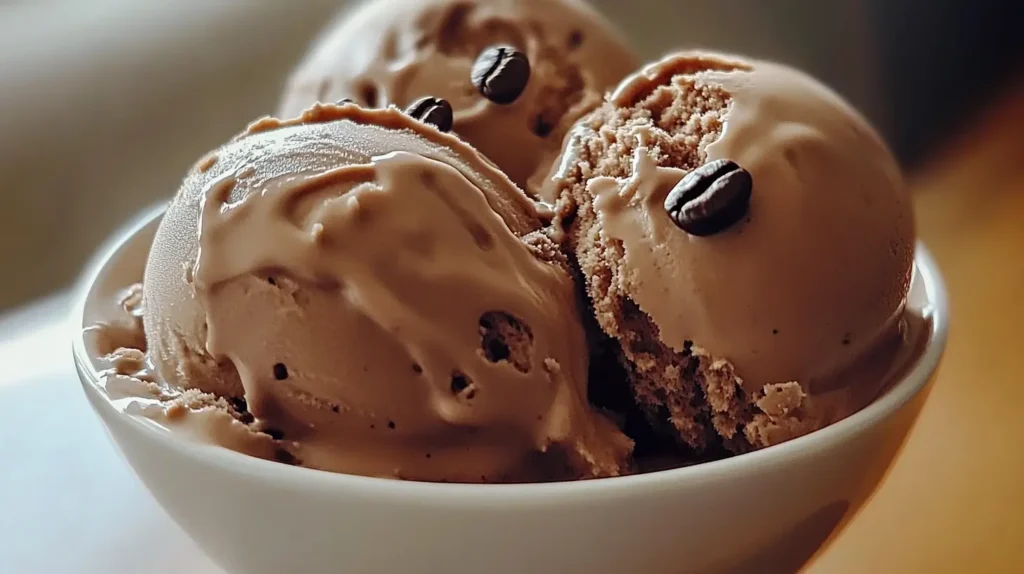
5 Secrets to Perfect Homemade Coffee Ice Cream Every Time
Coffee lovers, rejoice! There’s nothing quite like the rich, creamy indulgence of homemade coffee ice cream. This delightful dessert combines the bold, aromatic flavors of coffee with the smooth, velvety texture of ice cream, creating a treat that’s perfect for any occasion. Whether you’re a coffee connoisseur or just someone who enjoys a sweet, caffeinated treat, making homemade coffee ice cream is easier than you might think. With a few simple ingredients and some patience, you can create a dessert that’s fresher, healthier, and more customizable than anything you’d find at the store.
In this comprehensive guide, we’ll walk you through everything you need to know about making homemade coffee ice cream. From selecting the best coffee to mastering the perfect texture, we’ve got you covered. Let’s dive in!
Table of Contents
Why Make Homemade Coffee Ice Cream?
Before we get into the nitty-gritty of the recipe, let’s talk about why homemade coffee ice cream is worth the effort. Here are a few compelling reasons:
- Healthier Alternative: When you make ice cream at home, you have complete control over the ingredients. You can adjust the sugar content, avoid artificial additives, and use high-quality, natural ingredients.
- Cost-Effective: Homemade ice cream is often more affordable than premium store-bought brands, especially if you already have the basic ingredients on hand.
- Customizable Flavors: Want to add chocolate chips, caramel swirls, or a pinch of cinnamon? The possibilities are endless when you’re the one in charge.
- Fresher Taste: Nothing beats the flavor of freshly made ice cream. You’ll notice the difference in every creamy, coffee-infused bite.
Essential Ingredients for Homemade Coffee Ice Cream
The key to making delicious homemade coffee ice cream lies in using quality ingredients. Here’s what you’ll need:
- Coffee: The star of the show! You can use freshly brewed espresso, cold brew concentrate, or even instant coffee. The type of coffee you choose will significantly impact the flavor, so pick one that suits your taste.
- Dairy Base: Heavy cream and whole milk are the foundation of a rich, creamy ice cream. For a lighter version, you can use half-and-half, but keep in mind that the texture may be less indulgent.
- Sweetener: Granulated sugar is the most common choice, but you can also use honey, maple syrup, or even condensed milk for a unique twist.
- Egg Yolks (optional): Adding egg yolks creates a custard base, which results in a richer, creamier texture. If you prefer a simpler recipe, you can skip the eggs.
- Vanilla Extract: A small amount of vanilla enhances the overall flavor and complements the coffee beautifully.
Best Coffee Types for Ice Cream
The type of coffee you use will determine the flavor profile of your homemade coffee ice cream. Here are some options to consider:
- Espresso: If you’re a fan of strong, bold coffee flavors, espresso is the way to go. Its concentrated flavor shines through in every bite.
- Cold Brew: Cold brew coffee is less acidic and has a smoother taste, making it a great choice for those who prefer a milder coffee flavor.
- Instant Coffee: While not as robust as espresso or cold brew, instant coffee is quick and convenient. It’s a good option if you’re short on time.
- Decaf Coffee: If you’re sensitive to caffeine but still want the coffee flavor, decaf is a great alternative.

Step-by-Step Recipe for Homemade Coffee Ice Cream
Now that you’ve gathered your ingredients, it’s time to get started! Follow this step-by-step recipe to create your own homemade coffee ice cream.
Ingredients
- 2 cups heavy cream
- 1 cup whole milk
- ¾ cup granulated sugar
- 3 egg yolks (optional for a creamier texture)
- 3 tablespoons freshly brewed espresso (or 2 tablespoons instant coffee mixed with hot water)
- 1 teaspoon vanilla extract
Instructions
- Prepare the Coffee Base: Brew your coffee and allow it to cool completely. If you’re using instant coffee, dissolve it in a small amount of hot water and let it cool.
- Heat the Dairy Mixture: In a saucepan, combine the heavy cream, whole milk, and sugar. Warm the mixture over medium heat until it begins to steam (do not let it boil).
- Temper the Eggs (if using): In a separate bowl, whisk the egg yolks. Slowly add a few spoonfuls of the hot dairy mixture to the yolks, whisking constantly to prevent curdling.
- Combine and Cook: Pour the tempered yolks back into the saucepan, stirring constantly. Cook the mixture over low heat until it thickens enough to coat the back of a spoon (this is called a custard base).
- Add Coffee and Flavor: Remove the saucepan from the heat and stir in the cooled coffee and vanilla extract.
- Chill the Mixture: Pour the mixture into a bowl and cover it with plastic wrap, pressing the wrap directly onto the surface to prevent a skin from forming. Refrigerate for at least 4 hours or overnight.
- Churn and Freeze: Transfer the chilled mixture to your ice cream maker and churn according to the manufacturer’s instructions.
- Freeze for Firmness: Transfer the churned ice cream to a container and freeze for 2-4 hours before serving.
Tips for Achieving a Creamy Texture
- Use full-fat dairy for the richest, creamiest texture.
- Adding a splash of alcohol (like Kahlúa or vodka) can help prevent ice crystals from forming.
- Churn the ice cream thoroughly to incorporate air, which creates a lighter, smoother texture.
Vegan and Dairy-Free Options
If you’re avoiding dairy, you can still enjoy homemade coffee ice cream by using plant-based alternatives. Here are some options:
- Coconut Milk: Provides a rich, creamy texture with a subtle tropical flavor.
- Almond Milk: Offers a lighter consistency and a nutty undertone.
- Oat Milk: Known for its creaminess, oat milk is an excellent dairy-free option.
Serving Ideas for Homemade Coffee Ice Cream
- Top with whipped cream and a dusting of cocoa powder or espresso powder.
- Pair it with brownies, cookies, or a slice of chocolate cake for a decadent dessert.
- Create a coffee-themed sundae with caramel sauce, chocolate shavings, and a sprinkle of sea salt.
Storage Tips
- Store your homemade coffee ice cream in an airtight container to prevent freezer burn.
- Press a piece of plastic wrap directly onto the surface of the ice cream to minimize ice crystals.
- For the best flavor and texture, consume within 2-3 weeks.
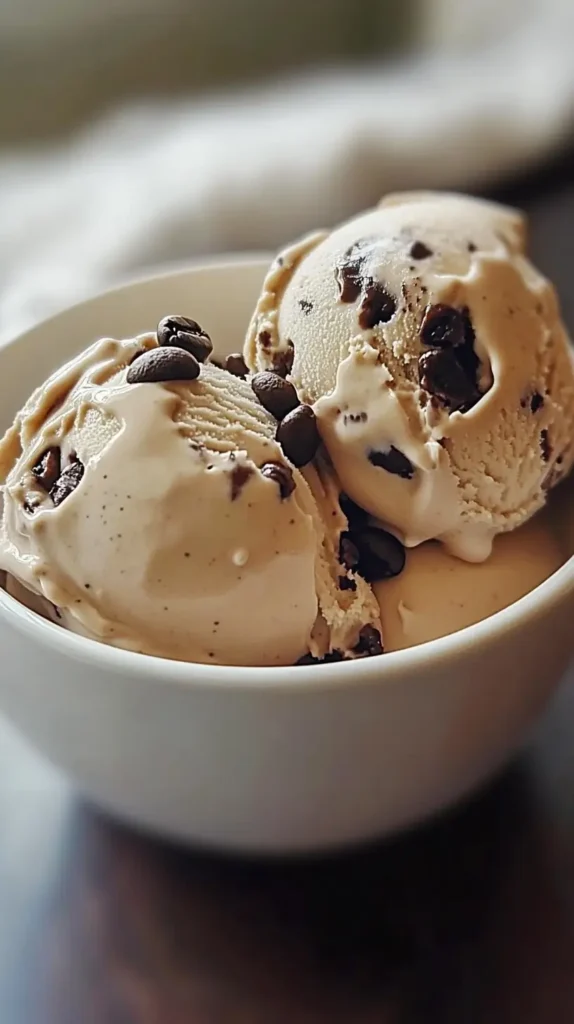
Exploring Variations of Your Coffee-Infused Frozen Dessert
Once you’ve mastered the basic recipe, it’s time to get creative! There are countless ways to customize your coffee-flavored frozen treat to suit your preferences. Here are a few ideas to inspire you:
- Mocha Madness: Add cocoa powder or melted chocolate to the mixture for a decadent mocha twist.
- Caramel Swirl: Drizzle caramel sauce into the ice cream during the churning process for a sweet, gooey surprise.
- Spiced Coffee: Incorporate a pinch of cinnamon, nutmeg, or cardamom for a warm, spiced flavor.
- Cookie Crunch: Mix in crushed coffee cookies or chocolate sandwich cookies for added texture.
These variations allow you to experiment with flavors and textures, making each batch of your frozen dessert unique.
The Science Behind the Perfect Frozen Treat
Understanding the science of ice cream can help you achieve the perfect texture and consistency. Here’s a quick breakdown:
- Fat Content: The fat in heavy cream and egg yolks (if used) contributes to a rich, creamy mouthfeel.
- Sugar: Besides adding sweetness, sugar lowers the freezing point, preventing the dessert from becoming too hard.
- Air Incorporation: Churning introduces air into the mixture, creating a light and fluffy texture.
- Temperature Control: Proper chilling and freezing are crucial for achieving the right consistency without forming large ice crystals.
By paying attention to these factors, you can ensure your coffee-flavored frozen dessert turns out smooth and velvety every time.
Pairing Your Coffee Dessert with Complementary Flavors
Your coffee-infused frozen treat doesn’t have to stand alone—it pairs beautifully with a variety of flavors and desserts. Here are some pairing ideas:
- Chocolate: The classic combination of coffee and chocolate is a match made in dessert heaven. Serve your frozen treat with a side of chocolate cake or brownies.
- Nuts: Toasted almonds, hazelnuts, or pecans add a delightful crunch and nutty flavor.
- Fruit: Fresh berries or a drizzle of raspberry sauce can provide a tart contrast to the rich coffee flavor.
- Liqueurs: A splash of coffee liqueur, amaretto, or Irish cream can elevate the flavor profile for an adult-friendly dessert.
These pairings can turn your coffee-flavored frozen dessert into a show-stopping finale for any meal.
Troubleshooting Common Issues
Even the most experienced dessert makers encounter challenges from time to time. Here are some common issues and how to fix them:
- Grainy Texture: This can happen if the sugar doesn’t dissolve completely. To avoid this, ensure the sugar is fully dissolved in the warm dairy mixture before chilling.
- Ice Crystals: Large ice crystals can form if the mixture isn’t chilled thoroughly before churning or if it’s stored improperly. Pressing plastic wrap directly onto the surface of the dessert before freezing can help.
- Too Hard to Scoop: If your frozen treat is rock-hard, let it sit at room temperature for 5-10 minutes before serving. Adding a splash of alcohol to the mixture can also help keep it scoopable.
- Weak Coffee Flavor: If the coffee taste isn’t strong enough, increase the amount of coffee or use a more concentrated brew.
By addressing these issues, you can ensure your coffee-flavored frozen dessert turns out perfectly every time.
FAQs About Homemade Coffee Ice Cream
- How long can I store homemade coffee ice cream?
Ideally, enjoy it within 2-3 weeks for optimal flavor. - Can I make coffee ice cream without eggs?
Yes! You can use cornstarch or condensed milk as a substitute for eggs. - What’s the best coffee for a rich flavor?
Espresso or strong cold brew works best for a bold coffee taste. - Can I add a chocolate swirl?
Absolutely! Melt some chocolate and drizzle it into the ice cream during the churning process. - Do I need an ice cream maker?
No, you can make it without one. Simply pour the chilled mixture into a freezer-safe container and stir every 30 minutes until it reaches the desired consistency.
Conclusion
Making homemade coffee ice cream is a fun and rewarding process that allows you to create a dessert tailored to your tastes. With its rich coffee flavor and creamy texture, this treat is sure to become a favorite in your household. Whether you stick to the classic recipe or experiment with creative add-ins, homemade coffee ice cream is a delicious way to enjoy the flavors of coffee in a whole new way. So grab your ingredients, fire up your ice cream maker, and get ready to savor every spoonful of your homemade creation!