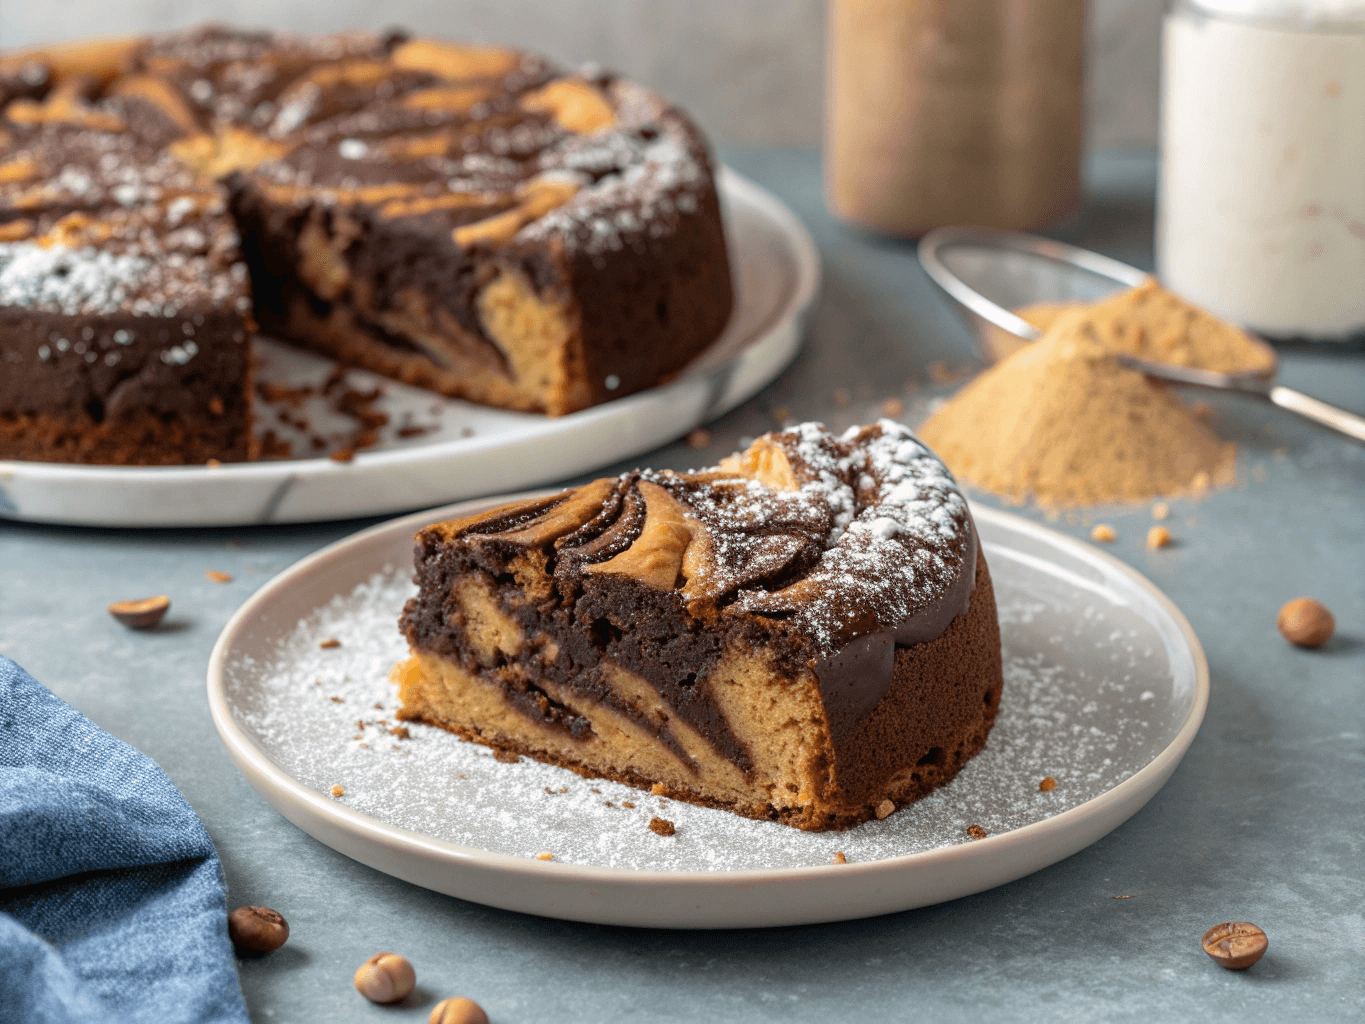
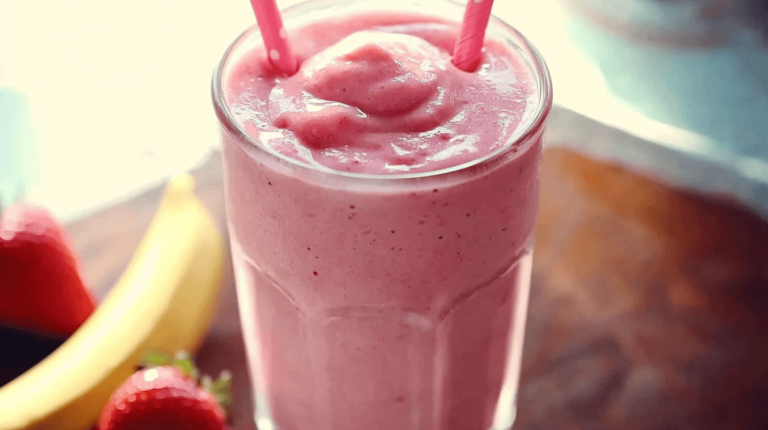
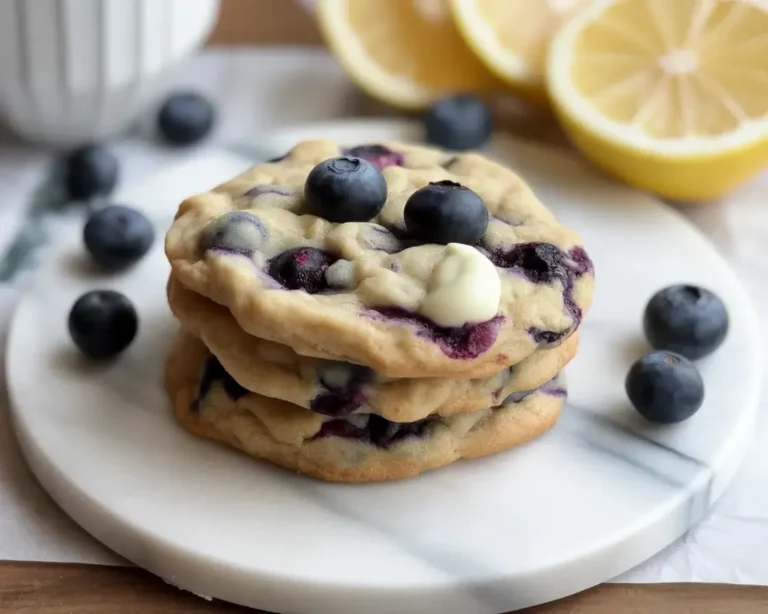
keto peanut butter earthquake cake

Keto Peanut Butter Earthquake Cake

Delectable Reese’s Peanut Butter Earthquake Cake – A decadent chocolate cake blended with smooth peanut butter and adorned with melted Reese’s cups, prepared in only 15 minutes for the perfect gooey treat

Keto Peanut Butter Earthquake Cake

keto peanut butter earthquake cake


Print

Keto Peanut Butter Earthquake Cake

A decadent chocolate cake blended with smooth peanut butter and adorned with melted Reese’s cups, prepared in only 15 minutes for the perfect gooey treat.

  • Author: helth-recipe
  • Prep Time: 15 minutes
  • Cook Time: 30 minutes
  • Total Time: 45 minutes
  • Yield: 8 servings 1x
  • Category: Dessert
  • Method: Baking
  • Cuisine: American
  • Diet: Keto

Ingredients

Scale
  • 1 cup almond flour
  • 1/2 cup unsweetened cocoa powder
  • 1/2 cup erythritol
  • 1 tsp baking powder
  • 1/2 tsp salt
  • 3 large eggs
  • 1/2 cup unsweetened almond milk
  • 1/2 cup peanut butter
  • 1 cup sugar-free Reese’s cups (chopped)

Instructions

  1. Preheat your oven to 350°F (175°C) and grease a cake pan.
  2. In a mixing bowl, combine almond flour, cocoa powder, erythritol, baking powder, and salt.
  3. Add eggs, almond milk, and peanut butter to the dry ingredients and mix until smooth.
  4. Fold in the chopped sugar-free Reese’s cups.
  5. Pour the batter into the prepared cake pan and bake for 25-30 minutes.
  6. Let it cool for a few minutes before serving.

Notes

For an extra indulgent touch, top with more melted peanut butter and chopped Reese’s cups before serving.

Nutrition

  • Serving Size: 1 slice
  • Calories: 320
  • Sugar: 3g
  • Sodium: 200mg
  • Fat: 25g
  • Saturated Fat: 5g
  • Unsaturated Fat: 15g
  • Trans Fat: 0g
  • Carbohydrates: 12g
  • Fiber: 4g
  • Protein: 10g
  • Cholesterol: 80mg

Did you make this recipe?

Share a photo and tag us — we can't wait to see what you've made!

Similar Posts

  • Fluffy Japanese Soufflé Pancakes

    Japanese Soufflé Pancakes. I probably don’t need to explain why you’re here – you’ve seen these fluffy, sky-high beauties bouncing around online, right? I mean, these pancakes are so thick, it’s almost unfair to call them pancakes. Maybe you’ve tried regular ones, even my usual go-to Blueberry Flax Pancakes (recipe’s here if you’re curious), but…

  • Almond Flour Scones

    Almond Flour Scones are basically my “I forgot to bake and now someone’s coming over for coffee” cheat code. You know that feeling when you want to serve something homemade, but you also want it to be, well, kinda healthy? Yeah, me too. That’s when I drag out my bag of almond flour and basically magic up a batch of these beauties. They’re honestly so easy, you almost feel like you’re getting away with something. No one has to know you made them while the kettle’s heating.   Almond Flour Scones: Why I’m Obsessed Okay, let me level with you. I’ve made more scone recipes than I can count—some with enough butter to terrify my doctor—and yet, almond flour scones keep sneaking back into my kitchen lineup. For starters, almond flour just makes them crazy tender. We’re talking soft, ever-so-slightly nutty, and not dry at all. Plus, they don’t taste “grain-free” (you know that weird sandy thing some healthy recipes have? Gone). They’re super quick too. Like, measure, mix, plop onto a baking sheet, and done. Oh, and if you ask me, they turn out way fancier than the level of effort required. And let’s talk aroma—the scent while these bake will have people drifting into your kitchen, guaranteed. Seriously, almond flour scones could win awards just on fragrance. “I’m always looking for gluten-free bakes that don’t taste weird. These are PERFECT. Moist and taste just like the real deal. They freeze great too!” – Anna, actual almond flour scone lover     Key Ingredients for Almond Flour Scones Let’s keep this simple. You literally need stuff you probably already have hanging around, if you do any gluten-free or lower-carb baking. Almond flour: Make sure it’s finely ground (not almond meal). The texture matters. Baking powder: Helps the scones puff up a bit. Don’t skip! Eggs: For binding everything together. If you want extra richness, add an extra yolk (yep, I do sometimes). Butter: Cold is best. This gets you those lovely soft scone insides. Sweetener: Sugar, honey, or a sugar replacement all work here. Use what you like. Add-ins: Think dried fruit, chocolate chips, or even a sprinkle of cinnamon. These scones are not picky. I mean, if you want to get fancy, add lemon zest or a handful of berries, but honestly? Even plain, almond flour scones are pretty epic. How to Make Almond Flour Scones (Short Version: It’s Actually Easy) If you can stir, you can make these. Here’s the breakdown: First, mix your dry stuff—almond flour, baking powder, and whatever sweetener you’re using. Next, drop in the cold butter and squish it in with your fingers (messy, but also kinda fun, I won’t lie). Once it looks like crumbs, add the eggs and any extras. Stir it up until just blended. Now, don’t overthink it. Scoop your dough onto a parchment-lined tray. Shape it quickly—don’t fuss. Slice into wedges (or make little mounds if you’re lazy, I won’t tell). Bake around 20 minutes at 350°F until they’re just golden. Once they’re out, resist the urge to eat one right away. Let them cool. (Trust me, they hold together better if you wait.) Serving Suggestions So, almond flour scones are basically a blank canvas for whatever you’re in the mood for: Slather with jam or nut butter for a classic vibe. Pair with coffee, tea, or even a glass of icy almond milk. Go wild with a drizzle of honey and a pat of butter for five-star restaurant feels. If you’re feeling brave, split them open and fill with berries and whipped cream. Real talk: breakfast, snack, or dessert—these fit anywhere. Common Questions Why almond flour instead of regular flour? I like the flavor and the softer texture, plus it’s gluten-free and just a bit healthier (for my conscience at least). Do almond flour scones taste sweet? They’re lightly sweet, but not dessert-sweet. You control the sugar, so tweak for your taste buds. Can I freeze almond flour scones? Absolutely! Toss ’em in a zip bag. Toast straight from the freezer later. Lazy day win. What if mine are too crumbly? Try another egg or add a spoonful of yogurt next time. Almond flour’s different than wheat flour, so sometimes you gotta play around. Is it easy to swap add-ins? Oh, you bet. Chocolate, fruit, nuts—throw in whatever you love. Just avoid lots of wet add-ins so things don’t get soggy. Ready to Try Almond Flour Scones? Okay, so you don’t have to be a baking superstar to knock out almond flour scones, and nobody’s going to believe you whipped them up last minute. No mixer, barely any mess. If you want to master the almond flour scone life, this quick video walks you through it, or peek at the almond flour scone FAQ for more pointers. Next time you’re stumped for what to serve with afternoon tea or, you know, just feeling snacky, give these a shot. Don’t wait for a special occasion, just go for it. If you do, I promise you’ll be passing this little trick along to every friend who drops by unexpectedly. These Almond Flour Scones are delightfully soft, tender, and naturally gluten-free….

  • Healthy Peanut Butter Greek Yogurt Banana Bread Muffins

    What Makes These Muffins Healthy Anyway? How to Make Healthy Peanut Butter Greek Yogurt Banana Bread Muffins Serving Suggestions Real Results: A Quick Table for Muffin Nerds Common Questions Give These Muffins a Shot (Seriously) Ever find yourself standing in the kitchen, bananas going mushy on the counter, trying to talk yourself out of just tossing them? Me too. Enter my go-to hero: Healthy Peanut Butter Greek Yogurt Banana Bread Muffins. These are what I grab when I want something a little sweet, a little wholesome, and—bonus points—they actually fill you up without that sugar crash. They’re just different enough to keep breakfast (or, let’s be real, midnight snacking) from getting boring. These muffins nail that perfect balance of soft, nutty, and satisfying. No more staring at sad bananas wishing for a miracle. Here it is.   What Makes These Muffins Healthy Anyway? People always ask if a muffin can be healthy. Yes, absolutely, these are not your run-of-the-mill, cake-in-disguise muffins. The trick is in the swap outs. Instead of using a pile of butter, I mix in creamy Greek yogurt for that soft texture. Not only does it keep these muffins moist (I mean, who likes dry muffins?), it packs in a little protein too. Peanut butter… I’m obsessed, and it brings healthy fats that do more than just taste good. I’ll be honest, keeping the sugar low here makes me feel pretty smug. The ripe bananas do most of the sweet talking. And hey, you’re getting fiber from whole wheat flour if you want to take it up a notch. This is the kind of snack that isn’t gonna wreck your day but actually makes breakfast feel like you’re doing something good for yourself.   How to Make Healthy Peanut Butter Greek Yogurt Banana Bread Muffins You won’t need anything fancy here. I usually grab two bowls—one for dry, one for wet—and that’s about it. Mash up your bananas (the browner, the better. I’m weirdly proud when mine look almost scary). Stir the Greek yogurt, peanut butter, and a splash of vanilla into the banana, then mix your flour and the usual baking essentials together in a different bowl. Pour the wet stuff into the dry and combine just until you can’t see flour. Please, trust me, do not over-mix. That’s how you get rubbery muffins and nobody wants that. Scoop into muffin cups and bake. My oven claims it’s 350°F, but check yours. My sister’s runs hot and her muffins burned once. Here’s where I get creative—sometimes I pop a few chopped walnuts on top, or even a sprinkle of dark chocolate chips if I’m feeling fancy. Do what makes you happy. They puff up, crack a little on top, and the kitchen smells like peanut butter dreams. Serving Suggestions I may be dramatic, but these Healthy Peanut Butter Greek Yogurt Banana Bread Muffins are a legit game changer. Here’s what I love: Warm from the oven with a dab of extra peanut butter—true happiness. Sliced with a drizzle of honey or a little cinnamon. Oof, so good. Freeze a batch for busy mornings or snack emergencies. Super flexible, right? I’ve even snuck ’em into a couple of kids’ lunchboxes… zero complaints so far. Real Results: A Quick Table for Muffin Nerds Here’s a non-boring table to help you size up these muffins at a glance (because some of us need to know): Ingredient Focus Why It’s Good Texture Boost Nutrition Perk Greek Yogurt Swaps out oil/butter Makes it super moist Extra protein hit Peanut Butter Healthy fats, duh Nutty depth Satiety (it fills you up!) Banana Natural sweetener Soft muffin vibe Fiber & potassium “I tried these after you posted on your Insta, and oh man—they actually tasted like dessert but kept me full through my morning workout. My kids wolfed them down. Total win.” – Jen L. Common Questions Q: Can I use any kind of Greek yogurt? A: I stick with plain, low-fat Greek yogurt, but full-fat works if you want a richer muffin. Just don’t use the super runny kind. Q: What if I only have regular flour? A: That’s no big deal. Whole wheat just adds a little more fiber, but all-purpose flour works fine. Q: Can you freeze these muffins? A: Absolutely. I wrap them up, toss ’em in the freezer, then reheat in the microwave. Perfect for lazy days. Q: Will chunky or creamy peanut butter work best? A: Totally up to you. Creamy blends smoother, but I love the little peanut bits you get from the chunky kind. Q: How ripe do my bananas need to be? A: Go as ripe as possible. If they look a little scary, you’re on the right track. The flavor will be way deeper. Healthy Peanut Butter Greek Yogurt Banana…

  • healthy Orange Scones

    Why You’ll Fall for These Orange Scones The Simple Ingredients You Actually Need Step-By-Step: Bringing Orange Scones to Life Serving Suggestions To Level Up Common Questions Go On, Make Your Mornings Way Less Boring Orange Scones are kinda magical when you want something quick for breakfast, but also wanna trick your brain into thinking you’re at a five-star restaurant. Ever drag yourself outta bed and just want a treat to make the day less… meh? Yep, been there. I actually started making these because regular scones got way too boring and, okay, my neighbor wouldn’t stop bragging about her “famous” lemon version. Orange scones hit different. Seriously, that citrusy thing going on is just—wow. If you’re tired of sad donuts or cold cereal, let’s get you sorted out right here.   this … Why You’ll Fall for These Orange Scones Listen, nobody wants a dry, crumbly brick on the plate. The whole idea is to get a scone that’s bright and soft on the inside, with just a hint of gold crunch outside. These orange scones are super easy, too. I’m not just saying that—real talk, my thirteen-year-old cousin bakes them without setting off the smoke alarm. You don’t need a mixer. You don’t even need fancy tools. Mixing with your hands is cool (honestly, it’s kinda therapeutic). The burst of orange makes the kitchen smell like living inside a fruit basket. Sometimes I toss in a handful of chocolate chips, but don’t tell the purists. Go wild with the zest. I always say, “More zest, more best!” There’s science somewhere about citrus making you happy—I say just trust the process.   The Simple Ingredients You Actually Need Here’s the best part: most of this stuff’s already hanging out in your kitchen right now. Really. You’ll need: All-purpose flour—yep, nothing fancy Cold butter (don’t you dare soften it) White sugar and a little pinch of salt (don’t skip this) A juicy orange (zest and juice both, please) Milk or cream (either’s fine—don’t overthink) Baking powder for the puff Maybe an egg, if you’re feelin’ extra Mix this all up and try not to eat the dough raw. Old habits die hard.   Step-By-Step: Bringing Orange Scones to Life First thing, crank up your oven. You want it hot—about 400°F. While it’s preheating, grab a big bowl. Dump in your flour, sugar, baking powder, and salt. Now toss those cold, cubed butter pieces in. Cut them in with your fingers or a pastry cutter, and don’t stress if a few chunks are bigger. Grate in all that lovely orange zest (seriously, let’s not be stingy). Pour in juice and milk (I splash both instead of measuring). If you’re using an egg, whisk and add now. Stir until just combined. Don’t you dare overmix. Plop dough on a floured counter, pat into a messy round disk (about an inch thick), and slice it like a pizza. The rougher the cut, the more rustic and bakery-looking. Set on a sheet lined with parchment. Brush tops with more milk (makes ’em golden). Bake 13-15 minutes till just lightly brown. Let cool for a hot second before eating so you don’t burn your tongue (again… it happens, trust me).   Serving Suggestions To Level Up Top with orange glaze or drizzle with melted chocolate if feeling snazzy. Serve warm with real butter—never margarine, come on now. Toss leftovers in the toaster next morning for a crispy redo. Pair with strong coffee or black tea to cut the sweetness. Common Questions Can I make orange scones ahead of time? Absolutely! I usually bake extra and freeze a few. Just let ’em cool first, then wrap tight. Reheat in oven for a just-baked feel. What if I only have mandarins or clementines? No problem. Go for it. The flavor will be a titch sweeter, but honestly, you might like that better. How do I stop them from being too dry? Don’t overmix the dough and make sure your butter is cold. A little drizzle of extra cream on top before baking never hurts. Do I need a glaze? Nope! I’m team “depends on my mood.” Sometimes a broken scone and a pat of butter is all you need. But a simple orange-powdered sugar glaze makes them café-level. Can I use store-bought orange juice? Eh. Sure, if you’re in a pinch. But fresh is way, way better. You’ll notice the zing. I’ve tried probably fifteen recipes, but this one? Perfection. My husband asked if I bought them from that expensive bakery down the street. Nope, just my own two hands! – Dani M., Vermont…