

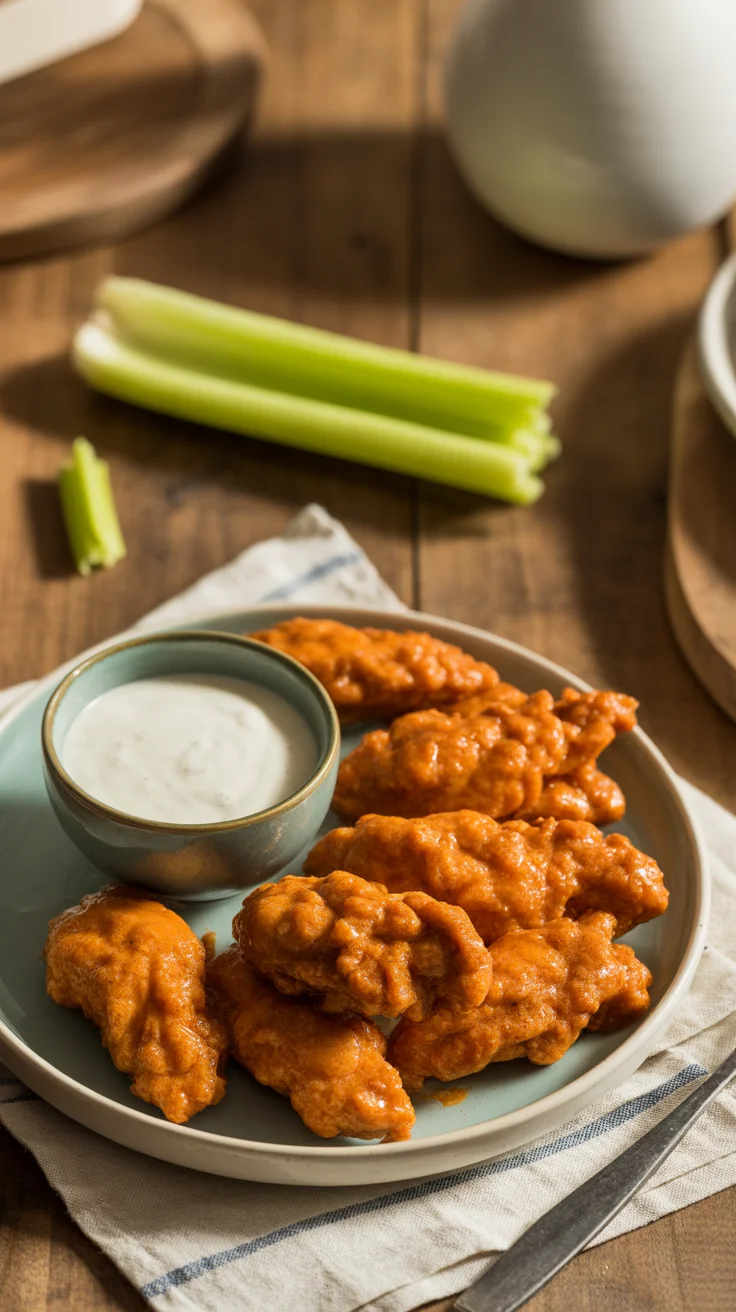
A platter of crispy Air-Fried Buffalo Chicken served with dipping sauce.

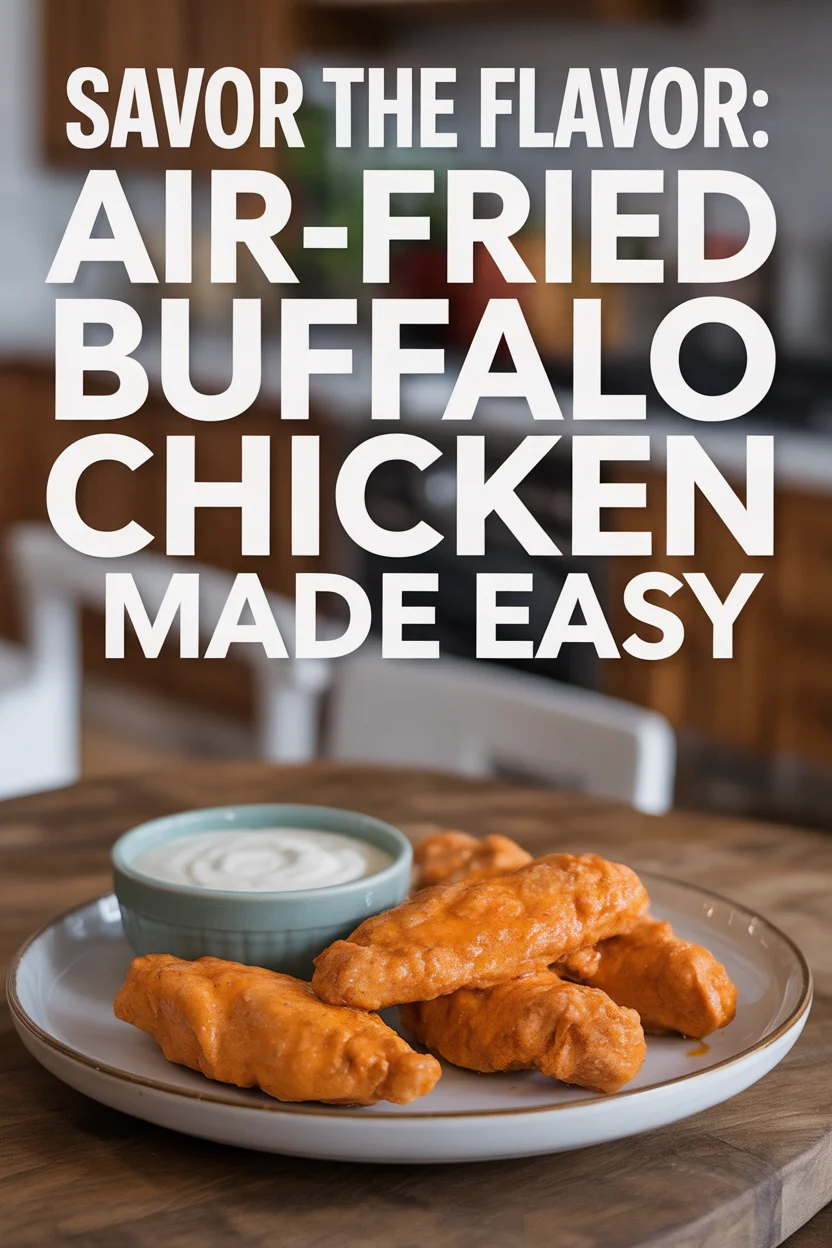
Savor the Flavor: Air-Fried Buffalo Chicken Made Easy

Air-Fried Buffalo Chicken is basically my weeknight savior. You ever get that craving for fried chicken but the sheer chaos of frying sends you running? Same. Kids want nuggets, you want tenders, everybody says “less grease please.”
Savor the Flavor: Air-Fried Buffalo Chicken Made Easy
Air-Fried Buffalo Chicken

So here you are, wondering if you can get the kick and crunch of buffalo chicken without all the hassle—or feeling like you need a nap after eating. Trust me, you can. This isn’t some impossible chef-y trick, it’s just—air fryer magic, honestly.

Air-Fried Buffalo Chicken

Ingredients that Matter

Let’s keep it real: not all ingredients are created equal, especially for Air-Fried Buffalo Chicken. Boneless chicken breasts are solid, but I’m partial to thighs if you want extra juiciness. (I can’t tell you how many times I’ve grabbed the wrong cut and it turned out weirdly dry. No thanks.) Buffalo sauce is non-negotiable. If you like it hotter, Frank’s is the move. Not into that? Go milder.

Now, the breadcrumbs. Panko > plain, no debate here. This is where the extra crunch shows up. But the surprise player? A touch of garlic powder, and honestly, a little ranch seasoning sprinkled in the crumbs is next level. And, don’t forget: eggs, flour, salt-and-pepper. That’s the big stuff. If you skimp here, it’ll taste like sadness instead of spicy heaven.

Air-Fried Buffalo Chicken

How to make air fried buffalo chicken strips

Prep takes less time than getting takeout. You just slice up your chicken (nuggets, tenders, however you like). Whisk up a couple eggs in one bowl, pour flour in another, then get that breadcrumb-ranch-garlic party set up in a third. Dip the chicken into the flour, then the egg, and finally coat it in those seasoned breadcrumbs. Get ‘em nicely covered.

Now, toss those pieces into your air fryer. Spray with a little oil if you’re into maximum crunch. Air fry at 400°F for about 10-12 minutes, flipping halfway. While the magic happens, melt butter with your favorite buffalo sauce. Once your chicken strips are crispy and done (oh, you’ll know when you see that gold), toss them in the sauce. Yes, use tongs. Or go wild and shake in a big bowl. I say live dangerously.

Honestly, it’s so much better than waiting for delivery and the cleanup is tiny compared to pan frying.

Air-Fried Buffalo Chicken

Why you’ll love this air fryer recipe

Okay, real talk: once you try this Air-Fried Buffalo Chicken, there’s no going back. That spicy, crispy outside—it gives off “five-star restaurant” without setting off your smoke alarm. Kids demolish nuggets without even knowing they’re not deep fried, and I can eat tenders during a Zoom, not gonna lie. Less grease means you can actually taste the chicken, not just oil.

Plus, your kitchen smells awesome instead of like hot splatter. If you love late-night snacks (guilty), these reheat like a dream, unlike those sad, soggy takeout leftovers.

My neighbor calls these “party food disguised as a weeknight dinner.” I just call them a win.

“I honestly never thought I could make buffalo chicken that wasn’t a total mess. The air fryer method changed my game. My family says it’s better than any restaurant wings we’ve tried!” — Jess, parent and serial buffalo chicken fan

Air-Fried Buffalo Chicken

Expert recipe tips

Here’s the part where I spill secrets you only learn after screwing up a few times. Don’t crowd the air fryer basket—seriously, they need space or they won’t crisp (ask me how I know). If you want the breading extra-crispy, spray them lightly with oil before and halfway through cooking. And let that buffalo sauce cool just a bit before tossing, so it sticks instead of sliding off.

If you’re feeding picky eaters, set aside a few plain ones before saucing, and let the kids dip how they want (I learned the hard way after a mini-meltdown over “spicy stuff”). And listen, even if you overcook them—dip in extra blue cheese, nobody complains. It’s real-life kitchen stuff, not TV perfect.

Air-Fried Buffalo Chicken

What to Serve with Buffalo Chicken

This is where Air-Fried Buffalo Chicken shines as the star or plays the ultimate wingman (see what I did there?). If you’re after a quick spread, try these:

  • Celery sticks and carrot sticks, for that cool crunch (and pretending you’re healthy…ish)
  • Pile them onto a salad, drizzle with ranch, honestly tastes unreal
  • Stuff inside a wrap with lettuce and cheese for an easy lunch or dinner
Air-Fried Buffalo Chicken

Don’t forget to add a side of extra buffalo sauce—someone always asks for more heat. Or dip ‘em in blue cheese, I won’t judge.

Print

Air-Fried Buffalo Chicken

Crispy and flavorful Air-Fried Buffalo Chicken that’s easy to prepare and perfect for weeknight dinners.

  • Author: helth-recipe
  • Prep Time: 15 minutes
  • Cook Time: 12 minutes
  • Total Time: 27 minutes
  • Yield: 4 servings 1x
  • Category: Main Course
  • Method: Air Frying
  • Cuisine: American
  • Diet: Gluten-Free

Ingredients

Scale
  • 4 boneless chicken thighs
  • 1 cup buffalo sauce
  • 1 cup panko breadcrumbs
  • 2 eggs
  • ½ cup flour
  • 1 tsp garlic powder
  • 1 tsp ranch seasoning
  • Salt and pepper to taste
  • Oil spray for air frying

Instructions

  1. Slice the chicken into strips.
  2. Whisk eggs in one bowl and pour flour into another.
  3. In a third bowl, mix panko breadcrumbs with garlic powder, ranch seasoning, salt, and pepper.
  4. Dip chicken pieces into flour, then egg, and finally coat with the breadcrumb mixture.
  5. Place chicken strips in the air fryer and lightly spray with oil.
  6. Air fry at 400°F for 10-12 minutes, flipping halfway through.
  7. While cooking, melt butter with buffalo sauce.
  8. Once the chicken is crispy, toss with buffalo sauce before serving.

Notes

Don’t overcrowd the air fryer basket for maximum crispiness. Consider letting the buffalo sauce cool slightly before tossing to prevent it from slipping off the chicken.

Nutrition

  • Serving Size: 1 serving
  • Calories: 400
  • Sugar: 2g
  • Sodium: 800mg
  • Fat: 20g
  • Saturated Fat: 5g
  • Unsaturated Fat: 10g
  • Trans Fat: 0g
  • Carbohydrates: 35g
  • Fiber: 2g
  • Protein: 25g
  • Cholesterol: 100mg

Did you make this recipe?

Share a photo and tag us — we can't wait to see what you've made!


Air-Fried Buffalo Chicken

A crispy and flavorful air-fried buffalo chicken recipe that's easy to prepare and perfect for weeknight dinners.
Prep Time 15 minutes
Cook Time 12 minutes
Total Time 27 minutes
Servings: 4 servings
Course: Main Course
Cuisine: American
Calories: 400

Ingredients
  

Main Ingredients
  • 4 pieces boneless chicken thighs Thighs are recommended for extra juiciness.
  • 1 cup buffalo sauce Use Frank's for hotter flavor.
  • 1 cup panko breadcrumbs Panko gives better crunch than regular breadcrumbs.
  • 2 pieces eggs Used for coating.
  • ½ cup flour
  • 1 teaspoon garlic powder
  • 1 teaspoon ranch seasoning Optional, but recommended for flavor.
  • to taste salt and pepper To season.
  • oil spray for air frying To promote crispiness.

Method
 

Preparation
  1. Slice the chicken into strips.
  2. In one bowl, whisk the eggs. Pour the flour into another bowl.
  3. In a third bowl, mix the panko breadcrumbs with garlic powder, ranch seasoning, salt, and pepper.
  4. Dip chicken pieces into the flour, then the egg, and finally coat with the breadcrumb mixture.
Cooking
  1. Place chicken strips in the air fryer and lightly spray with oil.
  2. Air fry at 400°F for 10-12 minutes, flipping halfway through.
  3. While cooking, melt butter with buffalo sauce.
  4. Once chicken is crispy, toss with buffalo sauce before serving.
Notes

Don't overcrowd the air fryer basket for maximum crispiness. Allow buffalo sauce to cool slightly before tossing to prevent it from sliding off the chicken. Set aside plain strips for picky eaters.

Similar Posts

  • Honey Glazed Carrots: 7 Best Secrets for the Ultimate Side Dish

    Honey Glazed Carrots were the very first vegetable dish that made me stop, put down my fork, and truly appreciate the hidden sweetness inside a humble root. I remember being seven years old, standing in my grandmother’s kitchen, watching her toss orange discs in a pan until they shone like little jewels, and that memory…

  • 5-Minute Ultimate Sausage Egg and Cheese Breakfast Roll-Ups – A Must-Try Morning Delight!

    Introduction Sausage, Egg, and Cheese Breakfast Roll-Ups are a quick and tasty way to start your day. They are packed with protein and nutrients, making them a healthy choice for breakfast. You can easily make them in just a few minutes, and they are perfect for busy mornings. Why Make This Recipe This recipe is…

  • healthy Chocolate Chip Cottage Cheese Cookie Dough Bites

        Why You’ll Love This Recipe How to Make Tips for Making This Edible Cookie Dough How to Store Cookie Dough Substitutions & Notes Serving Suggestions Common Questions You Seriously Need to Try This Ever bite into something that looks all decadent and, you know, sinfully good, only to discover it’s actually healthy? Okay, I know, you’re skeptical. But stick with me. Healthy Chocolate Chip Cottage Cheese Cookie Dough Bites! These are my secret for satisfying sweet cravings on a random Tuesday night when I don’t wanna deal with the oven or a ton of cleanup. You get the creamy richness of cookie dough with better-for-you ingredients. And yeah, it actually works. Like, even my totally skeptical cousin asked for the recipe last weekend. Why You’ll Love This Recipe Alright, here’s the lowdown. First, these little bites are just so easy. No need to crank up the oven or wait hours—mix, chill, eat. Yes, for real. You’ll sneak in some protein (thanks, cottage cheese) and skip all that raw egg drama. If you’re worried about “cottage cheese taste,” don’t—it basically vanishes under the chocolate and vanilla. I make a stash on busy weeks since, honestly, they crush those midday snack cravings. Kids? They’ll never notice the healthy swap. Oh! And if you want a bite with your coffee, these don’t disappoint. They’re like your favorite chocolate chip cookie, but with that “Mom, did you go to a nutritionist?” kind of vibe. To top it off, no one ever believes you made them. I literally had a friend declare me “a five-star restaurant chef” (okay, that’s pushing it, but I’ll take the compliment). “I was super skeptical about using cottage cheese, but these bites are unreal! Can’t get enough. My kids demolished the whole batch in two days—no joke.” – Amanda, real-life cookie fiend   How to Make So let’s get into it. Honestly, just grab a food processor or a sturdy blender (if not, lots of elbow grease and a fork will do). Toss in your cottage cheese, a glob of nut butter (peanut, almond, whatever makes your heart happy), a splash of vanilla, and a bit of maple syrup. Blitz it till it’s totally smooth. Now, tip it into a bowl and fold in some almond flour (this gives the dough that real cookie texture) and a sprinkle of mini chocolate chips. If the dough feels a little sticky, add a touch more almond flour. Roll the mix into small balls—honestly, just scoop and pinch because there’s no exact science here. Pop ‘em in the fridge for half an hour so they’re firm. And that’s it! No turning on the oven, just pure instant gratification. Ingredient Amount Notes Cottage cheese 1 cup Full-fat for creaminess Nut butter 2 Tbsp Peanut or almond, both work Maple syrup 2 Tbsp Honey if you prefer Vanilla extract 1 tsp Real deal always best Almond flour ½ cup (plus more as needed) Add to reach desired doughiness Mini chocolate chips ¼ cup Dark or regular Tips for Making This Edible Cookie Dough Let me spill my secrets. First: always blend the cottage cheese really, really well. Like, no lumps—otherwise, your bites might be a little, well, funky textured. Next, use mini chocolate chips if you can. There’s just something magical about tinier chips that make every bite chocolatey and even. If you want a softer dough (hey, I get it), go a little lighter on almond flour. Too dry? Add just a hint more nut butter, but not too much. I’ve gone through that gooey mess. You don’t want to be eating it with a spoon. Chill the dough for at least thirty minutes before forming balls. Warm dough sticks everywhere. Trust me, I’ve been there, and it’s annoying.   How to Store Cookie Dough Storage is, honestly, the easiest part. Throw your bites in a tightly sealed container. I like to use those weird mismatched Tupperware lids everyone somehow collects (if you know, you know). Pop them in the fridge and they’ll last all week. Sometimes longer. But let’s be real—they’ll be gone before day four if you have snacky people around. If you’re prepping way ahead? Throw them in the freezer. Just thaw a bit before you wanna snack, or risk a chipped tooth, ha. Substitutions & Notes Alright, here’s where you get to play. Not a fan of almond flour? Oat flour works in a pinch, just has a slightly heartier taste. No maple syrup at home? Honey is totally fine, or agave for my vegan pals. Dairy-free? Easy. There are vegan cottage cheese brands now (ask me how shocked I was the first time I spotted a tub). Or swap out the nut butter for sunbutter if you need nut-free. Just don’t skip the vanilla—seriously, it does everything to make this dough taste like a cookie miracle. One batch, endless ways. Serving Suggestions…

  • Brown Sugar Glazed Carrots: 7 Delicious Secrets for the Ultimate Side Dish

    Brown Sugar Glazed Carrots start with a promise of warmth, transforming a humble root vegetable into something that tastes like a celebration. When I launched HelthRecipe, my goal was to share dishes that feel like a hug, and this recipe is straight from the days I spent tugging on my grandmother’s apron strings, waiting for…