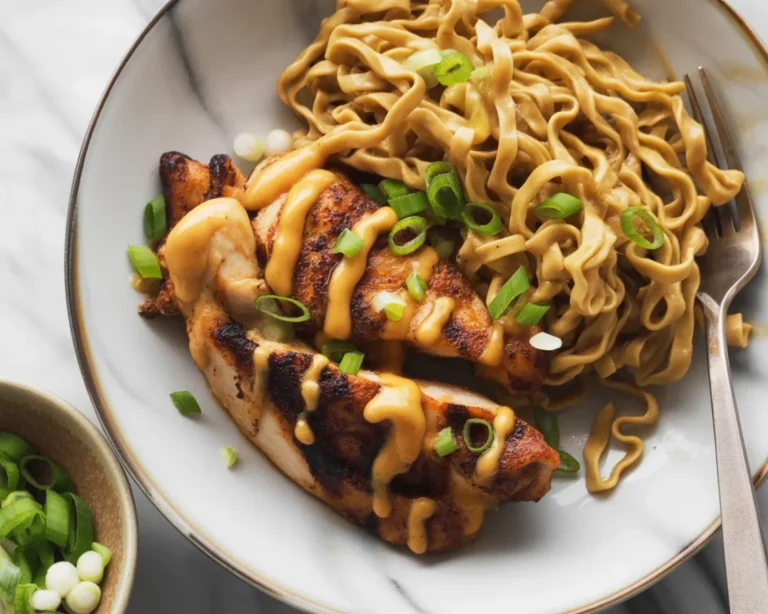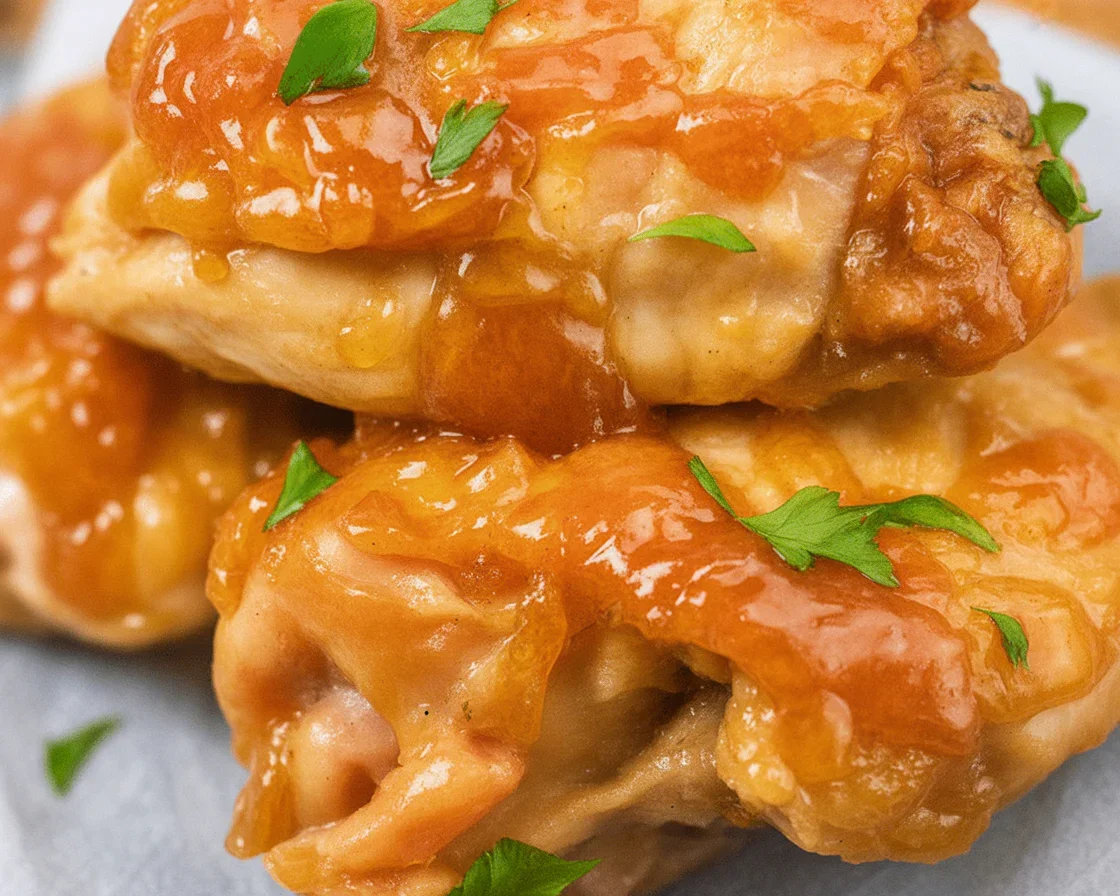
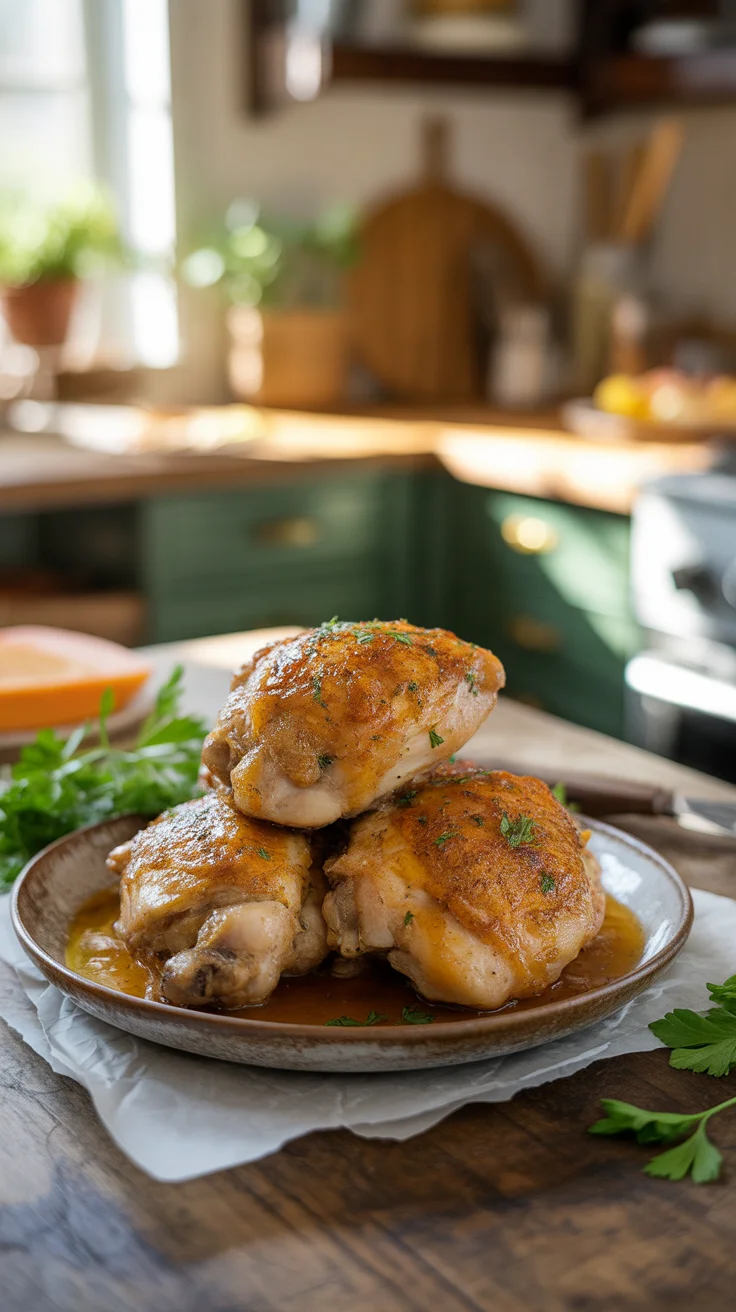
Sweet and Savory Air Fryer Apricot-Glazed Chicken Breasts
Air Fryer Apricot-Glazed Chicken Breasts is my go-to whenever plain old chicken is just… not doing it for me. (Which is often, honestly.) You know those evenings when you open the fridge and stare, basically hoping inspiration jumps out at you?
Yep, this recipe showed up one night just like that, and it basically changed how I feel about boneless chicken. Simple, sweet, and a little tangy. Plus, y’all—almost no cleanup!
Why You’ll Love This Recipe
I swear, every time I make apricot-glazed chicken in the air fryer, it feels like cheating. It’s so fast, and the chicken actually stays juicy, not like that dry disappointment I remember from my old oven tries. The glaze? Sticky and delicious.
I don’t know how apricots and chicken became such a dream duo, but I’m not arguing with it. This thing tastes like I got takeout at some five-star restaurant, and it’s on the table in not much more than 20 minutes.
Friends have asked me, “Is the glaze store-bought?” Nope, and I’ll never tell if you use some right from the jar, either. The air fryer gives it a magic touch—kind of caramelized, kind of charred (in a good way). It’s one of those meals that looks like you worked harder than you did, which is basically my life philosophy. If you need something tasty, quick, and with minimal stress, this might be your new favorite.
Air Fryer Apricot-Glazed Chicken Breasts
How to Make Air Fryer Apricot Glazed Chicken
Alright, let’s get to the nitty-gritty. First, make sure you have your air fryer, obviously. I usually start with skinless chicken breasts for this. Pat them dry, then give them a quick seasoning—salt, pepper, maybe a pinch of garlic powder if you’re feeling wild. Mix up some apricot jam (a big spoonful), a splash of soy sauce, and a little Dijon mustard in a bowl. That’s the glaze—told you it was easy.
Now, brush the chicken with some glaze before you even pop it in the air fryer. Cook at 380°F (that’s about 195°C if you’re international) for ten minutes. Flip, brush with more glaze (don’t skimp, seriously), then do another five to eight minutes, depending on how thick your chicken is. I poke mine with a thermometer, but if I’m lazy I’ll just slice the thickest part to check. You want it juicy, not raw.
Let it rest a few minutes unless you like burning your mouth. Glaze will get all sticky and glorious. Done. Serve right away!
“I’ve never had chicken come out so flavorful and moist. The air fryer makes it impossible to mess up, and the apricot glaze is a total gamechanger for weeknights!”
— Jamie L., real-life dinner hero
Air Fryer Apricot-Glazed Chicken Breasts
Variations
Okay, so here’s the thing: this apricot glaze isn’t married to chicken breasts. Trust me, I’ve dabbled. Sometimes I swap in chicken thighs, even boneless pork chops if I’m feeling spicy. They all come out so good, just adjust the cooking time by a few minutes. If you want to add a hint of heat, a pinch of red pepper flakes in the glaze won’t hurt anyone. Or zap a little grated ginger in there if you love that zingy, fresh flavor.
Don’t have apricot jam? Peach or orange marmalade totally works. My neighbor swears by adding a little balsamic for depth (she’s right—it’s wild how good it is). You can even grill this instead if you want, just keep the basting going. Basically, don’t be shy about tweaking.
Air Fryer Apricot-Glazed Chicken Breasts
Tips
Let me hit you with the stuff I wish I knew sooner. First, don’t skip drying your chicken with paper towels. It helps the glaze stick, which is honestly half the magic. Also, keep your air fryer basket from getting sticky mess everywhere by spraying it a bit; makes cleaning so much easier. (Learned that the sticky-fingered way.)
If you’re doubling the recipe (as you should), do batches so everything cooks evenly. I know, it’s annoying, but overcrowding means sad, limp chicken. Lastly, let that chicken rest for just a couple minutes after you cook it—you know, let the juices hang out inside. You’ll thank me.
Air Fryer Apricot-Glazed Chicken Breasts
Serving Suggestions
Here’s how I usually plate it up:
- Slice the chicken and pile over fluffy jasmine rice.
- Add steamed green beans for crunch.
- Spoon extra apricot glaze over everything for max flavor.
- Sprinkle chopped toasted almonds if you’re feeling fancy, or if you just need some crunch.
Honestly, if you want to make it a total meal, toss a simple salad together while the air fryer does the heavy lifting.
Air Fryer Apricot-Glazed Chicken Breasts
Storage
If you’ve got leftovers (I usually don’t, but in theory), pop them in an airtight container. They’ll keep in the fridge about three days. The glaze thickens up, but a little microwave action brings it right back. I sometimes chop it up cold for a salad topping—it’s surprisingly satisfying. Just don’t freeze it, the texture gets a little weird for me.
Give this recipe a try when you need dinner to be something fun—without a ton of fuss. If you discover a new variation or trick, tell me! I’m always lurking for the next best apricot-glazed chicken idea.

Air Fryer Apricot-Glazed Chicken Breasts

Succulent air fryer chicken breasts glazed with a sweet and tangy apricot sauce, ready in under 30 minutes with minimal cleanup.
- Prep Time: 10 minutes
- Cook Time: 15 minutes
- Total Time: 25 minutes
- Yield: 4 servings 1x
- Category: Main Course
- Method: Air Frying
- Cuisine: American
- Diet: Poultry
Ingredients
- 4 skinless chicken breasts
- 1/2 cup apricot jam
- 2 tablespoons soy sauce
- 1 tablespoon Dijon mustard
- Salt, to taste
- Pepper, to taste
- Garlic powder, optional
Instructions
- Pat chicken breasts dry and season with salt, pepper, and garlic powder (if using).
- In a bowl, mix apricot jam, soy sauce, and Dijon mustard to create the glaze.
- Brush chicken with the glaze before placing it in the air fryer.
- Cook at 380°F (195°C) for 10 minutes.
- Flip the chicken, brush with additional glaze, and cook for another 5-8 minutes, checking the internal temperature to ensure it’s juicy and cooked through.
- Let chicken rest for a few minutes before serving to allow juices to redistribute.
Notes
Consider swapping chicken breasts for thighs or pork chops. Add red pepper flakes for heat or use other jams like peach or orange.
Nutrition
- Serving Size: 1 serving
- Calories: 350
- Sugar: 20g
- Sodium: 600mg
- Fat: 12g
- Saturated Fat: 2g
- Unsaturated Fat: 8g
- Trans Fat: 0g
- Carbohydrates: 32g
- Fiber: 0g
- Protein: 38g
- Cholesterol: 75mg

Air Fryer Apricot-Glazed Chicken Breasts
Ingredients
Method
- Pat chicken breasts dry and season with salt, pepper, and garlic powder (if using).
- In a bowl, mix apricot jam, soy sauce, and Dijon mustard to create the glaze.
- Brush chicken with the glaze before placing it in the air fryer.
- Cook at 380°F (195°C) for 10 minutes.
- Flip the chicken, brush with additional glaze, and cook for another 5-8 minutes, checking the internal temperature to ensure it’s juicy and cooked through.
- Let chicken rest for a few minutes before serving to allow juices to redistribute.