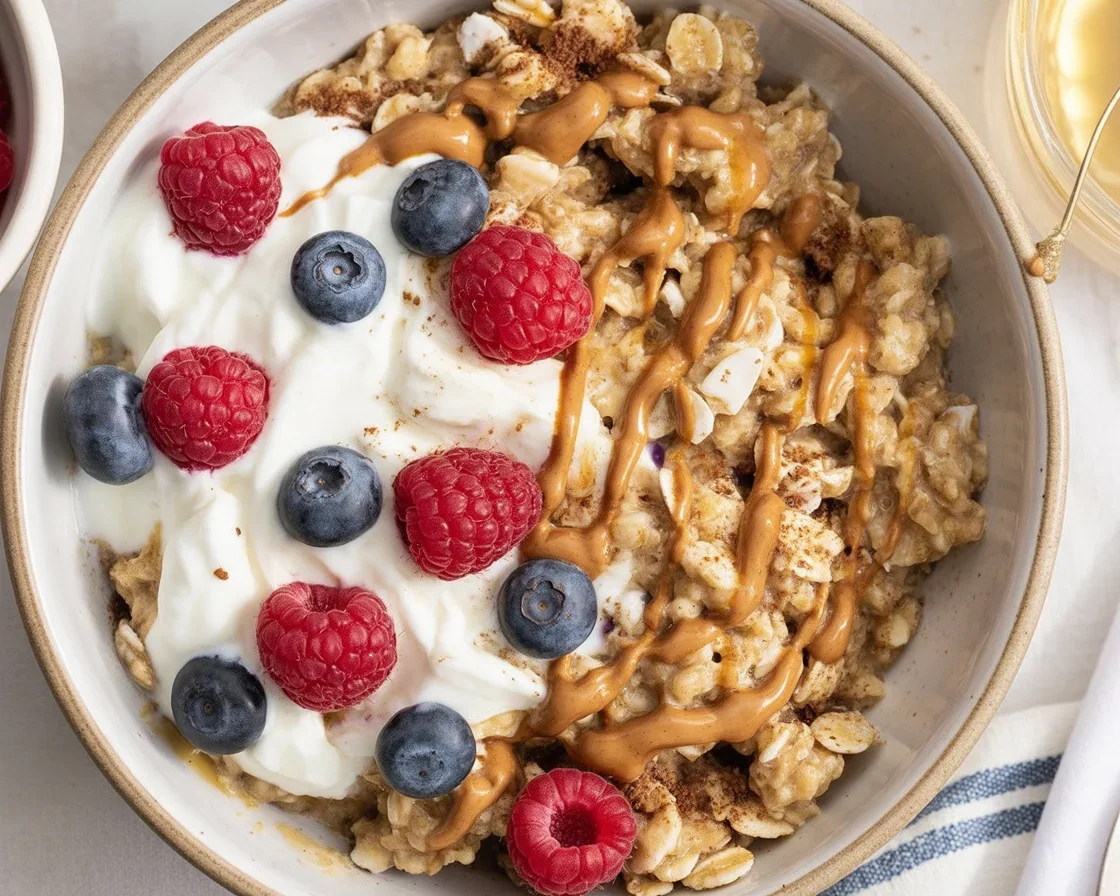
Delicious scrambled oats topped with banana and cinnamon, ready to serve.

Scrambled Oats Recipe

Ever stared at your bag of oats, thinking… “Ugh, not porridge again?” Trust me, I’ve been there, grumpy and bored before breakfast. Scrambled Oats Recipe is my absolute favorite trick for when mornings need a shake-up, but I still want something healthy (or, at least, not a sugar-loaded donut—tempting as it is).
Scrambled Oats Recipe

It’s ridiculous how easy this is. Also, you can basically throw in whatever you have on hand. If you like easy things that taste freakishly good, you might also check these other brilliant ideas for breakfast and more. Anyway, let’s get into this hero oat dish.

Why You’ll Love This Recipe

First of all, this scrambled oats recipe is straight-up awesome for lazy cooks. You don’t need fancy gadgets or any of those weird ingredients you have to Google at the store. Plus, it’s ready in like, ten minutes—sometimes less if you’re feeling speedy (or crazy hungry).
It works for breakfast, lunch, or honestly, one of those “Oops, it’s 9 PM and I forgot dinner” moments. The leftovers keep fine for a couple of days. Also, you can pack it for those office runs, and it holds well in a thermos.

Something I hear a lot from friends: “But do oats even taste good cooked like that?” Yes. With some seasoning and a bit of creativity? You’ll start craving this stuff.
Real talk: it feels like a five-star restaurant brunch, even though it’s literally just oats.
One time, my husband couldn’t even tell it was oats! He thought I made some new, trendy scrambled egg dish.

Scrambled Oats Recipe

What Are Scrambled Oats?

Okay, so “scrambled oats” (if you’re scratching your head) aren’t like the gloppy oatmeal most of us secretly resent.
Instead, you’re taking good ol’ rolled oats, mixing them up with egg, a splash of milk, and cooking them in a frying pan.
They get a fluffy, almost cheesy texture. Seriously, it’s wild—much lighter than porridge, but waaaay more satisfying than plain eggs.

You can go sweet or savory, and honestly, there are no rules.
The name just means you scramble them in a skillet, kind of like scrambled eggs, but the oats soak up flavor and get all toasty.
That gentle crisp on the edge? Chef’s kiss. You’ll want to make it every weekend.

“Never would’ve guessed oats could taste like this until I tried it. My picky kid even went back for seconds. Scrambled oats have now earned a spot in our weekly lineup!” — Sarah, fellow oat skeptic turned superfan

Scrambled Oats Recipe

Tips for Making Scrambled Oats

Alright, here’s some straightforward wisdom from a person who’s burned oats (and pride) more times than I’ll admit. Use a nonstick skillet if you have one, otherwise—have fun scrubbing.
Let your oats soak with the egg and milk for a couple minutes before hitting the pan. This softens them, so they get creamy but not mushy.

Don’t crowd your pan; it should be one thin layer, not a mountain.
High heat? Nope, keep it medium or they’ll go from dreamy to “crunchy campfire fail.”
Want to make it richer or dairy-free? Toss in Greek yogurt or go wild with your favorite nut milk!

Scrambled oats are crazy forgiving. If you add a little too much liquid—just cook it a bit longer.
Oh, and if you like your oats extra crispy, let them sit for a minute before stirring, so some bits get golden (but not burnt).
Trust me, practice once and you’ll nail it the next time.

Scrambled Oats Recipe

How to Make Scrambled Oats

Alright, don’t blink or you’ll miss it.
Here’s what you need:

  • 1/2 cup rolled oats
  • 2 eggs
  • Splash of milk (dairy or non-dairy—no oat milk unless you really, really love oats)
  • Pinch salt and pepper
  • Cooking spray or oil

Directions:
Crack the eggs into a bowl. Add oats, splash of milk, salt, and pepper.
Stir together—if you want, throw in a handful of shredded cheese or chopped veggies right here.

Heat a nonstick skillet on medium. Lightly spray or oil the pan.
Pour the oat mixture in.
Wait about 30 seconds, then, using a spatula, scramble just like eggs. Push, flip, let some oats sit and brown.

After about 3-4 minutes, most of the liquid is gone and you’ve got fluffy, golden scrambled oats.
Remove from heat, taste, maybe add some more seasoning if you’re feeling wild. Done.

Scrambled Oats Recipe

Topping Ideas

Okay, this is where things get out of control—in a good way.
Here are my favorite ways to dress things up:

  • Try a big dollop of Greek yogurt or a spoonful of salsa for some zing.
  • Chopped bacon, or scallions if you want a savory punch (bacon is always a winner).
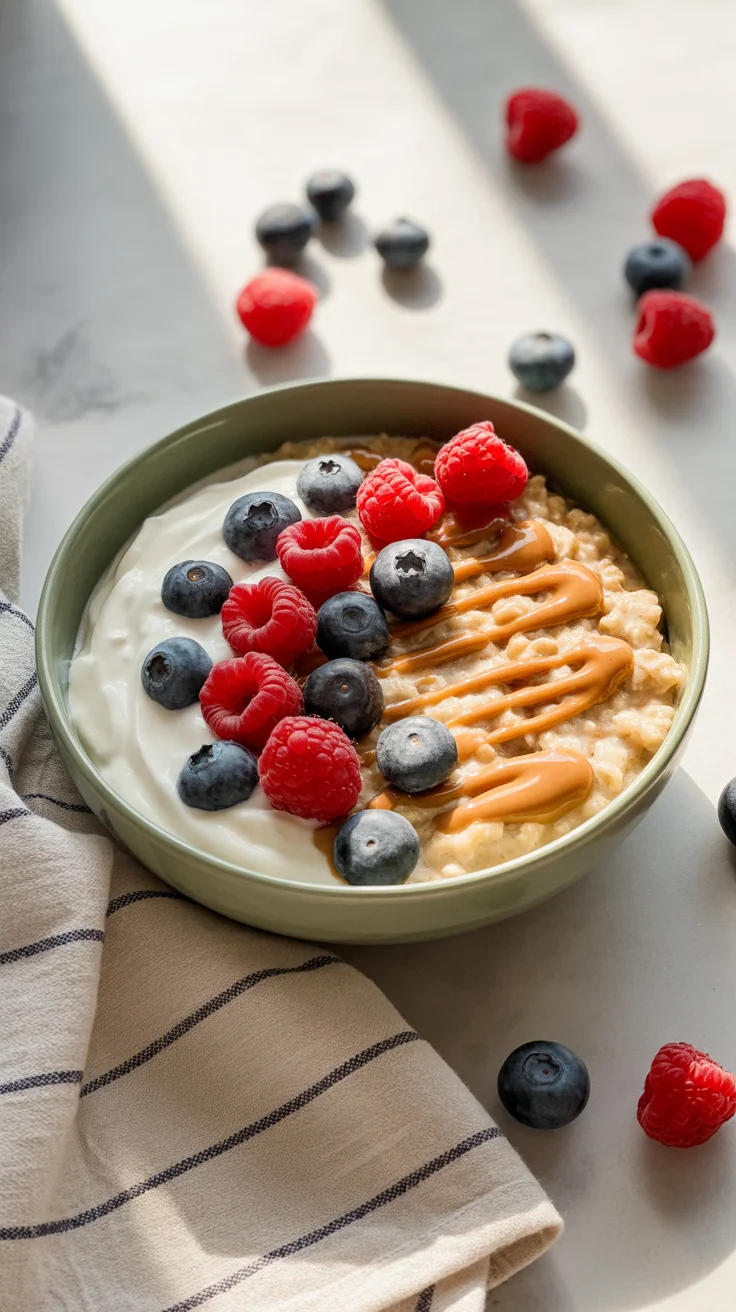
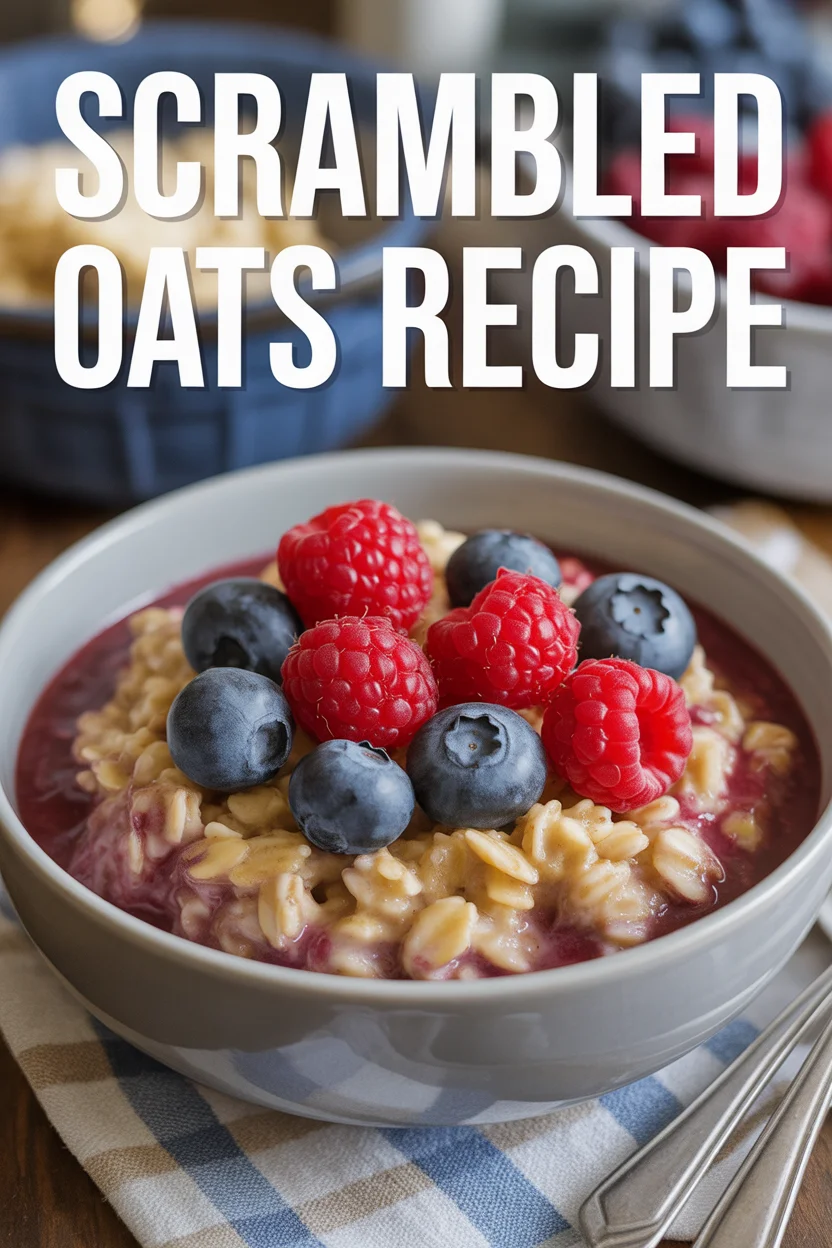
  • For something sweet, add berries, honey, or a dusting of cinnamon.
  • A sprinkle of nuts or seeds for crunch is never a bad idea.

Just pile it all on, honestly. My kids go nuts for sliced bananas and peanut butter on top!
If you’re more into savory breakfasts, leftover roasted veggies or shredded cheese work like a dream.
Scrambled Oats Recipe

Okay, if you made it this far, you’re definitely ready to try my go-to breakfast fix. The stuff is simple, fast, and weirdly fun to customize. Scrambled oats aren’t some stuck-up “health food”—they taste amazing and keep me full until lunchtime (which rarely happens with regular toast).
I’ve even tried a few random hacks I found on TikTok, and yeah, this classic version beats almost all of them. Got picky eaters? Mix it up with fun toppings, and they’ll forget it’s healthy. By the way, for other quick and creative meals that pack big flavor, check out these 10 best camping meals easy and simple recipes for outdoor adventures.

Scrambled Oats Recipe

If you’re looking to experiment more or just want another take, the viral Scrambled Oats (Viral TikTok Recipe) – Eating Bird Food version is another solid option.
Now get scrambling—let me know if you try something wild, or if you just end up eating it, plain and proud.

Scrambled Oats Recipe

Scrambled Oats

A quick and easy breakfast treat that transforms boring oats into a delicious and fluffy dish, great for mornings or any time of day.
Prep Time 5 minutes
Cook Time 4 minutes
Total Time 9 minutes
Servings: 2 servings
Course: Breakfast, Brunch
Cuisine: American
Calories: 350

Ingredients
  

Main Ingredients
  • 1/2 cup rolled oats
  • 2 pieces eggs
  • 1 splash milk (dairy or non-dairy) Avoid oat milk unless preferred.
  • 1 pinch salt
  • 1 pinch pepper
  • as needed cooking spray or oil For greasing the pan.

Method
 

Preparation
  1. Crack the eggs into a bowl. Add oats, splash of milk, salt, and pepper.
  2. Stir together—if desired, throw in a handful of shredded cheese or chopped veggies.
Cooking
  1. Heat a nonstick skillet on medium. Lightly spray or oil the pan.
  2. Pour the oat mixture in.
  3. Wait about 30 seconds, then scramble the mixture as you would with eggs—push, flip, and let some oats sit and brown.
  4. After about 3-4 minutes, most of the liquid should be gone, leaving fluffy, golden scrambled oats.
  5. Remove from heat, taste, and adjust seasoning if necessary. Serve immediately.
Notes

For topping ideas, try Greek yogurt, salsa, bacon, scallions, berries, honey, nuts, or any leftover veggies. Customize it as per your liking.

Similar Posts

  • Banana Blueberry Baked Oatmeal

      Why I’m Obsessed with Banana Blueberry Baked Oatmeal What You’ll Need For Banana Blueberry Baked Oatmeal How To Make It — My No-Stress Steps Serving Suggestions: How I Make Mine Extra Table: Quick Stats & Need-to-Know Facts Real People Love It Common Questions A Breakfast Worth Waking Up For Ever wake up craving breakfast that’s healthy but also feels a little extra? Banana Blueberry Baked Oatmeal totally gets the job done. You get this cozy, fruity hit from bananas and blueberries, but also big-time oats to keep you full. Oh, and it’s crazy easy to throw together. Like, you could probably make it half-awake (speaking from experience). This recipe saved me on busy mornings more times than I’d admit.   Why I’m Obsessed with Banana Blueberry Baked Oatmeal I honestly didn’t mean to fall in love with Banana Blueberry Baked Oatmeal. At first, I just wanted something I could meal-prep and microwave later—because who has time to cook fresh every day? Then I tasted it. Wow. The bananas get all caramel-y and sweet, almost like dessert. The blueberries pop (sometimes literally) and make everything juicy. That combo feels fancy but trust me, it’s the total opposite of high-maintenance. Make it for brunch, make it for weekday breakfast, even take it on picnics—this stuff is like a breakfast Swiss Army knife. I’ve made it so many times I eyeball the ingredients now. Honestly, my kids fight over the last piece. That’s when you know it’s good. What You’ll Need For Banana Blueberry Baked Oatmeal Okay, here’s what goes in it. I keep these ingredients stocked now, since Banana Blueberry Baked Oatmeal is a regular ask: Rolled oats: Old-fashioned ones work best Overripe bananas: Like, practically brown. The mushier, the better Fresh or frozen blueberries: Both do the trick Milk (dairy or not, your call) Eggs A splash of vanilla Some maple syrup (or honey) Baking powder Cinnamon, if you’re fancy Pinch of salt Toss all that in, and you’re basically guaranteed breakfast success. How To Make It — My No-Stress Steps I’ll be real: even if you mess up, Banana Blueberry Baked Oatmeal kinda forgives you. Here’s how I do it: First, mash your bananas in a big bowl. It’ll look messy. That’s fine. Whisk in the eggs, milk, maple syrup, and vanilla until you have a gloppy (kinda gross-looking, but trust me) soup. Dump in the oats, cinnamon, baking powder, and salt. Stir well—really scrape that bowl. Fold in the blueberries. If some of them smash, that’s even better. Swirly blue streaks look cool. Pour this into a greased baking dish. I like mine deep (for thick slices). Bake until the top looks a little golden and the middle isn’t wobbly. Usually about 35 minutes, but check your oven—it has a mind of its own sometimes. Let it cool a bit unless you enjoy burning your tongue (I never learn). Serving Suggestions: How I Make Mine Extra Drizzle extra maple syrup on top. Because, duh. Dollop some Greek yogurt or whipped cream on your Slice if you’re feeling wild. Have it cold from the fridge or warmed up in the microwave—the texture is different but good both ways. Toss on some chopped nuts for crunch (pecans make it feel five-star restaurant level).   Table: Quick Stats & Need-to-Know Facts Here’s a super simple look at Banana Blueberry Baked Oatmeal: Aspect Detail Why It Matters Tips Prep Time 10 minutes Super quick, even on Mondays Mash bananas ahead Bake Time 35 minutes Hands-off; tidy up while it bakes Use toothpick to check doneness Servings 6-8…

  • Greek Yogurt Lemon Blueberry Pancake Bites

    Why Greek Yogurt Lemon Blueberry Pancake Bites Are The Ultimate Breakfast Hack How To Make Greek Yogurt Lemon Blueberry Pancake Bites Serving Suggestions: Pump Up The Pancake Bites My Actual Experience (Messy Kitchen Edition) Common Questions Ready For A Breakfast Glow-Up? Greek Yogurt Lemon Blueberry Pancake Bites have basically rescued my morning routine more than once. There’s just something about craving a pancake breakfast but hating the whole flipping and babysitting-the-pan thing. Maybe you know the struggle too. Mini pancake bites? Way less drama. These things are bright, poppable, and honestly? They feel a little fancier than cereal but way less work than full-on pancakes. this … Why Greek Yogurt Lemon Blueberry Pancake Bites Are The Ultimate Breakfast Hack Alright, real talk. I used to skip breakfast. Always running late, or leaving the house with just coffee. Then these Greek Yogurt Lemon Blueberry Pancake Bites showed up in my life. They’re soft, a little tangy, fruity—but they’re not like dessert-for-breakfast sweet. The Greek yogurt keeps them super moist and gives a bit of protein too, so I don’t get that carb crash. Plus, I can make a whole batch ahead of time. The first time I brought a baggie to work, I felt like I’d hacked breakfast. You get the lemon, that zing, plus blueberries in every bite. Don’t even get me started on how good they smell. I’d argue these are way easier (and tastier!) than standing by a stove, waiting for each pancake to bubble. How To Make Greek Yogurt Lemon Blueberry Pancake Bites Getting these babies in the oven is honestly not rocket science. You’ll need a mixing bowl, a muffin pan (mini or regular, whatever you’ve got), and…that’s it. Start with your favorite pancake mix as a base if you’re short on time. In a bowl, mix together the following: Greek yogurt (I use plain, but I’ve done vanilla in a pinch and it’s awesome) An egg (this helps things stick; don’t skip it) A dash of vanilla extract, for the cupcake-y vibes Freshly squeezed lemon juice and a little zest for extra zing Blueberries (fresh is magical, but frozen works—don’t even sweat it) Once the batter’s done, just spoon it into the muffin tin and pop in the oven (I usually set it to 350°F). Bake about 12-15 minutes, until the tops are golden. Sometimes mine look a little wonky on top, but that’s just pancake personality. Ingredient What It Adds Swaps Pro Tip Greek Yogurt Moisture & protein Plain yogurt Thicker yogurt = fluffier bites Lemon Zesty flavor Lime Zest first, then juice Blueberries Sweet, juicy pops Raspberries Dust with flour to stop sinking Serving Suggestions: Pump Up The Pancake Bites Let’s be honest, Greek Yogurt Lemon Blueberry Pancake Bites taste amazing fresh from the oven. But if you want to jazz them up, here you go: Dip them in maple syrup for dessert-vibes Toss them in a lunchbox for a sweet surprise Freeze extras and pop them in the microwave for a busy day You can also crush some with a fork, add a dollop of extra Greek yogurt, and call it a deconstructed parfait if you’re feeling extra. My Actual Experience (Messy Kitchen Edition) So, here’s the honest scoop. The first time I made Greek Yogurt Lemon Blueberry Pancake Bites, I totally overfilled the muffin cups. Half the batch puffed up wild, like little volcanoes. My kitchen smelled like Sunday brunch at a fancy B&B, though, and that kind of made up for the mess. The flavor? Legit. Zingy lemon hits first, then the blueberry pops bring it all together with the creamy background from the yogurt. These don’t last more than a day at my house—my sister snags them before I can even pack lunch. “These are so good, I started making them for my kids’ breakfast, and now my husband takes them for his coffee break too. Minimal mess, major win—thanks for sharing!” – Lara, real-life reader and pancake-bite convert Common Questions Q: Can I use flavored Greek yogurt? A: Yes! Strawberry or vanilla Greek yogurt is delicious. Just watch out for extra sweetness. Q: What if I don’t have fresh lemons? A: Use bottled lemon juice. Not as bright, but hey, it gets the job done. Q: Will these work with gluten-free flour? A: Absolutely. I’ve swapped in gluten-free mix and the bites came out puffy and soft. Q: Can I freeze these little bites? A: You bet. They reheat so well. Just zap them in the microwave for 20 seconds. Q: My blueberries sink to the bottom. Any fix? A: Toss them in a bit of flour before mixing in. Old baker’s trick, easy win. Ready For A Breakfast Glow-Up?…

  • Pandan Ice Cream: 7 Best Secrets to Crafting This Vibrant Tropical Delight

    Pandan Ice Cream is the ultimate summer escape, bringing the vibrant energy of a tropical breeze right into your sun-drenched kitchen. Welcome to the kitchen, friends—it is wonderful to have you here at HelthRecipe for this mindful culinary journey centered around our favorite Pandan Ice Cream. When the summer heat rises, making this beautiful Pandan…

  • Chia Seed Pudding and Greek Yogurt: 7 Delicious Combinations for a Power-Packed Breakfast

    Welcome to Helth Recipe! We’re excited to share some fantastic healthy breakfast ideas that will revolutionize your mornings. If you’re looking for a meal that’s both nutritious and delicious, look no further than chia seed pudding and Greek yogurt. This dynamic duo offers incredible benefits, making it a perfect start to any day. Prepare yourself…

  • healthy Orange Scones

    Why You’ll Fall for These Orange Scones The Simple Ingredients You Actually Need Step-By-Step: Bringing Orange Scones to Life Serving Suggestions To Level Up Common Questions Go On, Make Your Mornings Way Less Boring Orange Scones are kinda magical when you want something quick for breakfast, but also wanna trick your brain into thinking you’re at a five-star restaurant. Ever drag yourself outta bed and just want a treat to make the day less… meh? Yep, been there. I actually started making these because regular scones got way too boring and, okay, my neighbor wouldn’t stop bragging about her “famous” lemon version. Orange scones hit different. Seriously, that citrusy thing going on is just—wow. If you’re tired of sad donuts or cold cereal, let’s get you sorted out right here.   this … Why You’ll Fall for These Orange Scones Listen, nobody wants a dry, crumbly brick on the plate. The whole idea is to get a scone that’s bright and soft on the inside, with just a hint of gold crunch outside. These orange scones are super easy, too. I’m not just saying that—real talk, my thirteen-year-old cousin bakes them without setting off the smoke alarm. You don’t need a mixer. You don’t even need fancy tools. Mixing with your hands is cool (honestly, it’s kinda therapeutic). The burst of orange makes the kitchen smell like living inside a fruit basket. Sometimes I toss in a handful of chocolate chips, but don’t tell the purists. Go wild with the zest. I always say, “More zest, more best!” There’s science somewhere about citrus making you happy—I say just trust the process.   The Simple Ingredients You Actually Need Here’s the best part: most of this stuff’s already hanging out in your kitchen right now. Really. You’ll need: All-purpose flour—yep, nothing fancy Cold butter (don’t you dare soften it) White sugar and a little pinch of salt (don’t skip this) A juicy orange (zest and juice both, please) Milk or cream (either’s fine—don’t overthink) Baking powder for the puff Maybe an egg, if you’re feelin’ extra Mix this all up and try not to eat the dough raw. Old habits die hard.   Step-By-Step: Bringing Orange Scones to Life First thing, crank up your oven. You want it hot—about 400°F. While it’s preheating, grab a big bowl. Dump in your flour, sugar, baking powder, and salt. Now toss those cold, cubed butter pieces in. Cut them in with your fingers or a pastry cutter, and don’t stress if a few chunks are bigger. Grate in all that lovely orange zest (seriously, let’s not be stingy). Pour in juice and milk (I splash both instead of measuring). If you’re using an egg, whisk and add now. Stir until just combined. Don’t you dare overmix. Plop dough on a floured counter, pat into a messy round disk (about an inch thick), and slice it like a pizza. The rougher the cut, the more rustic and bakery-looking. Set on a sheet lined with parchment. Brush tops with more milk (makes ’em golden). Bake 13-15 minutes till just lightly brown. Let cool for a hot second before eating so you don’t burn your tongue (again… it happens, trust me).   Serving Suggestions To Level Up Top with orange glaze or drizzle with melted chocolate if feeling snazzy. Serve warm with real butter—never margarine, come on now. Toss leftovers in the toaster next morning for a crispy redo. Pair with strong coffee or black tea to cut the sweetness. Common Questions Can I make orange scones ahead of time? Absolutely! I usually bake extra and freeze a few. Just let ’em cool first, then wrap tight. Reheat in oven for a just-baked feel. What if I only have mandarins or clementines? No problem. Go for it. The flavor will be a titch sweeter, but honestly, you might like that better. How do I stop them from being too dry? Don’t overmix the dough and make sure your butter is cold. A little drizzle of extra cream on top before baking never hurts. Do I need a glaze? Nope! I’m team “depends on my mood.” Sometimes a broken scone and a pat of butter is all you need. But a simple orange-powdered sugar glaze makes them café-level. Can I use store-bought orange juice? Eh. Sure, if you’re in a pinch. But fresh is way, way better. You’ll notice the zing. I’ve tried probably fifteen recipes, but this one? Perfection. My husband asked if I bought them from that expensive bakery down the street. Nope, just my own two hands! – Dani M., Vermont…