Irresistible Gooey Topping Cake Recipe: 5-Star Classic Dessert Lovers
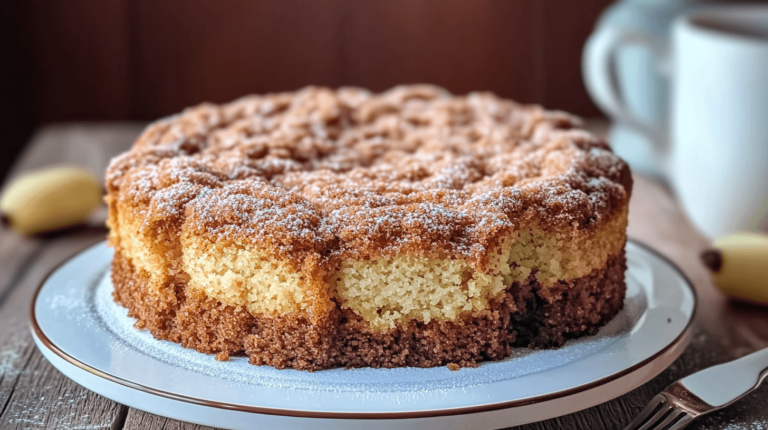
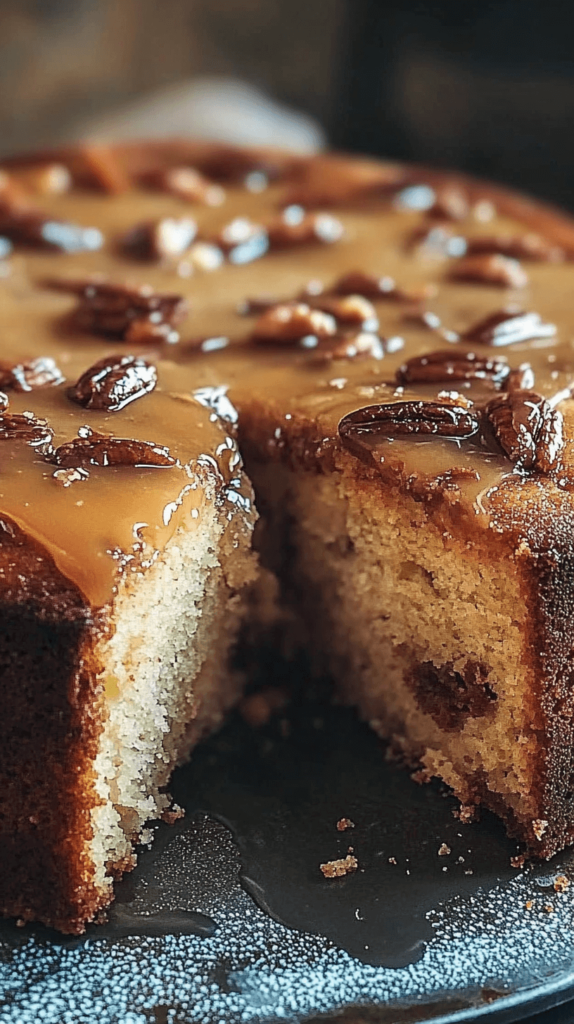
If you’ve ever craved a dessert that melts in your mouth and leaves you wanting more, this Gooey Topping Cake is the answer. Rich, sweet, and bursting with texture, this cake is layered with a luscious, sticky topping that takes it to another level. Perfect for celebrations or cozy nights in.
Table of Contents
Ingredients You’ll Need
For the Cake Base:
- 1 box yellow cake mix (or your favorite homemade yellow cake batter)
- 1/2 cup (1 stick) unsalted butter, melted
- 2 large eggs
For the Gooey Topping:
- 1 (8 oz) package cream cheese, softened
- 2 large eggs
- 1 tsp vanilla extract
- 1/2 cup unsalted butter, melted
- 4 cups powdered sugar
Instructions to Make the Gooey Topping Cake
Step 1: Prepare the Oven and Pan
Preheat your oven to 350°F (175°C). Grease a 9×13-inch baking dish or line with parchment paper for easy removal.
Step 2: Mix the Cake Base
In a mixing bowl, combine the cake mix, melted butter, and eggs. Stir until well blended. Press the mixture evenly into the bottom of the prepared pan.
Step 3: Make the Gooey Topping
In another bowl, beat together the cream cheese until smooth. Add eggs one at a time, then mix in the vanilla extract and melted butter. Slowly add the powdered sugar and beat until creamy and well-combined.
Step 4: Assemble the Cake
Pour the gooey topping over the cake base, spreading it evenly.
Step 5: Bake
Bake for about 40–45 minutes. The center should be slightly jiggly when done — don’t overbake! You want that soft, gooey texture.
Step 6: Cool and Serve
Let the cake cool completely before slicing. The topping will firm up slightly as it cools but remain deliciously gooey.
Tips for the Perfect Gooey Topping Cake
- Don’t skimp on the powdered sugar — it’s the key to that sweet, gooey finish.
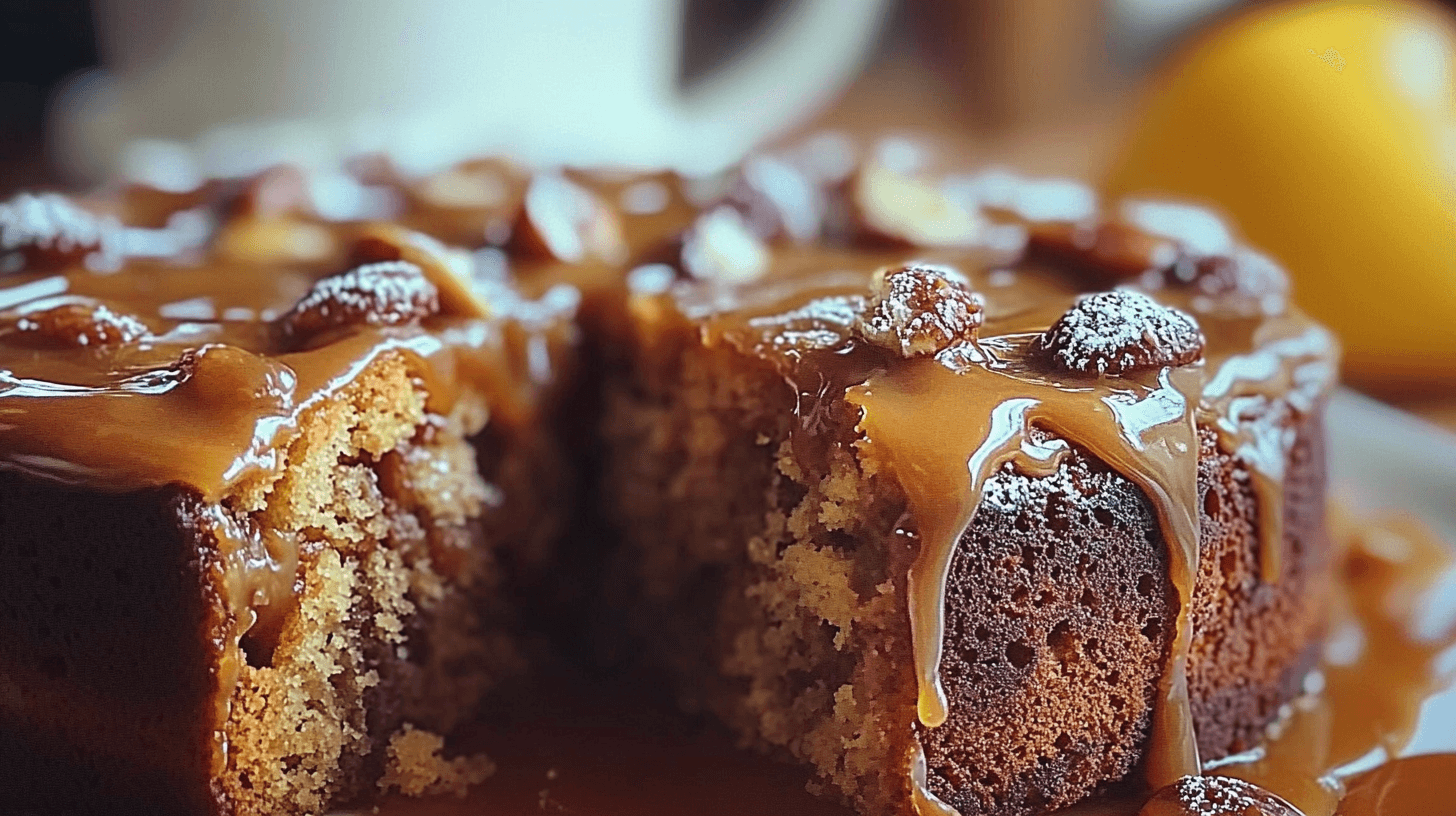
- For a twist, try adding chopped pecans or chocolate chips to the topping.
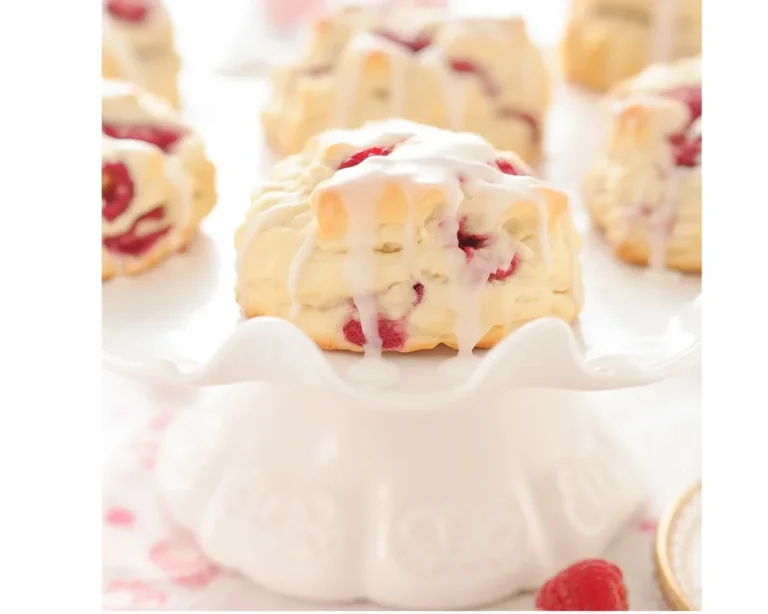
- Want to make it festive? Swirl in a bit of raspberry or strawberry jam before baking.
Storage and Serving Suggestions
This cake is best served at room temperature or slightly warm. Store leftovers in an airtight container at room temperature for up to 3 days or refrigerate for up to a week. Reheat in the microwave for a few seconds for that fresh-baked gooey feel.
More Variations to Try
- Chocolate Gooey Cake: Use chocolate cake mix and add cocoa powder to the topping.
- Pumpkin Spice Gooey Cake: Perfect for fall — add canned pumpkin and cinnamon to the topping mix.
- Lemon Gooey Cake: Swap vanilla extract with lemon extract and use lemon zest for a citrusy touch.
Whether you’re baking for a party or just to satisfy your sweet tooth, this Gooey Topping Cake is a guaranteed crowd-pleaser. With its rich, melt-in-your-mouth texture and sweet creaminess, it’s bound to become a family favorite. Go ahead — indulge yourself!

How to Make Your Gooey Topping Cake Stand Out
Even though this cake is already a showstopper, here are some pro tips to take it to the next level:
Layered Gooey Cake Hack
Instead of just one gooey layer on top, bake the cake in two thinner layers with the gooey filling sandwiched between. It’ll turn your dessert into a gourmet delight.
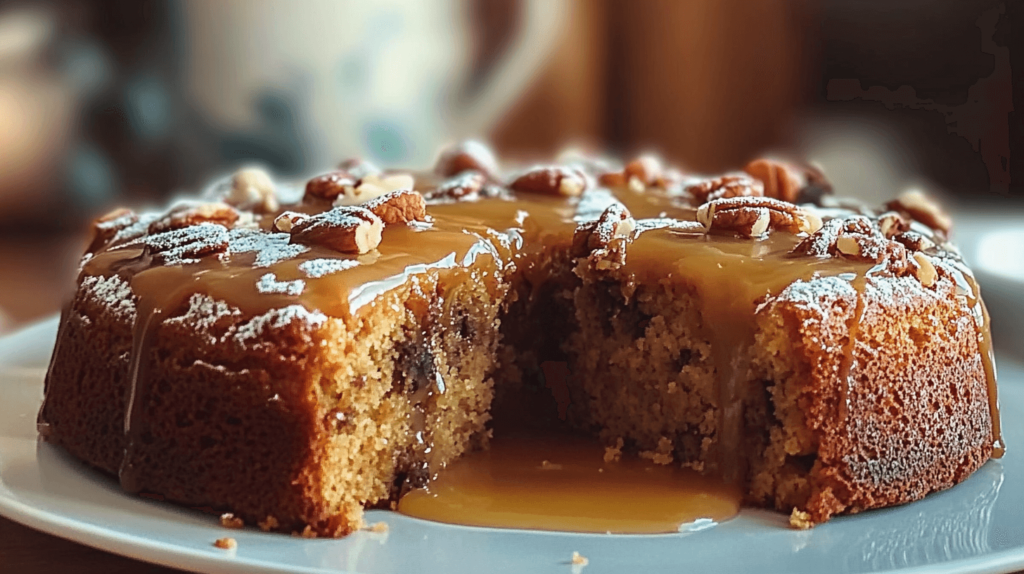
Salted Caramel Drizzle
Add a drizzle of salted caramel over the cooled cake for a sweet-salty contrast that’s irresistible. Top it with sea salt flakes for that Instagram-worthy look.
Use Browned Butter
Swap regular melted butter with browned butter in both the base and the topping. It adds a rich, nutty flavor that deepens the overall taste.
Make It Kid-Friendly or Grown-Up Special
For Kids:
- Add colorful sprinkles on top before baking.
- Swirl in a little marshmallow fluff into the topping.
- Serve it with a scoop of vanilla or cotton candy ice cream.
For Adults:
- Add a splash of bourbon or amaretto to the topping mixture.
- Serve it warm with a scoop of espresso or salted caramel gelato.
- Try dusting with cocoa powder and cinnamon for a spiced finish.
How to Serve Gooey Topping Cake Like a Pro
Want to really impress guests (or just treat yourself right)? Here’s how to present this cake in ways that feel gourmet and luxurious:
Serve in Individual Cups
Scoop warm pieces into dessert cups or mini mason jars and top with whipped cream, berries, or a scoop of ice cream.
Cake à la Mode
Pair it with homemade ice cream flavors like vanilla bean, bourbon pecan, or buttered maple for an upscale twist.
Drizzle It Up
Get artistic with sauces — chocolate ganache, caramel drizzle, or fruit coulis add both beauty and flavor.
Top with Crunch
Sprinkle with toasted nuts, crushed pretzels, or candied bacon bits for unexpected texture and salty contrast.
Add Seasonal Flair to Your Gooey Topping Cake
The base recipe is perfect for customizing based on the season:
Spring Vibes: Add a swirl of raspberry puree and top with edible flowers.
Summer Freshness: Layer in lemon zest and fresh blueberries or peaches.
Autumn Warmth: Mix in pumpkin purée, cinnamon, and nutmeg. A little maple syrup doesn’t hurt either!
Winter Cozy: Make it extra indulgent with dark chocolate chunks, crushed peppermint, or Irish cream liqueur.
What to Pair With Gooey Topping Cake
Beverage Pairings:
- Coffee: Rich espresso or cinnamon-spiced lattes
- Tea: Chai tea, rooibos vanilla, or dessert teas
- Cocktails: Irish coffee, bourbon cream, or a dessert wine like Moscato
Savory Balance:
- A light cheese board before dessert helps cut the sweetness
- Serve after a tangy or citrusy meal to balance flavors
Why This Cake Will Always Be a Hit
Let’s face it — people love desserts that are indulgent, nostalgic, and easy to love. The Gooey Topping Cake hits all those sweet spots:
- Kid-approved and adult-adored
- Super easy to customize
- No special tools required
- Makes your kitchen smell heavenly
- Works for parties or quiet nights
Whether you’re baking it for the first time or experimenting with new flavors, this is one cake that’ll stay in your recipe rotation forever.
Creative Gooey Topping Cake Bar Ideas for Parties
Hosting a gathering? Why not make your gooey cake part of a build-your-own dessert bar?
Set It Up Like This:
- Base: Pre-baked and sliced Gooey Topping Cake
- Toppings: Mini bowls of crushed cookies, candies, berries, syrups
- Extras: Whipped cream, mini marshmallows, sprinkles, chopped nuts
Fun Add-ons:
- Let guests “frost” their slices with flavored whipped cream (like cinnamon or chocolate).
- Offer options like caramel, chocolate fudge, or peanut butter drizzle.
- Provide “mini spoons” and napkins for tasting several styles.
It’s interactive, fun, and guaranteed to be a hit with both kids and adults!
Make-Ahead & Storage Tips for Gooey Topping Cake
Make-Ahead:
You can bake this cake up to 2 days in advance. Let it cool fully, then cover tightly and store in the fridge.
Storing Leftovers:
- At room temp: Good for 2 days in a sealed container.
- In the fridge: Keeps fresh for up to 7 days.
- Freezer-friendly: Freeze in individual slices (wrapped in cling wrap + foil) for up to 2 months.
Reheating Tips:
- Microwave for 15–30 seconds per slice for the gooey texture to return.
- In the oven: Cover loosely with foil and warm at 300°F (150°C) for 10–12 minutes.
How to Turn Gooey Topping Cake into Gift-Worthy Treats
Want to share the love? This cake is perfect for edible gifts during holidays, birthdays, or “just because” moments.
Gift Ideas:
- Cut into squares and wrap individually in wax paper + twine.
- Package in small bakery boxes with a handwritten tag.
- Pair with a mini coffee sampler or a custom mug for a full treat box.
People remember gifts that taste amazing — and this cake definitely qualifies.
Wrapping Up: Make Every Slice Count
The Gooey Topping Cake isn’t just a recipe — it’s a memory-maker. Whether you’re slicing it up for a weekend dessert, surprising your partner with a homemade treat, or creating a whole dessert bar for guests, it’s a cake that delivers every time.
It’s:
- Decadent yet simple
- Rich with possibilities
- And always crowd-pleasing
From its creamy, sticky top to its buttery base, each bite is a celebration.
If you’d like to download this in a printable format, want an Instagram carousel post breakdown, or even a gluten-free or vegan version, just say the word!
FAQS About Gooey Topping Cake
Can I make Gooey Topping Cake ahead of time?
Yes! You can prepare it a day in advance. Just let it cool, cover, and refrigerate. Warm it slightly before serving for best results.
Can I freeze Gooey Topping Cake?
Absolutely. Slice and wrap individual pieces in plastic wrap, then store in a freezer-safe bag. Thaw in the fridge overnight or microwave for 30–45 seconds.
Can I use homemade cake batter instead of boxed mix?
Definitely. Use your favorite yellow or vanilla cake recipe as the base. Just make sure it’s thick enough to press into the pan like a crust.
Why is my gooey topping too runny?
It might be underbaked. While it should be soft and gooey, it shouldn’t be liquid. Bake until the edges are golden and the center jiggles just slightly.
Is there a dairy-free version of Gooey Topping Cake?
Yes! Use plant-based butter and dairy-free cream cheese (like almond or coconut based) to create a delicious non-dairy version.
What makes the topping so gooey?
The mix of cream cheese, butter, and powdered sugar creates a soft, melt-in-your-mouth texture that bakes into a rich, custard-like topping.
Conclusion: The Cake That Everyone Will Talk About
Whether it’s your first time baking or you’re a dessert aficionado, the Gooey Topping Cake is a guaranteed win. Its luxurious topping, buttery base, and limitless customizations make it an all-occasion treat. From potlucks to parties to midnight cravings, this cake won’t let you down.
PrintGooey Topping Cake
A rich and sweet dessert layered with a luscious, sticky topping that melts in your mouth.
- Prep Time: 15 minutes
- Cook Time: 45 minutes
- Total Time: 60 minutes
- Yield: 12 servings 1x
- Category: Dessert
- Method: Baking
- Cuisine: American
- Diet: Vegetarian
Ingredients
- 1 box yellow cake mix
- 1/2 cup unsalted butter, melted
- 2 large eggs
- 1 (8 oz) package cream cheese, softened
- 2 large eggs
- 1 tsp vanilla extract
- 1/2 cup unsalted butter, melted
- 4 cups powdered sugar
Instructions
- Preheat your oven to 350°F (175°C) and grease a 9×13-inch baking dish.
- In a mixing bowl, combine the cake mix, melted butter, and eggs. Press the mixture into the bottom of the prepared pan.
- In another bowl, beat together the cream cheese until smooth. Add eggs one at a time, then mix in the vanilla extract and melted butter. Slowly add the powdered sugar and beat until creamy.
- Pour the gooey topping over the cake base and spread evenly.
- Bake for about 40–45 minutes, until the center is slightly jiggly.
- Cool completely before slicing.
Notes
Store leftovers in an airtight container for up to 3 days at room temperature or up to a week in the refrigerator.
Nutrition
- Serving Size: 1 slice
- Calories: 400
- Sugar: 37g
- Sodium: 300mg
- Fat: 18g
- Saturated Fat: 10g
- Unsaturated Fat: 6g
- Trans Fat: 0g
- Carbohydrates: 52g
- Fiber: 0g
- Protein: 6g
- Cholesterol: 80mg
Gooey Topping Cake
Ingredients
Method
- Preheat your oven to 350°F (175°C) and grease a 9×13-inch baking dish.
- In a mixing bowl, combine the cake mix, melted butter, and eggs. Press the mixture into the bottom of the prepared pan.
- In another bowl, beat together the cream cheese until smooth. Add eggs one at a time, then mix in the vanilla extract and melted butter. Slowly add the powdered sugar and beat until creamy.
- Pour the gooey topping over the cake base and spread evenly.
- Bake for about 40–45 minutes, until the center is slightly jiggly.
- Cool completely before slicing.