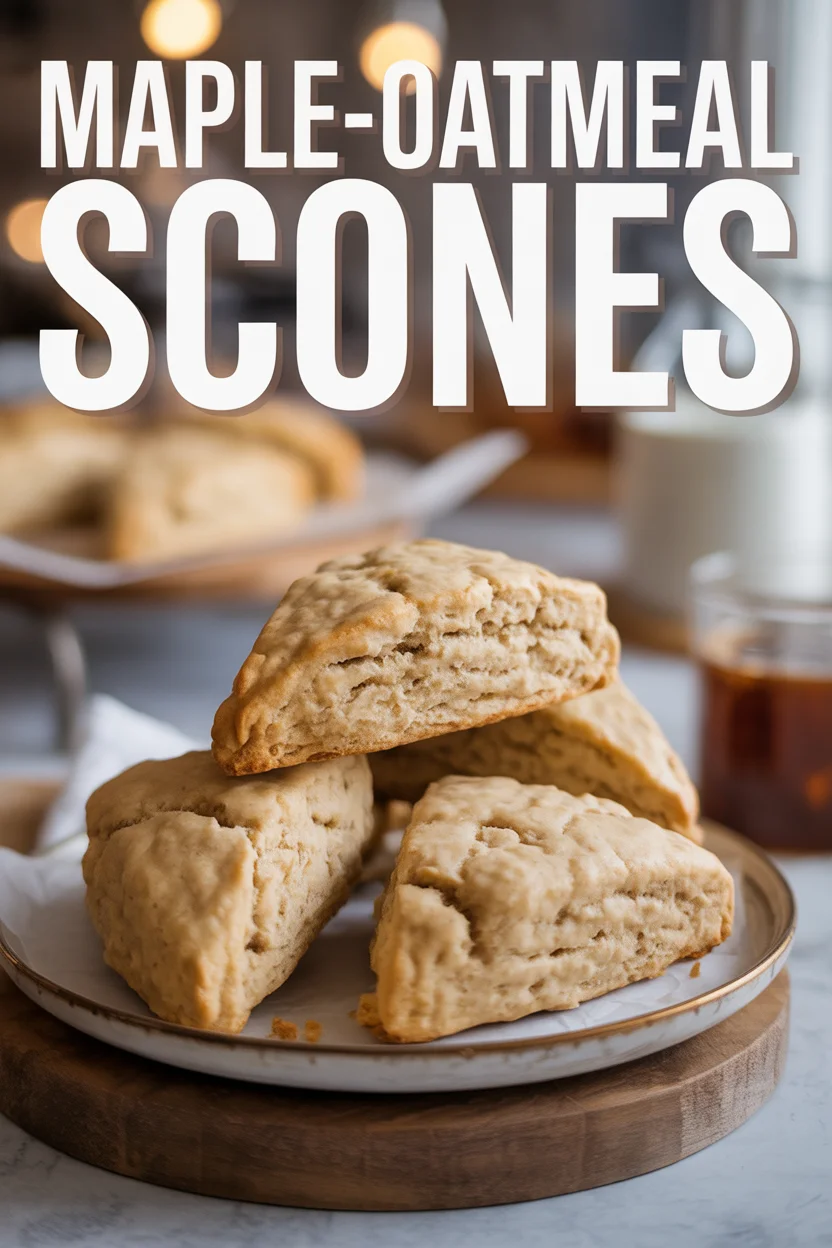
Maple-Oatmeal Scones
Maple-Oatmeal Scones always pop into my brain when I’ve just rolled out of bed and need something that isn’t cereal again, but also isn’t a full-on brunch situation. If plain scones have ever let you down with their dry,
crumbly attitude, these will change your mind. Heck, if you’re a fan of that classic-cozy combo like oatmeal and maple syrup, you’ll absolutely lose your mind.
And yes, you can make these even if you’ve never tried scones in your kitchen (promise it’s less scary than algebra). Plus, if you want to mix things up a bit, check out these classic pastry scones for even more inspiration.
Maple-Oatmeal Scones
Maple-Oatmeal Scones
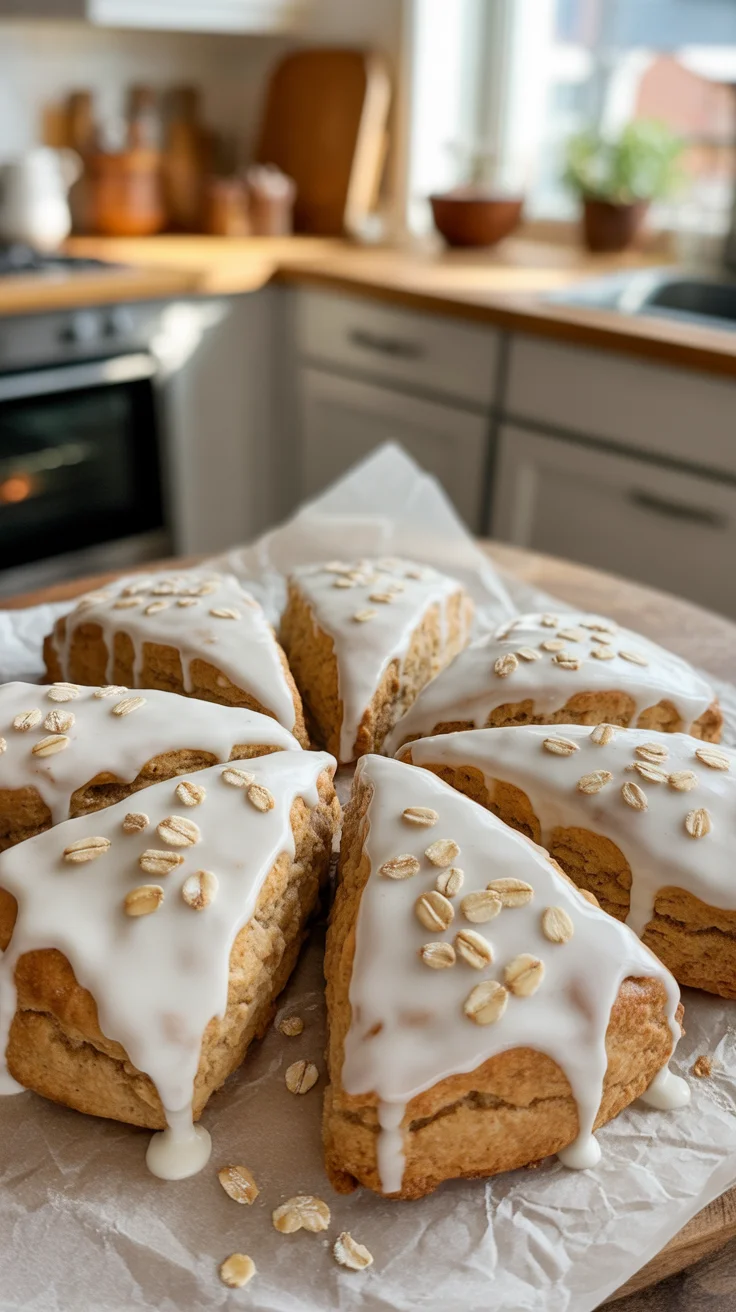
Let me tell you, Maple-Oatmeal Scones are just… the coziest thing. Like a hug in breakfast form. Every bite kind of tastes like those crisp fall mornings when you can still see a little bit of your breath outside, but you’re inside, munching on warm, soft scones with a little maple glaze. Sounds dramatic, but one nibble and you’ll get why these are always on my to-make list, especially during those “I need something comforting right now” days.
Honestly, my first encounter with these wasn’t even intentional. Leftover oats, an open maple bottle, and a kitchen that needed a serious mood lift. I figured, what’s the worst that could happen? The end result: golden scones that practically begged for a hot cup of coffee or tea right beside them. I’ve been tinkering ever since. A smidge less sugar here, more oats there, and I swear, they’ve now reached five-star restaurant level in my own house.
Why do they work? Two words: texture and flavor. The oats keep things chewy (not that dull, all-the-way crumbly thing) and the maple syrup gives a sweetness that doesn’t punch you in the face. Just honest, gentle, maple goodness that lingers. Sometimes I don’t even bother with butter. Just rip one apart and eat it as is, right over the sink. And if you’re thinking ahead, these freeze super well. I’m not saying “hide some for yourself”—but maybe I am.
Maple-Oatmeal Scones
Ingredients for Maple-Oatmeal Scones
You don’t have to raid a specialty store to whip up Maple-Oatmeal Scones, I promise. Most of these are probably just hanging out in your pantry.
- All-purpose flour (nothing fancy, just your regular bag)
- Old-fashioned oats (quick oats can work, but texture’s better with the chunky kind)
- Baking powder (gives it that lovely lift)
- Brown sugar (gives the best cozy vibes)
- Salt (small pinch for flavor)
- Cold butter (chopped up so it mixes nicely)
- Maple syrup (real stuff, if you can swing it)
- Milk (I use regular dairy, but non-dairy works too)
- Egg (helps it all stick together)
- Pecans or walnuts (optional, but I say go for it)
Grab your measuring cups and spoons, set everything out. When ingredients are prepped, you just feel like you’ve got your life a bit more together, right? Oddly satisfying.
Maple-Oatmeal Scones
How to Make Maple-Oatmeal Scones
Here’s the honest truth: these aren’t finicky. Sure, there’s a tiny bit of mess, but nothing wild. Here’s what you do if you want scones that’ll have everyone begging for “just one more”—you might have to be a scone bodyguard, watch out.
- Heat your oven to 400 degrees F. Line a baking sheet with parchment, so you’re not scraping stuff later.
- Toss your flour, oats, baking powder, brown sugar, and salt in a bowl. Mix it up.
- Add cold butter. Use your fingers or a pastry cutter to squish it in, until it looks crumbly. Don’t overthink—lumps are okay.
- Mix your maple syrup, milk, and egg together in another bowl. Stir them into your dry mix. Don’t overmix! It’s fine if it’s shaggy.
- If you want nuts, stir those in now.
- Dump the dough onto a floured counter. Pat it into a circle about an inch thick. Use a knife (or heck, a pizza cutter) to make wedges.
- Move to baking sheet, and bake 15-18 minutes til golden and they smell amazing. Don’t eat them the minute they come out. You will burn your mouth. Wait a bit. You’ll thank me.
Maple-Oatmeal Scones
Serving Suggestions
Okay, you made Maple-Oatmeal Scones. But now what? Here’s how I like to make breakfast a little fancier:
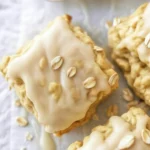
- Serve warm, with a smear of butter or a little extra drizzle of maple syrup.
- For a real breakfast moment, add a dollop of clotted cream or Greek yogurt—so delish.
- Pack ’em up for a picnic or school snack (they don’t crumble apart in a lunchbox).
Honestly, they’re the best with coffee. But hey, I’ve eaten them with cold milk while standing over the counter at midnight. No rules.
Maple-Oatmeal Scones
“I’ve tried so many breakfast bakes, but these scones hit different. My whole family gobbled them up before I even sat down! Saving this recipe forever.” — Jenn C.
Maple-Oatmeal Scones
Cozy and chewy scones made with oats and sweet maple syrup, perfect for breakfast.
- Prep Time: 10 minutes
- Cook Time: 18 minutes
- Total Time: 28 minutes
- Yield: 8 servings 1x
- Category: Breakfast
- Method: Baking
- Cuisine: American
- Diet: Vegetarian
Ingredients
- 2 cups all-purpose flour
- 1 cup old-fashioned oats
- 2 teaspoons baking powder
- 1/4 cup brown sugar
- 1/2 teaspoon salt
- 1/2 cup cold butter, chopped
- 1/2 cup maple syrup
- 1/2 cup milk
- 1 egg
- 1/2 cup chopped pecans or walnuts (optional)
Instructions
- Preheat your oven to 400°F (200°C). Line a baking sheet with parchment paper.
- In a bowl, mix together flour, oats, baking powder, brown sugar, and salt.
- Add the cold butter and mix until crumbly.
- In another bowl, whisk together the maple syrup, milk, and egg, then stir into the dry ingredients until just combined.
- If using, stir in the nuts.
- Dump the dough onto a floured surface and pat it into a 1-inch thick circle.
- Cut into wedges and transfer to the baking sheet.
- Bake for 15-18 minutes until golden and fragrant.
- Allow to cool slightly before serving.
Notes
Serve warm with butter or maple syrup. These scones are also great for freezing.
Nutrition
- Serving Size: 1 scone
- Calories: 250
- Sugar: 10g
- Sodium: 200mg
- Fat: 12g
- Saturated Fat: 6g
- Unsaturated Fat: 6g
- Trans Fat: 0g
- Carbohydrates: 35g
- Fiber: 3g
- Protein: 4g
- Cholesterol: 30mg

Maple-Oatmeal Scones
Ingredients
Method
- Preheat your oven to 400°F (200°C). Line a baking sheet with parchment paper.
- In a bowl, mix together flour, oats, baking powder, brown sugar, and salt.
- Add the cold butter and mix until crumbly.
- In another bowl, whisk together the maple syrup, milk, and egg, then stir into the dry ingredients until just combined.
- If using, stir in the nuts.
- Dump the dough onto a floured surface and pat it into a 1-inch thick circle.
- Cut into wedges and transfer to the baking sheet.
- Bake for 15-18 minutes until golden and fragrant.
- Allow to cool slightly before serving.