Peanut Butter Greek Yogurt Chia Pudding: 5 Delicious Secrets for an Ultimate Healthy Breakfast
Are you searching for a breakfast that is both incredibly delicious and packed with nutrition? Look no further than the peanut butter Greek yogurt chia pudding. This innovative dish combines powerhouse ingredients into a convenient, satisfying meal that truly stands out.
At Helth Recipe, we believe healthy eating should never sacrifice flavor. This peanut butter Greek yogurt chia pudding perfectly embodies that philosophy, offering a creamy texture and rich taste that keeps you full and energized throughout your morning.
What is Peanut Butter Greek Yogurt Chia Pudding and why is it a breakfast sensation?
A Modern Twist on a Classic
Peanut butter Greek yogurt chia pudding is a delightful fusion of wholesome ingredients. It takes the simplicity of an overnight chia pudding recipe and elevates it with the creamy tang of Greek yogurt and the comforting richness of peanut butter. This combination creates a breakfast that feels indulgent yet is remarkably good for you.
This particular peanut butter Greek yogurt chia pudding has become a sensation due to its ease of preparation and incredible versatility. It requires no cooking, making it an ideal `no-cook breakfast` solution for busy mornings. Simply mix, chill, and enjoy.
The Power Duo: Peanut Butter and Greek Yogurt
The synergy between peanut butter and Greek yogurt in this pudding is undeniable. Greek yogurt contributes a significant protein boost and a wonderfully thick consistency, while peanut butter offers healthy fats and that irresistible nutty flavor. Together, they create a balanced and satisfying base for your peanut butter Greek yogurt chia pudding.
Many people are now looking for `high protein breakfast` options, and this dish delivers. The blend of dairy protein from the Greek yogurt and plant-based protein from the peanut butter makes this peanut butter Greek yogurt chia pudding an excellent choice for muscle recovery and satiety.
Why Chia Seeds are Key
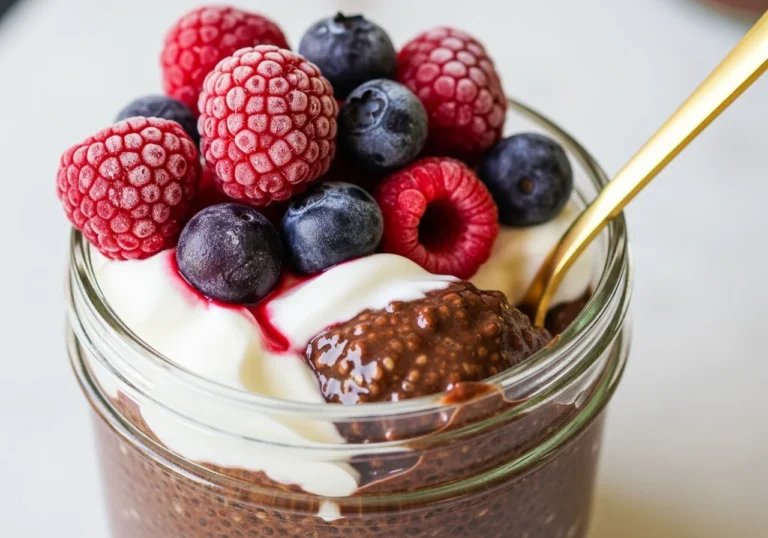
Chia seeds are the magical ingredient that transforms liquids into a pudding-like texture. When soaked, these tiny seeds absorb many times their weight in liquid, forming a gel. This process is fundamental to creating the luxurious consistency of your peanut butter Greek yogurt chia pudding.
Beyond their textural contribution, chia seeds are nutritional powerhouses. They are rich in fiber, omega-3 fatty acids, and various micronutrients, further enhancing the health profile of every serving of peanut butter Greek yogurt chia pudding. They are essential for a truly authentic `overnight chia pudding recipe`.
What are the remarkable health benefits of incorporating this pudding into your diet?
Packed with Protein for Sustained Energy
One of the most significant advantages of enjoying peanut butter Greek yogurt chia pudding is its high protein content. Both Greek yogurt and peanut butter are excellent sources of protein, which is vital for building and repairing tissues, as well as for keeping you feeling full.
This `high protein breakfast` helps stabilize blood sugar levels, preventing those mid-morning energy crashes. Starting your day with a serving of peanut butter Greek yogurt chia pudding ensures you have lasting energy to tackle your tasks efficiently.
Fiber-Rich for Digestive Health
Chia seeds are an exceptional source of dietary fiber, both soluble and insoluble. This fiber content is crucial for maintaining a healthy digestive system and promoting regularity. Regular consumption of fiber-rich foods like peanut butter Greek yogurt chia pudding can significantly improve gut health.
Moreover, the fiber in this peanut butter Greek yogurt chia pudding contributes to feelings of fullness, aiding in weight management. It’s a simple yet effective way to boost your daily fiber intake with a delicious `healthy meal prep idea`.
Nutrient Powerhouse: Vitamins and Minerals
Beyond protein and fiber, peanut butter Greek yogurt chia pudding is a good source of essential vitamins and minerals. Greek yogurt provides calcium and probiotics for bone and gut health, while peanut butter offers magnesium and Vitamin E.
Chia seeds contribute manganese, phosphorus, and more, making this a truly nutrient-dense meal. Incorporating this peanut butter Greek yogurt chia pudding into your routine means you’re fueling your body with a broad spectrum of beneficial nutrients, leveraging all the `greek yogurt benefits` and more.
How do you prepare the perfect Peanut Butter Greek Yogurt Chia Pudding in 5 simple steps?
Gather Your Simple Ingredients
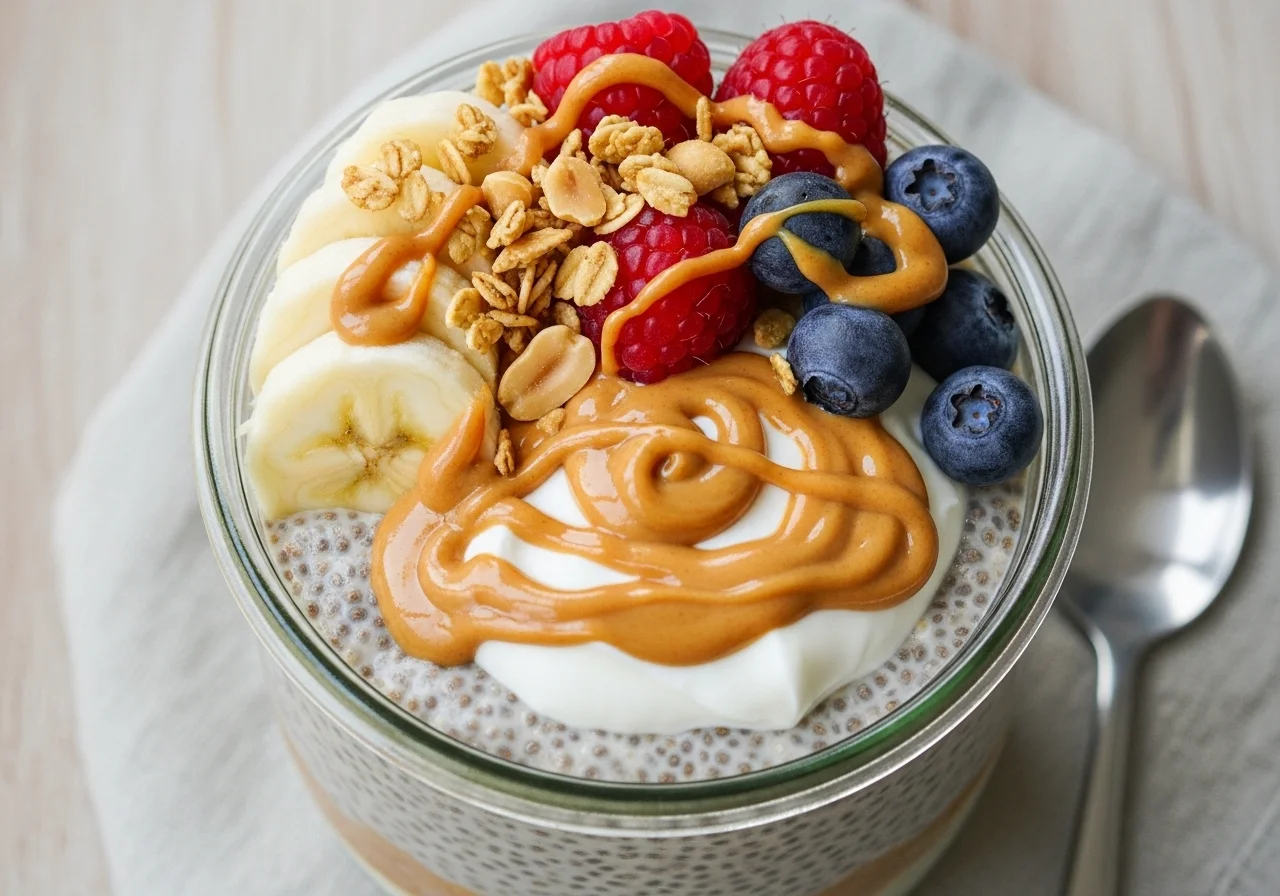
To make your ideal peanut butter Greek yogurt chia pudding, you’ll need just a few key components. These include plain Greek yogurt, your favorite natural peanut butter, chia seeds, milk (dairy or non-dairy), and a touch of sweetener if desired. Quality ingredients make all the difference in your `overnight chia pudding recipe`.
Ensure your peanut butter is natural, without added sugars or hydrogenated oils, for the healthiest version of this peanut butter Greek yogurt chia pudding. This foundation sets the stage for a truly wholesome and delicious breakfast experience.
The Art of Combining and Stirring
In a jar or container, combine the Greek yogurt, peanut butter, chia seeds, and milk. Stir thoroughly until all ingredients are well incorporated and the peanut butter is evenly distributed. This initial mix is crucial for preventing clumping in your peanut butter Greek yogurt chia pudding.


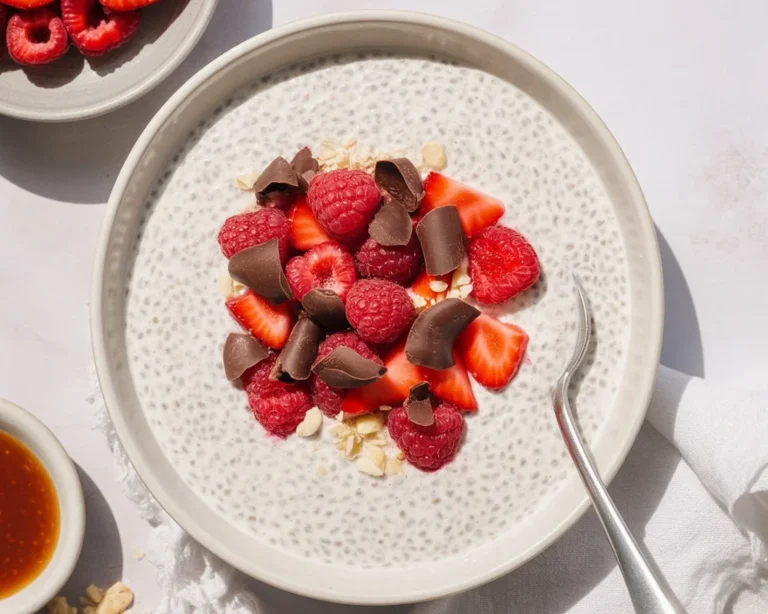
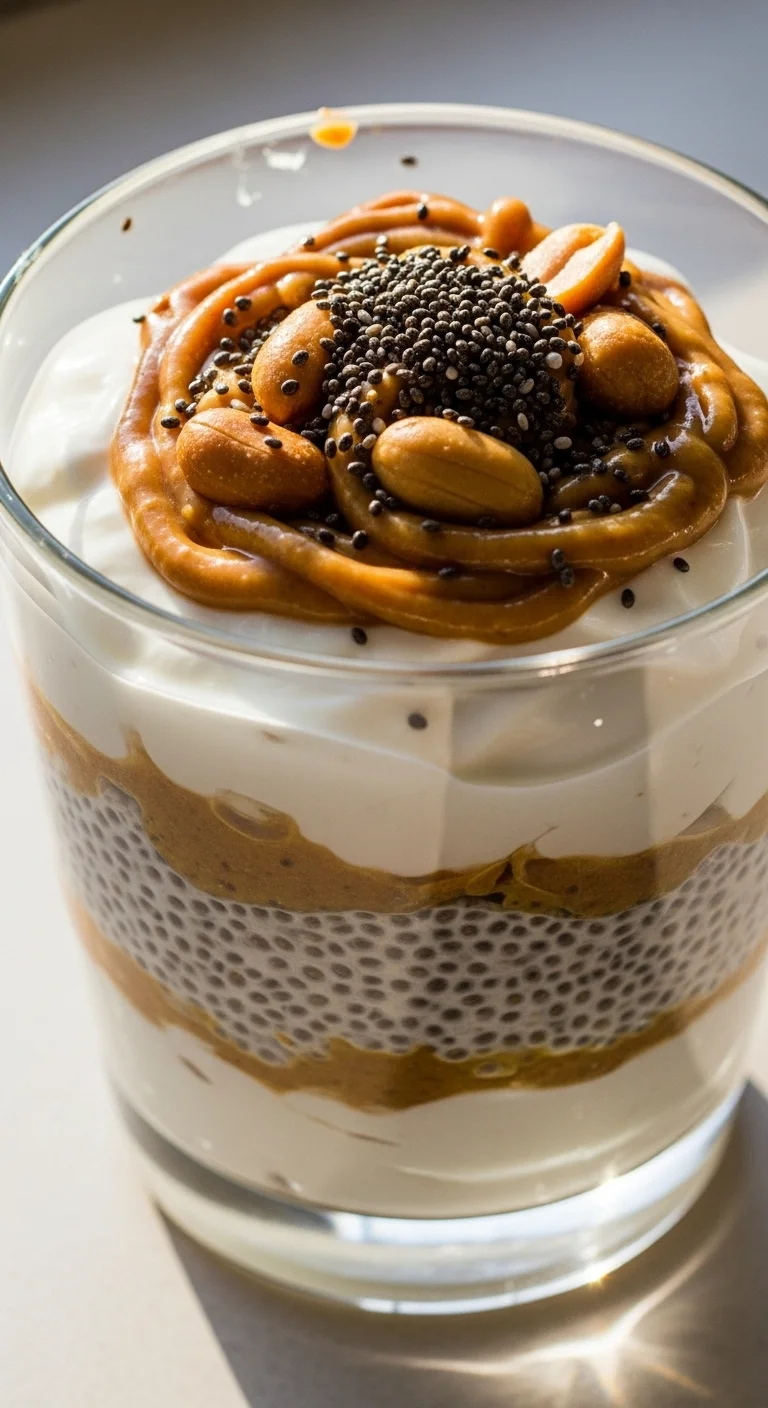
Peanut Butter Greek Yogurt Chia Pudding
Ingredients
Method
- Gather all your ingredients: plain Greek yogurt, natural peanut butter, chia seeds, milk, and sweetener if desired.
- In a jar or container, combine the Greek yogurt, peanut butter, chia seeds, and milk.
- Stir thoroughly until all ingredients are well incorporated and the peanut butter is evenly distributed.
- Cover the mixture and refrigerate it for at least 2 hours or preferably overnight to allow the chia seeds to absorb the liquid and thicken the pudding.
- Once ready, stir before serving and enjoy your delicious peanut butter Greek yogurt chia pudding!