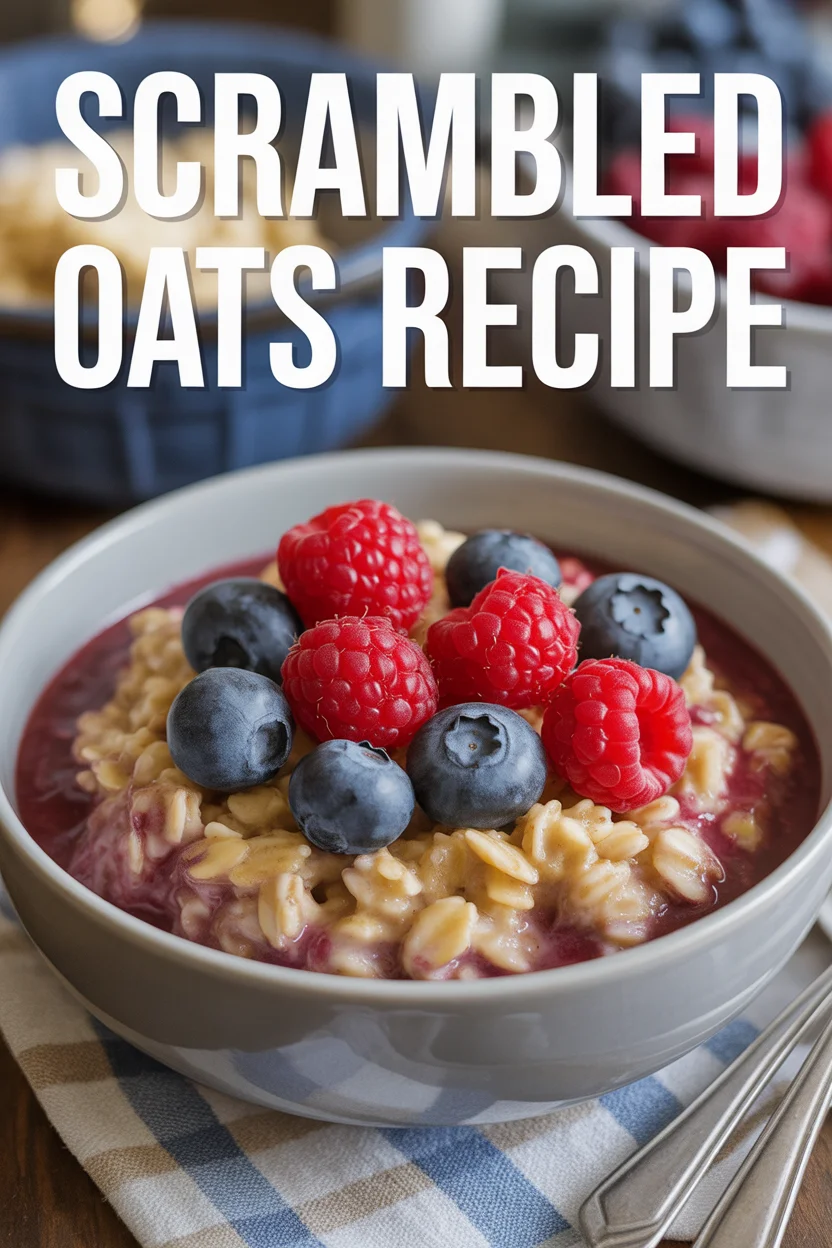
Scrambled Oats Recipe
Ever stared at your bag of oats, thinking… “Ugh, not porridge again?” Trust me, I’ve been there, grumpy and bored before breakfast. Scrambled Oats Recipe is my absolute favorite trick for when mornings need a shake-up, but I still want something healthy (or, at least, not a sugar-loaded donut—tempting as it is).
It’s ridiculous how easy this is. Also, you can basically throw in whatever you have on hand. If you like easy things that taste freakishly good, you might also check these other brilliant ideas for breakfast and more. Anyway, let’s get into this hero oat dish.
Why You’ll Love This Recipe
First of all, this scrambled oats recipe is straight-up awesome for lazy cooks. You don’t need fancy gadgets or any of those weird ingredients you have to Google at the store. Plus, it’s ready in like, ten minutes—sometimes less if you’re feeling speedy (or crazy hungry).
It works for breakfast, lunch, or honestly, one of those “Oops, it’s 9 PM and I forgot dinner” moments. The leftovers keep fine for a couple of days. Also, you can pack it for those office runs, and it holds well in a thermos.
Something I hear a lot from friends: “But do oats even taste good cooked like that?” Yes. With some seasoning and a bit of creativity? You’ll start craving this stuff.
Real talk: it feels like a five-star restaurant brunch, even though it’s literally just oats.
One time, my husband couldn’t even tell it was oats! He thought I made some new, trendy scrambled egg dish.
Scrambled Oats Recipe
What Are Scrambled Oats?
Okay, so “scrambled oats” (if you’re scratching your head) aren’t like the gloppy oatmeal most of us secretly resent.
Instead, you’re taking good ol’ rolled oats, mixing them up with egg, a splash of milk, and cooking them in a frying pan.
They get a fluffy, almost cheesy texture. Seriously, it’s wild—much lighter than porridge, but waaaay more satisfying than plain eggs.
You can go sweet or savory, and honestly, there are no rules.
The name just means you scramble them in a skillet, kind of like scrambled eggs, but the oats soak up flavor and get all toasty.
That gentle crisp on the edge? Chef’s kiss. You’ll want to make it every weekend.
“Never would’ve guessed oats could taste like this until I tried it. My picky kid even went back for seconds. Scrambled oats have now earned a spot in our weekly lineup!” — Sarah, fellow oat skeptic turned superfan
Scrambled Oats Recipe
Tips for Making Scrambled Oats
Alright, here’s some straightforward wisdom from a person who’s burned oats (and pride) more times than I’ll admit. Use a nonstick skillet if you have one, otherwise—have fun scrubbing.
Let your oats soak with the egg and milk for a couple minutes before hitting the pan. This softens them, so they get creamy but not mushy.
Don’t crowd your pan; it should be one thin layer, not a mountain.
High heat? Nope, keep it medium or they’ll go from dreamy to “crunchy campfire fail.”
Want to make it richer or dairy-free? Toss in Greek yogurt or go wild with your favorite nut milk!
Scrambled oats are crazy forgiving. If you add a little too much liquid—just cook it a bit longer.
Oh, and if you like your oats extra crispy, let them sit for a minute before stirring, so some bits get golden (but not burnt).
Trust me, practice once and you’ll nail it the next time.
Scrambled Oats Recipe
How to Make Scrambled Oats
Alright, don’t blink or you’ll miss it.
Here’s what you need:
- 1/2 cup rolled oats
- 2 eggs
- Splash of milk (dairy or non-dairy—no oat milk unless you really, really love oats)
- Pinch salt and pepper
- Cooking spray or oil
Directions:
Crack the eggs into a bowl. Add oats, splash of milk, salt, and pepper.
Stir together—if you want, throw in a handful of shredded cheese or chopped veggies right here.
Heat a nonstick skillet on medium. Lightly spray or oil the pan.
Pour the oat mixture in.
Wait about 30 seconds, then, using a spatula, scramble just like eggs. Push, flip, let some oats sit and brown.
After about 3-4 minutes, most of the liquid is gone and you’ve got fluffy, golden scrambled oats.
Remove from heat, taste, maybe add some more seasoning if you’re feeling wild. Done.
Scrambled Oats Recipe
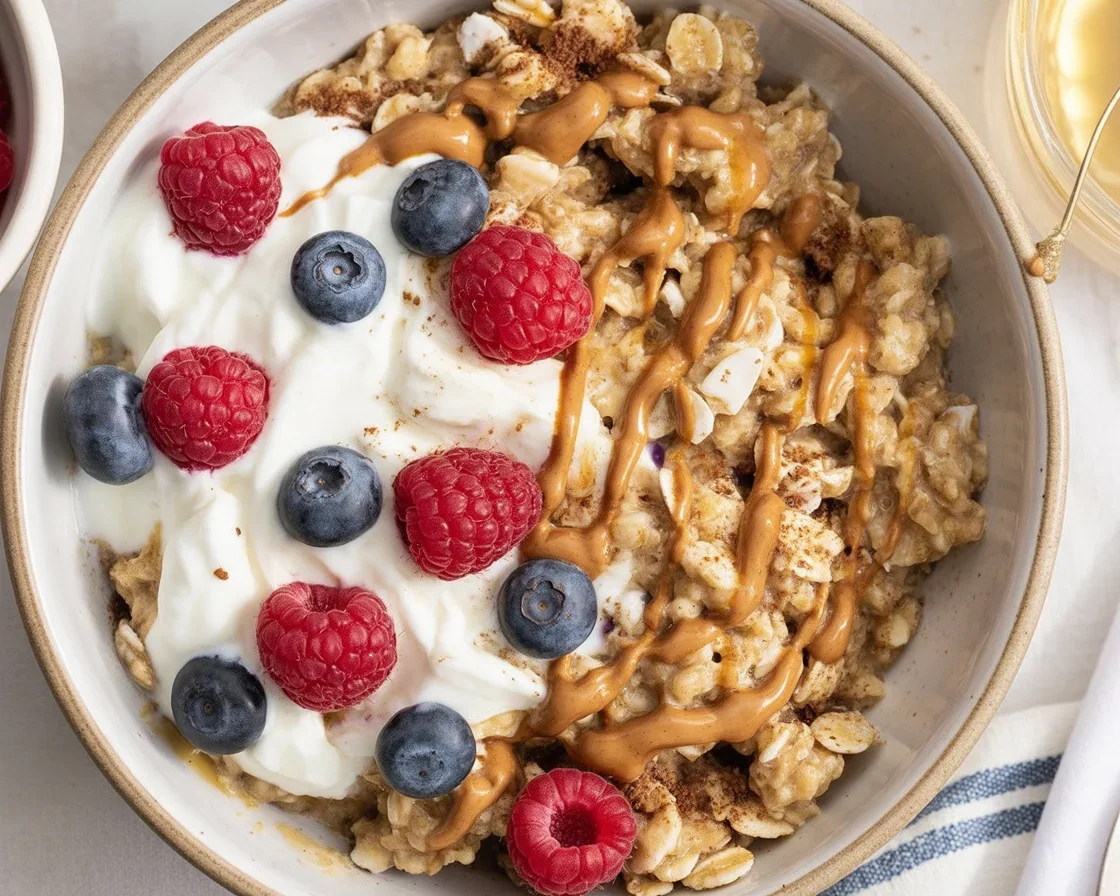
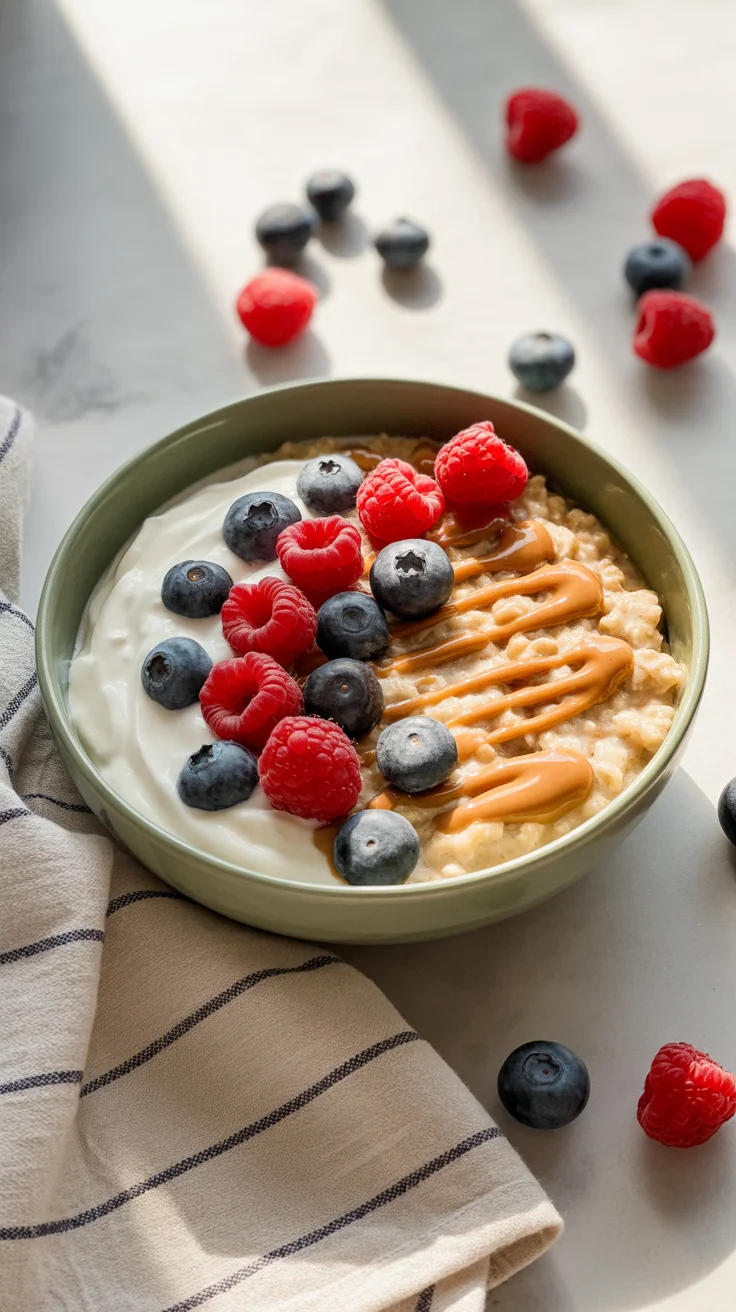
Topping Ideas
Okay, this is where things get out of control—in a good way.
Here are my favorite ways to dress things up:
- Try a big dollop of Greek yogurt or a spoonful of salsa for some zing.
- Chopped bacon, or scallions if you want a savory punch (bacon is always a winner).
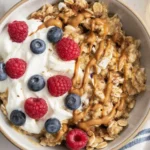
- For something sweet, add berries, honey, or a dusting of cinnamon.
- A sprinkle of nuts or seeds for crunch is never a bad idea.
Just pile it all on, honestly. My kids go nuts for sliced bananas and peanut butter on top!
If you’re more into savory breakfasts, leftover roasted veggies or shredded cheese work like a dream.
Okay, if you made it this far, you’re definitely ready to try my go-to breakfast fix. The stuff is simple, fast, and weirdly fun to customize. Scrambled oats aren’t some stuck-up “health food”—they taste amazing and keep me full until lunchtime (which rarely happens with regular toast).
I’ve even tried a few random hacks I found on TikTok, and yeah, this classic version beats almost all of them. Got picky eaters? Mix it up with fun toppings, and they’ll forget it’s healthy. By the way, for other quick and creative meals that pack big flavor, check out these 10 best camping meals easy and simple recipes for outdoor adventures.
Scrambled Oats Recipe
If you’re looking to experiment more or just want another take, the viral Scrambled Oats (Viral TikTok Recipe) – Eating Bird Food version is another solid option.
Now get scrambling—let me know if you try something wild, or if you just end up eating it, plain and proud.
Scrambled Oats Recipe
Scrambled Oats
Ingredients
Method
- Crack the eggs into a bowl. Add oats, splash of milk, salt, and pepper.
- Stir together—if desired, throw in a handful of shredded cheese or chopped veggies.
- Heat a nonstick skillet on medium. Lightly spray or oil the pan.
- Pour the oat mixture in.
- Wait about 30 seconds, then scramble the mixture as you would with eggs—push, flip, and let some oats sit and brown.
- After about 3-4 minutes, most of the liquid should be gone, leaving fluffy, golden scrambled oats.
- Remove from heat, taste, and adjust seasoning if necessary. Serve immediately.