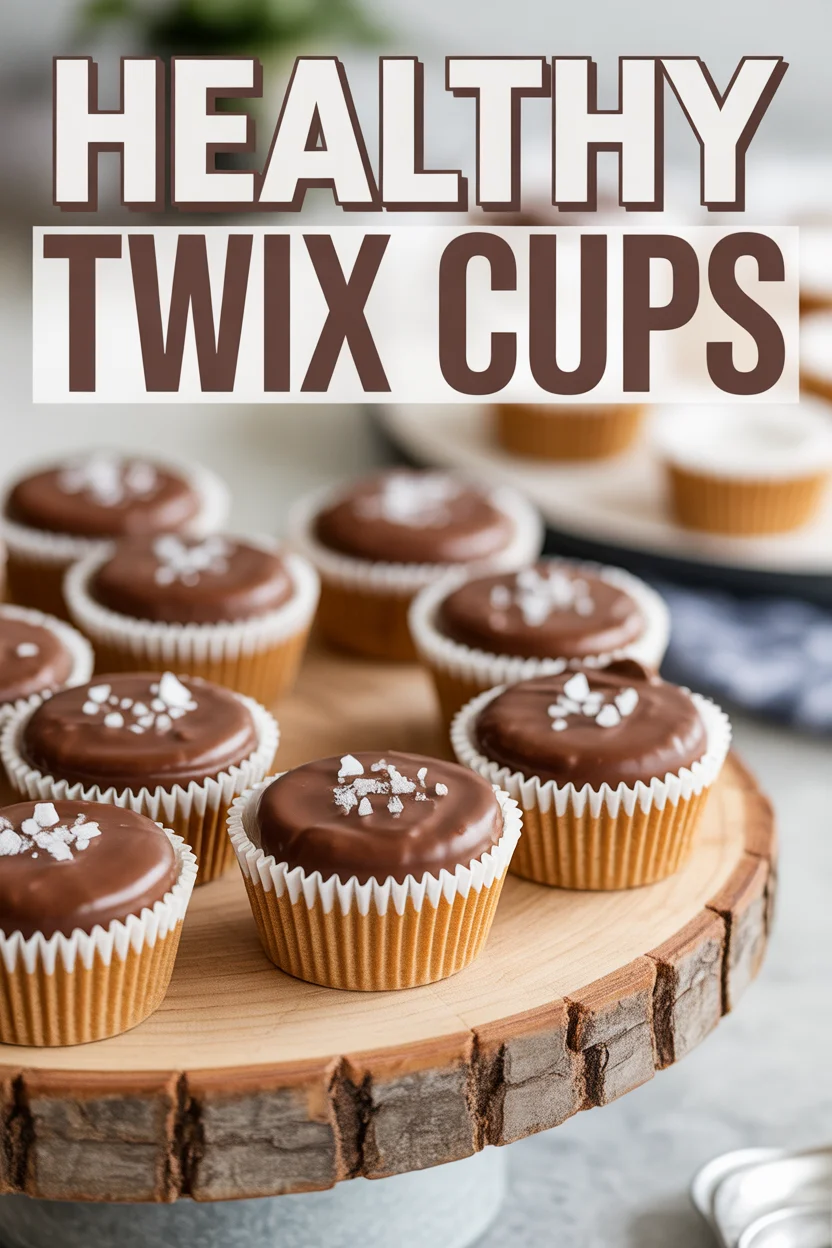
Healthy Twix Cups
Healthy Twix Cups got me out of a serious snack rut. You know those days, right? You’re standing in the kitchen, stomach rumbling, thinking “Should I eat something sweet, or just a handful of carrots again?” If you’re trying to keep things healthy (but still want treats that taste, well, like real treats), you’re going to absolutely love this little dessert hack.
Trust me, it hits the spot every single time and having a recipe that actually feels like a guilty pleasure without the guilt? That is basically magic.
Healthy Twix Cups
Why you’ll love this recipe
Alright, so first up… these Healthy Twix Cups taste like the real deal. Like, “drag your finger through the bowl” good. But wait, there’s more! They’re totally vegan. You don’t even need fancy ingredients or kitchen gadgets (unless you count a muffin tin).
It’s honestly shocking how simple it is. I had a friend who’s suspicious of anything labeled as “healthy” try one. She went silent for a second, then just said, “Oh my gosh. Give me another.” Right?
And the chocolate-caramel-cookie layers? Heaven. They chill up perfectly in the fridge, which means you can grab one when, not if, the cravings hit. No more sadness cookies or unsatisfying snacks. I seriously make double batches because people eat them up before I can even grab one for myself. Plus, cleanup doesn’t require a hazmat suit—score.
“I made these for game night and they were gone in about fourteen minutes. Even my brother, who swears by real candy bars, took four. Guess I need to double my next batch!” — Jamie, real-life taste tester
Healthy Twix Cups
Are Twix cups healthy?
So I get asked this—are Healthy Twix Cups really good for you, or is it just one of those sneaky desserts? Look, I wouldn’t tell you something was healthy if it wasn’t (my mom would find out). These are honestly a smart treat. Traditional Twix bars are loaded with processed sugar and a laundry list of mystery stuff.
Here, you’ll find simple, plant-based ingredients. Stuff you’d actually recognize, like almond flour, maple syrup, coconut oil, dark chocolate, and dates. It’s not a salad (don’t come for me!), but at least you’re not eating fifteen kinds of weird syrup.
They’ve got healthy fats, a lower glycemic load, and the main sweetener is date caramel. Plus, no dairy or gluten hanging around. I mean, it’s not like you can eat the whole pan and call it balanced, but for a treat? A+ in my book. Even the chocolate layer can be adjusted to your liking.
When people ask, “But will my kids like them?” I’m over here thinking, “Good luck keeping them away from your kids’ reach.” Oh, and if you want them a little less sweet, just use a more bitter chocolate. Easy.
Healthy Twix Cups
How to make healthy Twix cups
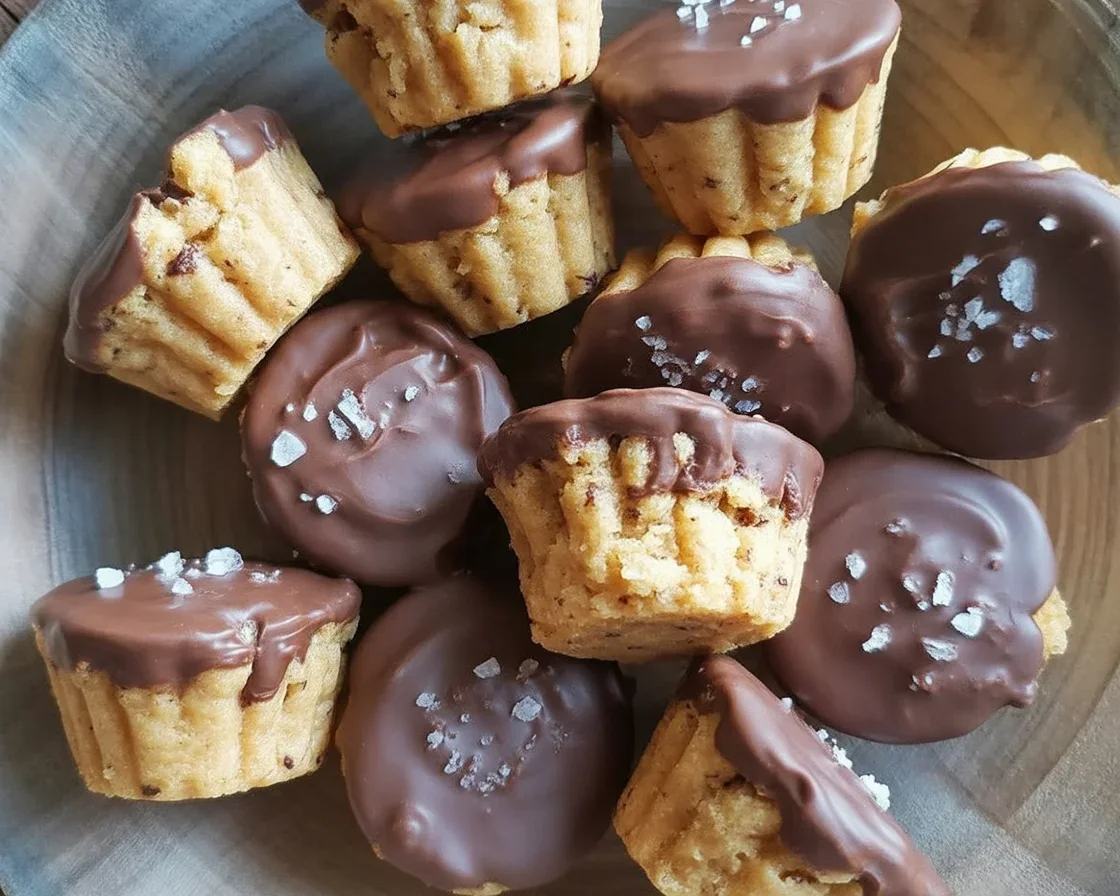
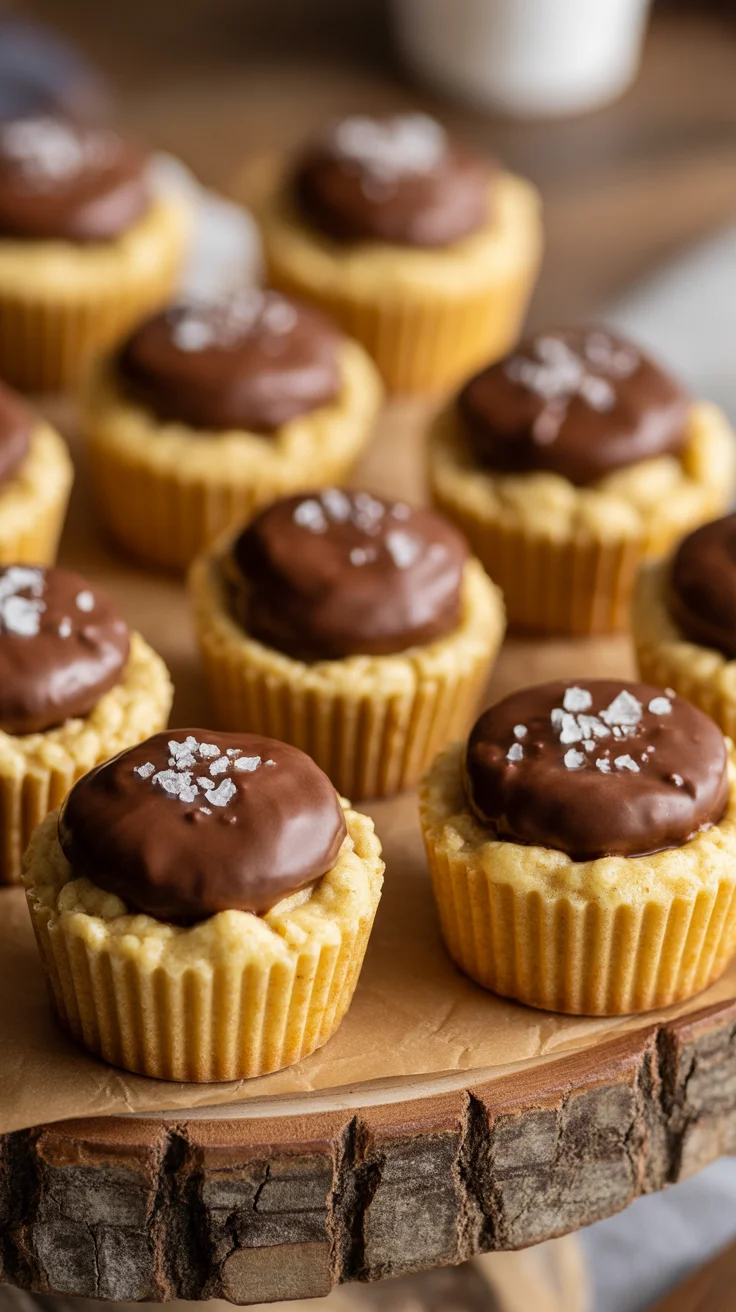
Alright, here’s my easy roadmap—no culinary degree needed. First, gather your three main layers: cookie, caramel (don’t freak out, it’s just blended dates and some nut butter), and chocolate on top.
I start with the base: mix your almond flour, a bit of coconut oil, and maple syrup till it’s all crumbly but sticks together. Press this into little muffin liners (or, full honesty, just use your fingers—nobody’s judging). Bake it for a quick minute or two so it gets that little crunch.
Next, the caramel. Toss some pitted dates, nut butter (I love almond), a tiny splash of vanilla, and a sprinkle of sea salt into a food processor. Let ‘er rip till it’s creamy caramel happiness. Layer that over each cup. Smooth it out however you can manage (some days I give up and just use the back of a spoon).
Finish strong! Melt your dark chocolate (use chips or a bar), pour it on each cup, and give it a shake for good luck. Into the fridge they go. Try to wait at least an hour or two so they set—if you can. I fail almost every time.
“The texture on these is unreal. The caramel is gooey, the cookie is crunchy, and the chocolate is, well, chocolate! My new go-to treat.” — Casey, after her first try
Healthy Twix Cups
Storing leftovers
So, if you manage not to eat the whole lot in one sitting (unlike my last Tuesday), you’ll need to store them. Easiest way? Pop them in a sealed container and stick ‘em in the fridge. They hold up for a good week, if you’re a slow snacker.
I sometimes freeze them, then eat straight from the freezer for an extra-cold treat. It’s like adult ice cream, sort of. Just don’t leave Healthy Twix Cups out on a hot day unless you want chocolate puddles everywhere, which honestly… wouldn’t be the worst thing but not ideal.
Real talk: they soften up at room temp, so only take out as many as you’re about to eat (or share, if you must). And on the off chance you forget them in the back of your fridge? They’ll still taste great a week later, as long as you didn’t leave the container open (speaking from experience… stale chocolate is just sad). Okay, no shame in sneaking one with morning coffee, by the way. That’s a power move.
Healthy Twix Cups
More healthy treat recipes you’ll love!
If these Healthy Twix Cups convert you to the “healthy dessert” side, I have a laundry list of other favorites you should check out. Here are a few suggestions that’ll fill your sweet tooth without knocking you off the healthy wagon:
- Chocolate-dipped almond butter bars: Creamy, melty, and better than a corner bakery.
- No-bake peanut butter oat balls: Lazy day lifesavers to keep in your fridge (indestructible, honestly).
- Vegan cookie dough bites: You can eat the dough. Did you hear me? Eat. The. Dough.
- Homemade snickers cups: Think of the classic, but on your own terms—healthier, simpler, tastier.
Play around! Dessert should be fun, not stressful. And let me know what you fall for. My house is basically the test kitchen for healthy treats now.
Healthy Twix Cups

Healthy Twix Cups
Ingredients
Method
- Preheat your oven to 350°F (175°C).
- In a bowl, mix almond flour, melted coconut oil, and maple syrup until crumbly but holds together.
- Press the mixture into muffin liners to form the base.
- Bake for 2-3 minutes until slightly crunchy.
- In a food processor, combine soaked pitted dates, nut butter, vanilla extract, and sea salt.
- Blend until creamy and smooth.
- Layer the caramel over the baked cookie base evenly.
- Melt dark chocolate in a microwave or double boiler.
- Pour the melted chocolate over each cup.
- Shake gently to smooth out the chocolate layer.
- Refrigerate for at least 1-2 hours to set.