Chocolate Ice Cream: 7 Delicious Recipes for the Ultimate Homemade Treat
Chocolate Ice Cream is the perfect canvas for our culinary journey today. Welcome to the kitchen, friends—it is wonderful to have you here at HelthRecipe as we embrace the vibrant energy of summer.
Making your own Chocolate Ice Cream feels like a warm hug from my childhood kitchen, where sun-drenched afternoons meant sweet, melting scoops. I want to show you how mindful, five-star cooking can turn this simple Chocolate Ice Cream into an extraordinary memory.
Key Takeaways
- Crafting your own Chocolate Ice Cream at home brings a sophisticated yet rustic joy to any summer gathering.
- You can create a masterpiece Chocolate Ice Cream without spending all day over the hot stove.
- Quality ingredients are the bridge to elevating your basic Chocolate Ice Cream into a five-star experience.
- Serving homemade Chocolate Ice Cream makes for a beautiful, edible summer gift that tells a story of love.
Why is chocolate ice cream the world’s most beloved frozen dessert?
A Nostalgic Summer Embrace
Every bite of Chocolate Ice Cream should tell a story, especially during those long, golden summer evenings. Serving a generous bowl of Chocolate Ice Cream feels like offering a warm embrace to your loved ones. This iconic frozen dessert captures the essence of joyful, barefoot days spent running through the sprinklers.
The Universal Language of Cocoa
You will find that Chocolate Ice Cream speaks a universal language of comfort and celebration across the globe. From bustling Parisian cafes to rustic village kitchens, Chocolate Ice Cream remains a timeless favorite. It is truly the ultimate foundation for building five-star desserts, much like a classic Vanilla Ice Cream.
A Bridge Between Generations
Standing on a stool in my grandmother’s kitchen, I learned that making Chocolate Ice Cream bridges the gap between generations. We would patiently wait for our homemade Chocolate Ice Cream to set, sharing stories and laughter. You can create those same magical moments today by whipping up a batch of Chocolate Ice Cream with your family.
How can you achieve the perfect creamy texture at home without a machine?
The Magic of Condensed Milk
You do not need fancy equipment to make beautiful Chocolate Ice Cream right in your own sun-drenched kitchen. Sweetened condensed milk is the simple secret to giving your no-churn Chocolate Ice Cream a luxurious, velvety base. This mindful approach ensures your homemade Chocolate Ice Cream stays perfectly scoopable and deeply satisfying.
Whipping Heavy Cream to Perfection
The secret ingredient is patience when you fold whipped cream into your Chocolate Ice Cream base. Gently incorporating air creates a light, heavenly Chocolate Ice Cream that rivals any gourmet shop. It is the exact same effortless technique I use when preparing my favorite No-Churn Pumpkin Ice Cream for autumn gatherings.
Bypassing the Traditional Churning Process
Skipping the traditional churning process makes preparing Chocolate Ice Cream a completely stress-free, joyful journey. You simply mix, freeze, and let the cold work its magic on your rustic Chocolate Ice Cream mixture. For a deeper dive into the science of freezing without machines, I love this guide on no-churn science from Serious Eats.
What secret ingredients transform basic cocoa into a gourmet masterpiece?
A Pinch of Espresso Powder
Adding a tiny whisper of espresso powder instantly elevates the flavor profile of your Chocolate Ice Cream. This simple secret deepens the rich notes, turning an ordinary Chocolate Ice Cream into a spectacular culinary bridge. You barely taste the coffee, but your Chocolate Ice Cream will possess a vibrant, sophisticated edge.
High-Quality Cocoa Powder Matters
Your choice of cocoa powder dictates the entire soul of your homemade Chocolate Ice Cream. Investing in a premium Dutch-processed cocoa ensures your Chocolate Ice Cream delivers a profound, five-star chocolate experience. You can learn more about selecting the right cocoa from the experts at King Arthur Baking.
Exploring Dairy-Free Options
Embracing dairy-free options allows everyone at your summer table to enjoy a generous scoop of Chocolate Ice Cream. Coconut cream provides a stunningly rich base for a vegan Chocolate Ice Cream that still feels like a warm hug. It brings a tropical twist that reminds me of savoring Pandan Ice Cream on a hot Bangkok afternoon.
Which chocolate varieties create the most intense flavor profile for your scoop?
The Depth of Dark Chocolate
Melting high-quality dark chocolate directly into your base gives your Chocolate Ice Cream an intensely sophisticated character. The slight bitterness of dark chocolate balances the sweetness, making your Chocolate Ice Cream dangerously addictive. It creates a bold, mindful dessert experience that stands out at any elegant summer dinner party.
Creamy Milk Chocolate Blends
For a more nostalgic vibe, blending milk chocolate into your Chocolate Ice Cream recreates that classic childhood sweetness. This gentle approach yields a Chocolate Ice Cream that is incredibly comforting and universally adored by kids. It offers a mellow, sunny flavor profile similar to a refreshing Peachy Buttermilk Sherbet.
Achieving a Dense Gelato Texture
To capture a dense gelato texture, you must carefully balance the fat content in your Chocolate Ice Cream. Using a combination of melted chocolate and cocoa powder gives your Chocolate Ice Cream that signature Italian chewiness. This technique ensures every single spoonful of your Chocolate Ice Cream feels rich, heavy, and extraordinarily decadent.
How do you master the art of pairing decadent toppings with rich chocolate?
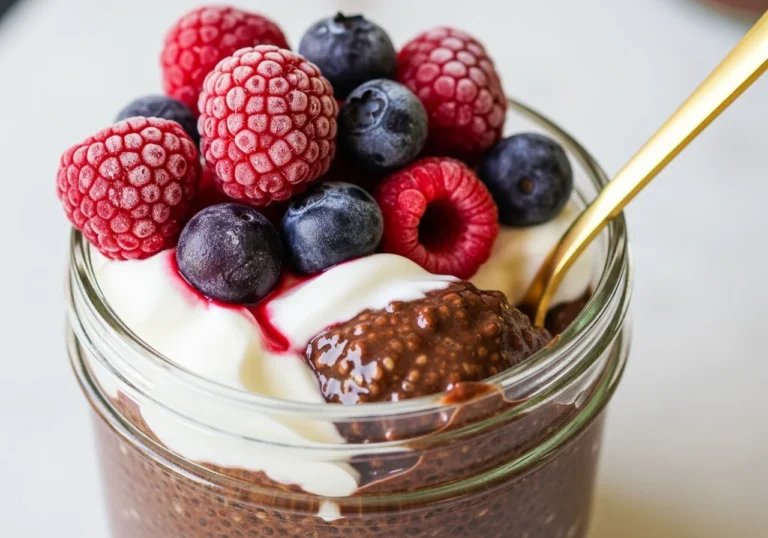
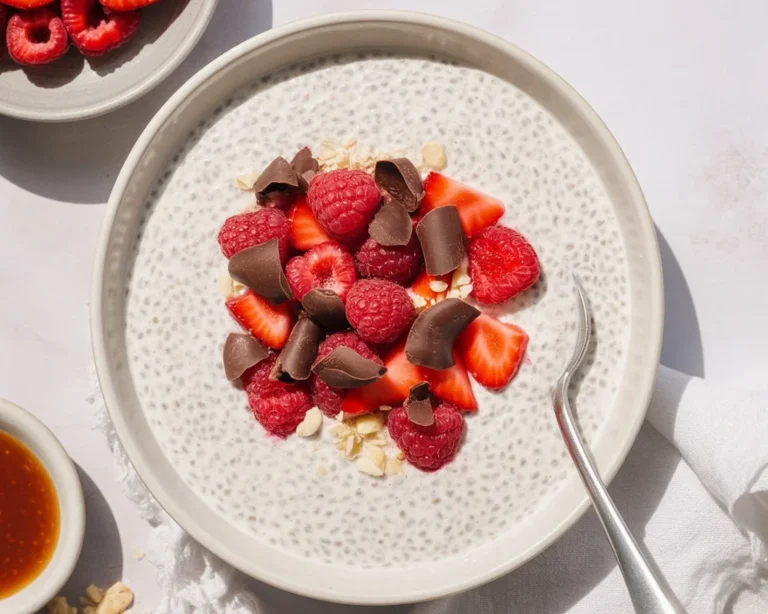
Fresh Summer Berries and Mint
Nothing brightens a bowl of dark Chocolate Ice Cream quite like a handful of fresh, vibrant summer raspberries. Adding a sprig of mint makes your Chocolate Ice Cream presentation look like a five-star masterpiece. It is a flavor pairing just as iconic and refreshing as a scoop of Fresh Mint Chip Ice Cream.
Salty and Crunchy Contrasts
A sprinkle of flaky sea salt transforms a simple bowl of Chocolate Ice Cream into a complex, mindful tasting experience. Adding toasted almonds or crushed pretzels gives your creamy Chocolate Ice Cream a much-needed rustic crunch. These thoughtful contrasting textures make eating your homemade Chocolate Ice Cream an absolute joy.
The Ultimate Summer Gift Idea
A beautifully packed pint of homemade Chocolate Ice Cream makes the most heartfelt, nostalgic summer gift. Tying a ribbon around a container of your artisanal Chocolate Ice Cream shows immense love and care. I often pair it with a tropical treat like Pineapple Ice Cream to give friends a true taste of sunshine.
“Food is a bridge between memories and the present moment, and a bowl of Chocolate Ice Cream is the sweetest crossing.”


Chocolate Ice Cream
Ingredients
Method
- In a mixing bowl, combine the sweetened condensed milk with melted dark chocolate and espresso powder.
- In another bowl, whip the heavy cream until soft peaks form.
- Gently fold the whipped cream into the condensed milk mixture until fully incorporated.
- Sift the cocoa powder into the mixture and carefully fold until smooth.
- Transfer the mixture into a freezer-safe container.
- Cover and freeze for at least 4 hours or until firm.
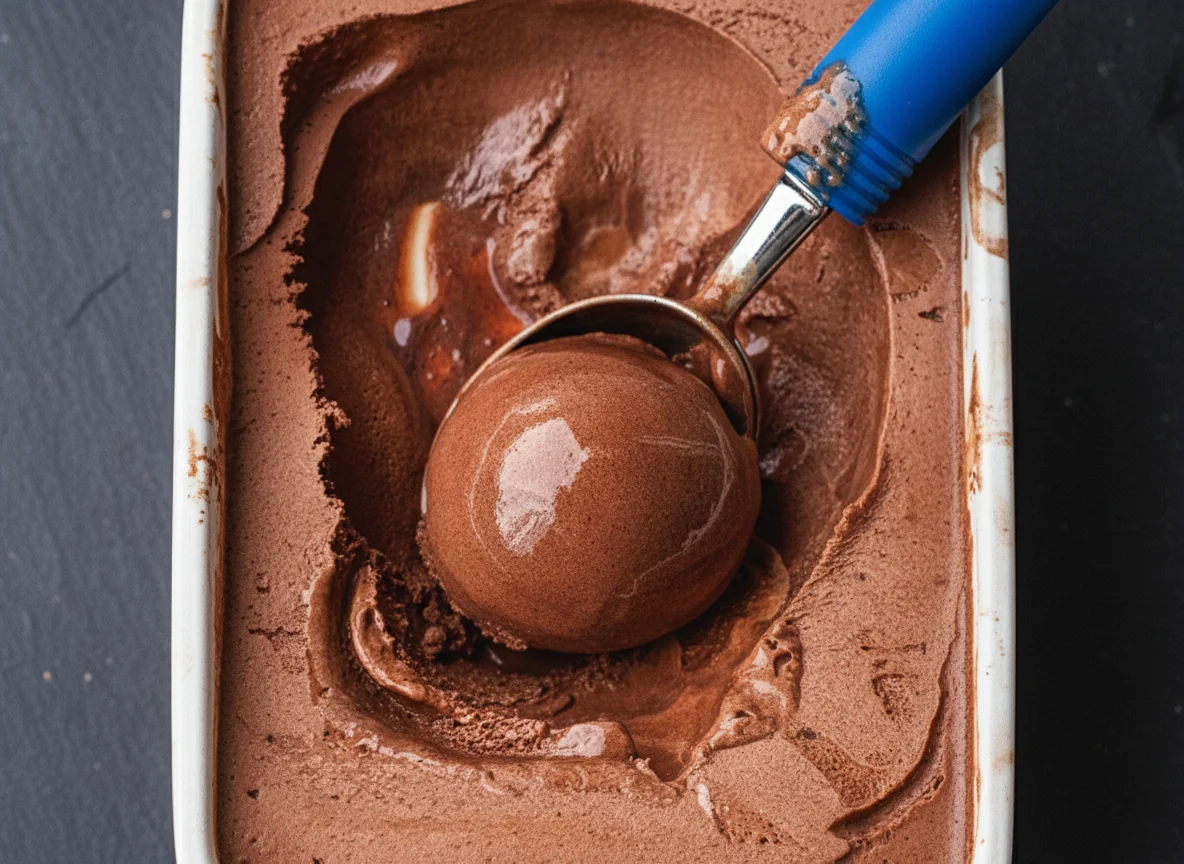
- Scoop the Chocolate Ice Cream into bowls.
- Top with fresh berries, a sprinkle of sea salt, and toasted almonds if desired.