
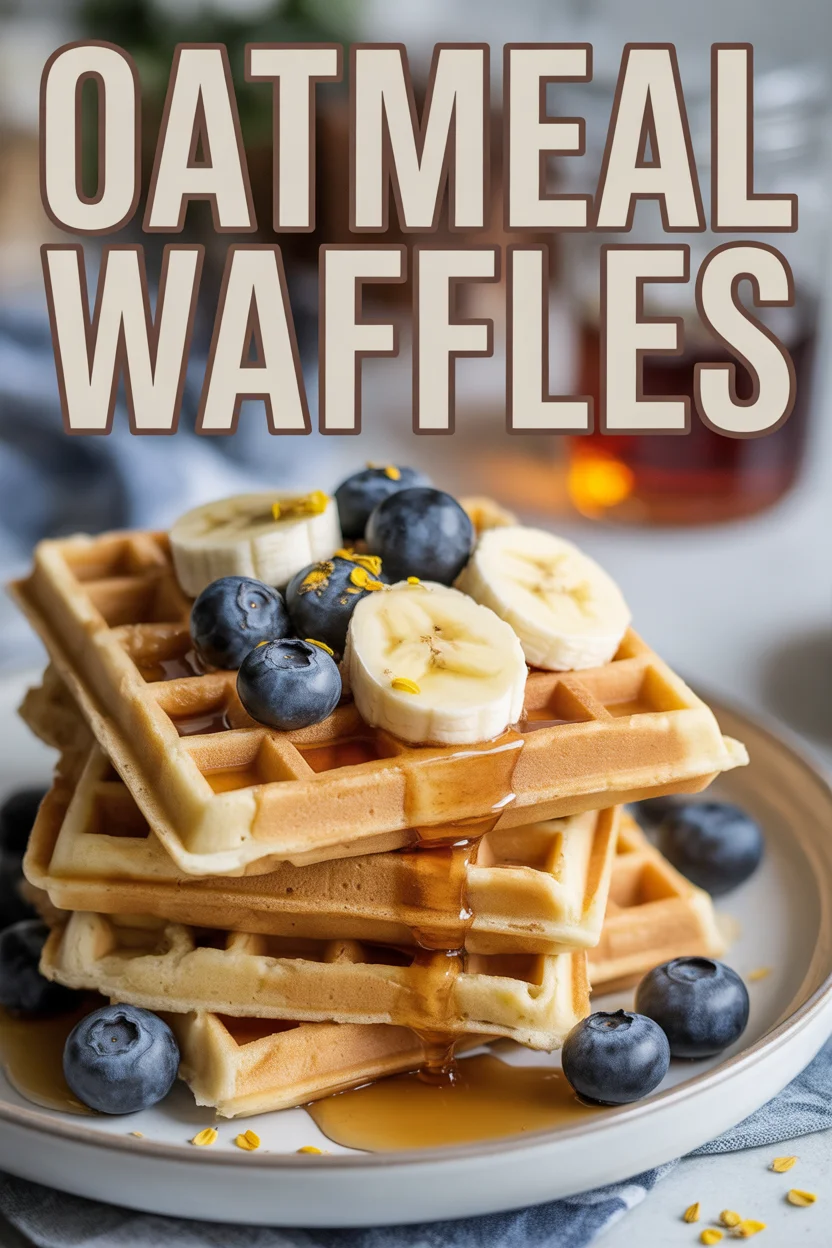
Delicious and healthy oatmeal waffles stacked with fresh berries on top.

Oatmeal Waffles

Oatmeal Waffles have saved my breakfast routine more times than I can count! You know those mornings when you roll out of bed, craving something a little different, maybe even a little fun, but nothing too fussy? That’s when I whip out my trusty recipe.

Oatmeal Waffles
Oatmeal Waffles

These guys are easy, pretty healthy, and don’t taste like cardboard (I promise!). If you love quick, wholesome twists on breakfast classics, you might also want to peek at Nutty Blueberry Oatmeal for a change-up another day. I’ll show you everything—my own mishaps included—so you’ll nail it the first try!

Why you’ll love these oatmeal waffles

Boy, where do I start? Oatmeal waffles are a total game-changer for anyone bored with basic pancakes or whatever stuff you find in frozen boxes. First, they’re hearty—like stick-to-your-ribs hearty—but without leaving you in a food coma. When I switched over from regular waffles, it was mostly because I wanted something filling but not heavy. Oats make that possible.

Second, these waffles adapt to whatever you toss at them. I’ve mixed in squished bananas, berries, random nuts (one time pistachios, which I still think about), and it always tastes good. If you’re dealing with picky eaters, this waffle turns into whatever flavor you need it to be—sweet, nutty, heck, I even snuck in grated carrot once. No complaints. And let’s not forget: they crisp up just right, with a little chew in the middle. Absolute gold, especially dunked in real maple syrup or topped with warmed peanut butter.

Last thing—these keep well. The leftovers actually stay tasty (just toss ’em in the toaster), which shocked me. I thought they’d dry out, but nope. I made a batch for a hiking trip and we demolished the lot cold on the trail. Not sure how many foods you can actually call adventure-ready, but oatmeal waffles have my heart.

“I never thought waffles could actually be nourishing and still taste like a Saturday treat. My whole family asks for these now. No more boring cereal!” – Tiff, loyal waffle convert

Oatmeal Waffles

Tips for serving

Honestly, you can pile anything on these waffle beauties. Here are my favorite moves:

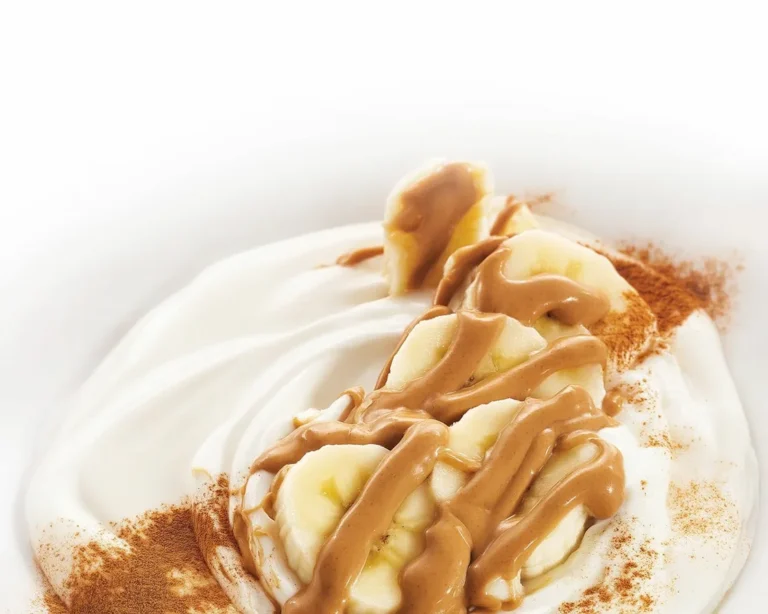
  • Try a scoop of thick Greek yogurt and a drizzle of honey if you want extra protein.
  • Use summer peaches or roasted apples as a topping for a circus of flavor (oh wow, just thinking about it).
  • For big flavor, swirl in peanut butter or almond butter before you add syrup.
  • If it’s winter? Dust with cinnamon and maybe a bit of powdered sugar for a “cozy cabin” vibe.

But really, just eat them hot and fresh off the iron—sometimes that’s all you need.

Oatmeal Waffles

Recipe variations

Oatmeal waffles totally play nice with your pantry. If you’re feeling adventurous or just want to put your own spin on the recipe, go for it. Sometimes I use almond milk instead of dairy. Nobody notices. If I’m making it vegan for a visiting cousin, swapping eggs for flax eggs works too, although I add a splash more vanilla to keep things perky.

Add-ins are where things get wild. Chopped toasted pecans? That’s a yes from me. Diced dates, some dark chocolate bits for weekend mornings, or a dash of pumpkin spice if you miss autumn. You could even blend in spinach for a green version—kids might not notice if you serve with extra berries. I wouldn’t lie—half my fun is in the mix-ins and never repeating the same batch twice.

One time, I went full trail-mix and threw sunflower seeds, coconut, and raisins right into the batter. Was it weird? A little. Was it tasty? Absolutely. Oatmeal waffles don’t judge your choices.

Oatmeal Waffles

How to make oatmeal waffles

Okay, real talk—I’ve gotten this wrong before, so learn from my mistakes! Start by blending rolled oats until they look powdery. You want almost flour, but a few rough flakes left for texture is fine. Now, just toss all your dry stuff in a bowl: your fancy new oat flour, a bit of baking powder, some salt, maybe a whisper of cinnamon.

Wet ingredients next: eggs (or flax eggs!), milk or non-dairy alternative, melted butter (or coconut oil), a little vanilla. Mix them in a separate bowl. Pour this wet mix over your dry stuff. Stir just until blended—if you go wild with a whisk, waffles might get tough. A few lumps? Ignore them.

Pour batter into a hot, greased waffle iron. Here’s the thing I learned: do not overfill or you’ll get a lava flow with cleanup for days. Cook until steam slows and they look golden. That’s your cue. Pop them out, admire your handiwork, and resist eating them all straight from the iron (it’s hard, believe me).

Waffles getting cold? Crank your oven to low and toss them on the rack while you finish the batch.

Oatmeal Waffles

Dietary notes

If you need gluten-free, just use gluten-free oats. Most oats are naturally safe, but check your packaging. For dairy-free, go for any plant milk like almond or oat milk, and swap butter for a little coconut oil or margarine. Eggs can be replaced with flaxseed and water, and it really does come together—no sad, floppy mess.

Oatmeal waffles have a lower glycemic kick compared to sugar-packed regular waffles, so you avoid that weird sugar high and crash. Plus, they’re loaded with fiber, perfect for keeping you full through the morning or even lunch if you’re a breakfast skipper like me.

Want to see how oats transform into a bunch of other magic breakfast ideas? Check out these recipes like Healthy Oatmeal Waffles | Natalie’s Health for even more ways to get your oat-fix without getting bored.

Oatmeal Waffles
Oatmeal Waffles

Oatmeal Waffles

These hearty oatmeal waffles are a wholesome twist on breakfast classics, customizable and deliciously satisfying.
Prep Time 10 minutes
Cook Time 15 minutes
Total Time 25 minutes
Servings: 4 servings
Course: Breakfast, Brunch
Cuisine: American
Calories: 200

Ingredients
  

Dry Ingredients
  • 1 cup Rolled oats Blend until flour-like consistency.
  • 1 tbsp Baking powder For leavening.
  • 1/2 tsp Salt Enhances flavor.
  • 1/2 tsp Cinnamon Optional for flavor.
Wet Ingredients
  • 2 large Eggs Can replace with flax eggs for vegan option.
  • 1 cup Milk Use almond milk for dairy-free.
  • 2 tbsp Melted butter Coconut oil can be used as a substitute.
  • 1 tsp Vanilla extract Adds flavor.

Method
 

Preparation
  1. Blend rolled oats until they resemble flour, with some rough flakes left for texture.
  2. In a bowl, combine all dry ingredients: oat flour, baking powder, salt, and cinnamon.
  3. In a separate bowl, whisk together the wet ingredients: eggs, milk, melted butter, and vanilla.
  4. Pour the wet mixture into the dry ingredients and stir until just blended; a few lumps are fine.
Cooking
  1. Pour batter into a preheated, greased waffle iron. Avoid overfilling.
  2. Cook until steam slows down and waffles are golden brown.
  3. Remove waffles from iron and serve warm.
Notes

Serve warm with your favorite toppings like Greek yogurt, honey, seasonal fruits, or nut butters. Leftovers can be toasted for later enjoyment.

Similar Posts

  • Lemon Herb Dressing: 7 Delicious Secret Recipes for the Ultimate Salad Experience

    Lemon Herb Dressing is more than just a condiment; it is the heartbeat of a truly memorable salad. Welcome to the kitchen, my friends! If you have been following my culinary journey here at Helth Recipe, you know that I believe even the simplest meal deserves five-star vibes. Real talk: I used to think salads…

  • Lemonade Scones

    Lemonade Scones saved my hide during one of those last-minute “oh no, I forgot about morning tea” scrambles. Fast, foolproof, and seriously—three ingredients, that’s it. No need to dig around for fancy baking stuff either. If classic Lemonade Scones aren’t your jam, you can always check out my spin on almond flour scones or my…

  • healthy Orange Scones

    Why You’ll Fall for These Orange Scones The Simple Ingredients You Actually Need Step-By-Step: Bringing Orange Scones to Life Serving Suggestions To Level Up Common Questions Go On, Make Your Mornings Way Less Boring Orange Scones are kinda magical when you want something quick for breakfast, but also wanna trick your brain into thinking you’re at a five-star restaurant. Ever drag yourself outta bed and just want a treat to make the day less… meh? Yep, been there. I actually started making these because regular scones got way too boring and, okay, my neighbor wouldn’t stop bragging about her “famous” lemon version. Orange scones hit different. Seriously, that citrusy thing going on is just—wow. If you’re tired of sad donuts or cold cereal, let’s get you sorted out right here.   this … Why You’ll Fall for These Orange Scones Listen, nobody wants a dry, crumbly brick on the plate. The whole idea is to get a scone that’s bright and soft on the inside, with just a hint of gold crunch outside. These orange scones are super easy, too. I’m not just saying that—real talk, my thirteen-year-old cousin bakes them without setting off the smoke alarm. You don’t need a mixer. You don’t even need fancy tools. Mixing with your hands is cool (honestly, it’s kinda therapeutic). The burst of orange makes the kitchen smell like living inside a fruit basket. Sometimes I toss in a handful of chocolate chips, but don’t tell the purists. Go wild with the zest. I always say, “More zest, more best!” There’s science somewhere about citrus making you happy—I say just trust the process.   The Simple Ingredients You Actually Need Here’s the best part: most of this stuff’s already hanging out in your kitchen right now. Really. You’ll need: All-purpose flour—yep, nothing fancy Cold butter (don’t you dare soften it) White sugar and a little pinch of salt (don’t skip this) A juicy orange (zest and juice both, please) Milk or cream (either’s fine—don’t overthink) Baking powder for the puff Maybe an egg, if you’re feelin’ extra Mix this all up and try not to eat the dough raw. Old habits die hard.   Step-By-Step: Bringing Orange Scones to Life First thing, crank up your oven. You want it hot—about 400°F. While it’s preheating, grab a big bowl. Dump in your flour, sugar, baking powder, and salt. Now toss those cold, cubed butter pieces in. Cut them in with your fingers or a pastry cutter, and don’t stress if a few chunks are bigger. Grate in all that lovely orange zest (seriously, let’s not be stingy). Pour in juice and milk (I splash both instead of measuring). If you’re using an egg, whisk and add now. Stir until just combined. Don’t you dare overmix. Plop dough on a floured counter, pat into a messy round disk (about an inch thick), and slice it like a pizza. The rougher the cut, the more rustic and bakery-looking. Set on a sheet lined with parchment. Brush tops with more milk (makes ’em golden). Bake 13-15 minutes till just lightly brown. Let cool for a hot second before eating so you don’t burn your tongue (again… it happens, trust me).   Serving Suggestions To Level Up Top with orange glaze or drizzle with melted chocolate if feeling snazzy. Serve warm with real butter—never margarine, come on now. Toss leftovers in the toaster next morning for a crispy redo. Pair with strong coffee or black tea to cut the sweetness. Common Questions Can I make orange scones ahead of time? Absolutely! I usually bake extra and freeze a few. Just let ’em cool first, then wrap tight. Reheat in oven for a just-baked feel. What if I only have mandarins or clementines? No problem. Go for it. The flavor will be a titch sweeter, but honestly, you might like that better. How do I stop them from being too dry? Don’t overmix the dough and make sure your butter is cold. A little drizzle of extra cream on top before baking never hurts. Do I need a glaze? Nope! I’m team “depends on my mood.” Sometimes a broken scone and a pat of butter is all you need. But a simple orange-powdered sugar glaze makes them café-level. Can I use store-bought orange juice? Eh. Sure, if you’re in a pinch. But fresh is way, way better. You’ll notice the zing. I’ve tried probably fifteen recipes, but this one? Perfection. My husband asked if I bought them from that expensive bakery down the street. Nope, just my own two hands! – Dani M., Vermont…