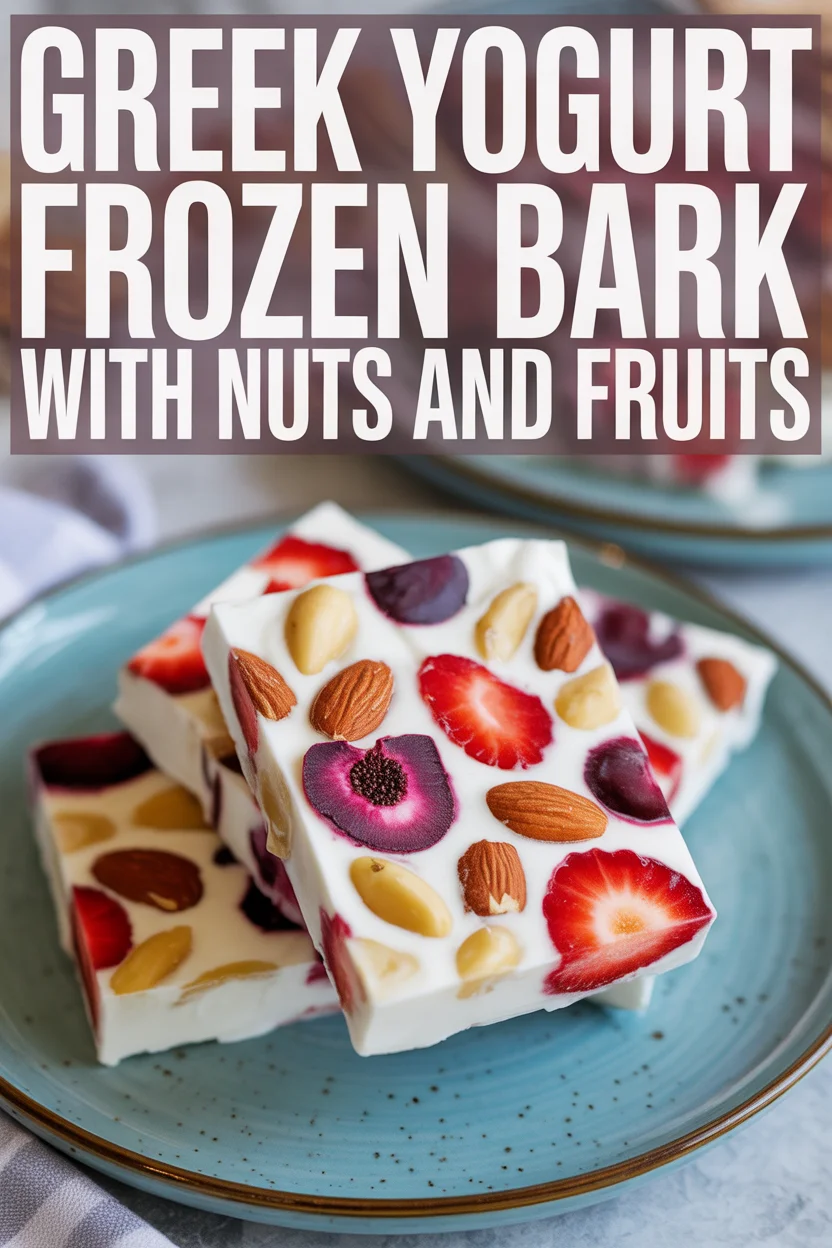
Greek Yogurt Frozen Bark with Nuts and Fruits
Greek Yogurt Frozen Bark with Nuts and Fruits is basically the answer to a crazy hot afternoon or just when you’re looking for a treat that won’t blast your healthy goals (we’ve all been there…staring into the fridge for something that’s tasty but, you know, not a total sugar bomb).
I love this stuff for how easy it is plus the wild number of toppings you can mix in. Also, my family just gobbles it up so quick—barely makes it back to the freezer most days. If you’re into quick and chill snacks like I am, you’ll probably want to peek at these fluffy healthy greek yogurt bagels too, ’cause wow.
How to Make Yogurt Bark?
Okay, let’s get basic for a second…because making Greek Yogurt Frozen Bark with Nuts and Fruits is stunningly simple. You don’t need some five-star kitchen. Literally anyone can do it, even if you’re strapped for time or, honestly, patience. Just grab a baking tray and slap on some parchment paper (don’t skip it, or you’ll regret it when you try to pry your bark loose).
Slap your yogurt into a bowl, give it a good stir (sometimes those tubs have their yogurt watery at the top, which is fine, it just needs mixing). I like to sweeten it with a drizzle of honey or maple syrup but that’s totally optional. Then, dump your yogurt straight onto the tray and smooth it out. Not too thin! Now the fun part—pile on your nuts and fruits, squish them in just a bit so they stick. Toss it in the freezer for a couple hours until it’s solid. That’s it. Smash it up, eat, repeat. (You might find yourself standing at the freezer door eating shards of bark while pretending you’re just “testing” it. No judgment.)
I followed the basic directions and just used what I had in the pantry. Ended up being the best snack I’ve ever made from random fridge finds. Seriously, I’m never buying store ice cream bars again!
Greek Yogurt Frozen Bark with Nuts and Fruits
What do I need to make Frozen Yogurt Bark?
Honestly, the grocery list for Greek Yogurt Frozen Bark with Nuts and Fruits couldn’t be easier. Here’s what you’ll want:
- Full-fat (or low-fat) Greek yogurt, plain or vanilla. You pick.
- Sweetener if you want it (honey, maple syrup, or nothing if you’re a real trooper).
- Every nut and fruit in your kitchen that you love: think almonds, cashews, pistachios, berries, banana slices—even a handful of raisins if you swing that way.
- Parchment paper and a baking tray, which you must not forget or cleaning’s a nightmare.
That’s all. See? Wildly simple. If you feel spice-crazy, sprinkle on some cinnamon or even a little coconut flake. Mess around with it.
Greek Yogurt Frozen Bark with Nuts and Fruits
What kind of yogurt do I use?
Alright, if there’s one tip I hammer home, it’s this: use Greek yogurt. It’s thick, creamy, and not watery—taste is honestly another planet compared to the regular stuff. I’ve tried making frozen bark with regular yogurt (oh, disaster) and it just turns icy, not creamy. Go for plain Greek yogurt if you want to control the sweet, or vanilla Greek yogurt if you’re feeling dessert vibes.
Oh, and make sure it’s unsweetened if your toppings are already sugar-central. Full-fat will give you that dreamy, almost cheesecake-y thing going on. If you’re dairy-free, coconut yogurt kind of works, but it softens weird in the freezer. Just giving it to you straight.
I didn’t believe there was that much difference until I tried both. Greek is a must, trust me on this one.
Greek Yogurt Frozen Bark with Nuts and Fruits
What Toppings Can I Add To My Frozen Yogurt Bark?
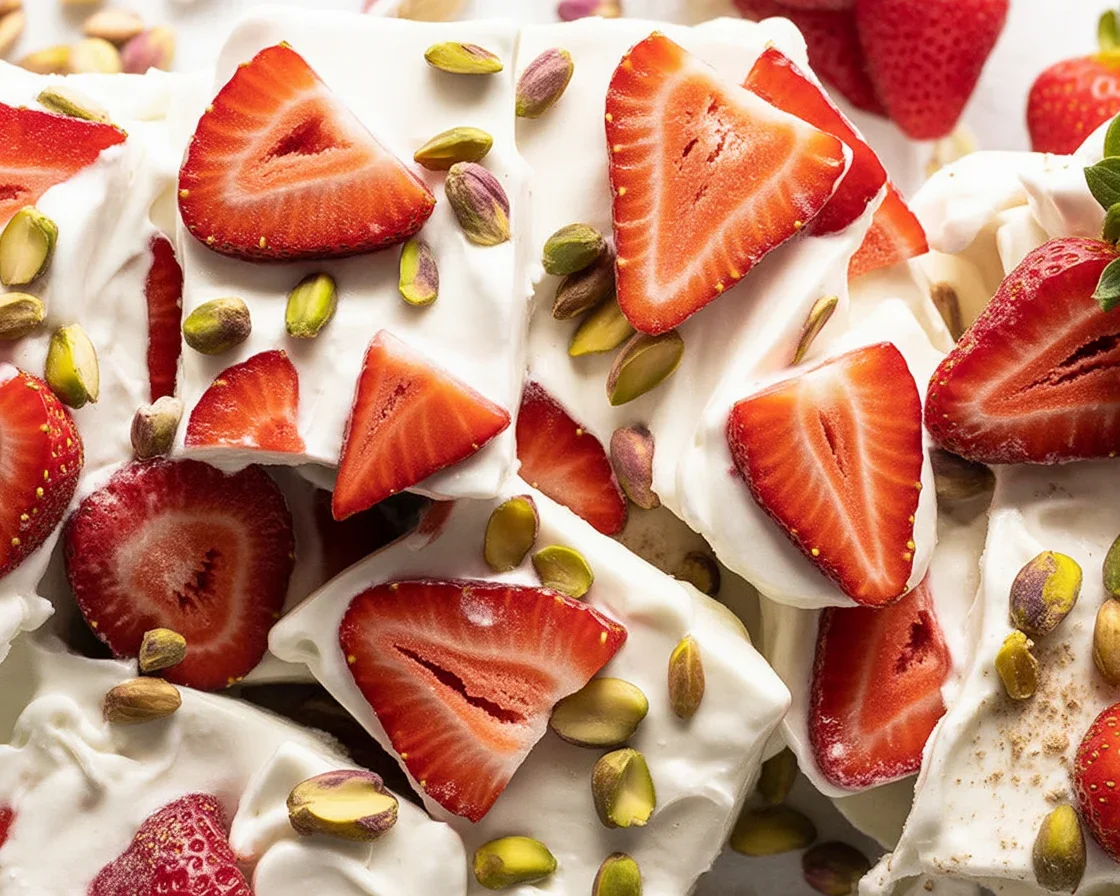
Go wild, honestly. I mean, Greek Yogurt Frozen Bark with Nuts and Fruits lets you get creative—or just use up whatever’s rolling around in your fruit bowl or cabinet. Think strawberries, blueberries, kiwi, pomegranate for fruit. Love the crunch? Almonds, pistachios, walnuts, pepitas. Sometimes I even toss dark chocolate chips or a tiny handful of shredded coconut (reminds me of family beach trips with coconut everything).
Don’t stress about it being perfect. Mix two fruits, add just one nut, whatever you’ve got. If you find a killer combo, write it on your fridge so you don’t forget. If you need another fun idea for combining fruit with yogurt, check out these greek yogurt blueberry scones.
Greek Yogurt Frozen Bark with Nuts and Fruits
Expert Tips
Solid advice here—learned by, hmm, “accidental mistakes.”
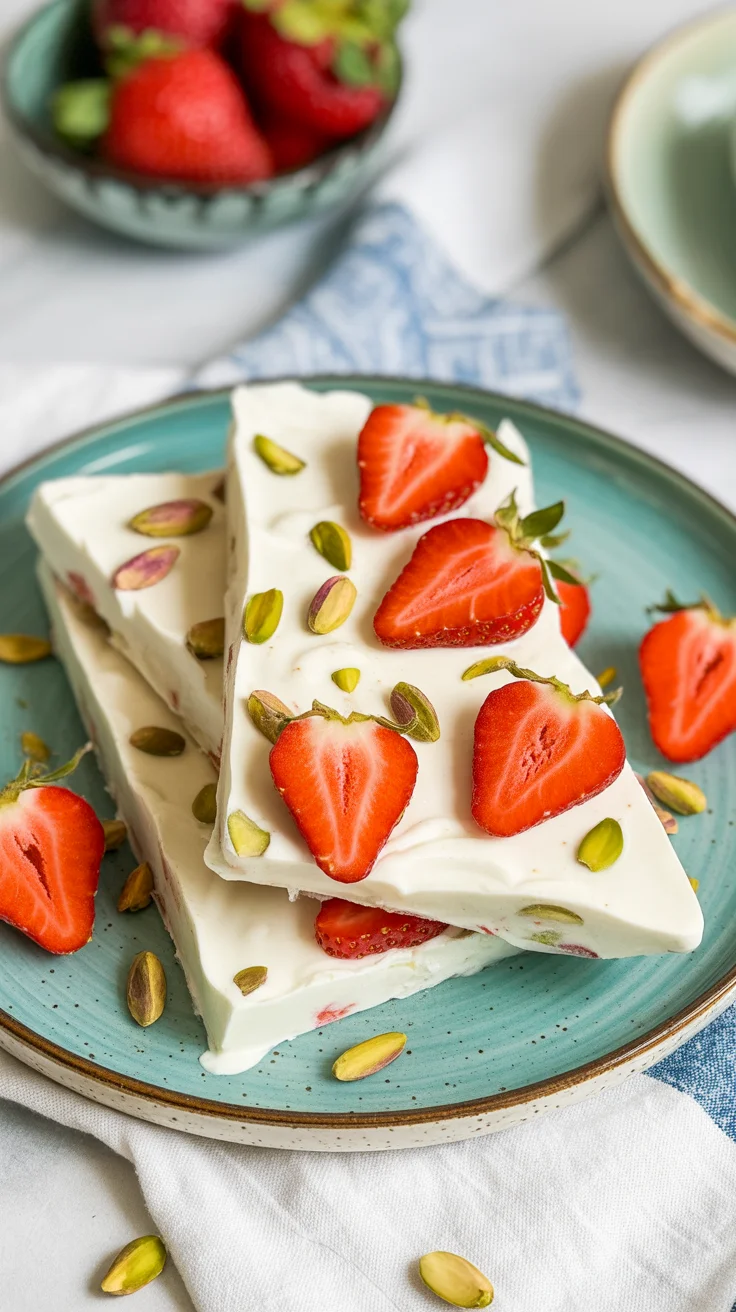
- Lay your bark not too thin or it’ll break into dust when you snap it. About half an inch thick is perfect.
- Pop it in an airtight container after it freezes. Air and frost ruins the flavor.
- If you use juicy fruits like berries, dry them with a paper towel before plopping ‘em on. Too much moisture gets weird.
- Want fancier? Swirl in some peanut butter or a dollop of your favorite jam before freezing. Trust me, it’s worth the sticky fingers.
Conclusion
So, are you about to become obsessed with Greek Yogurt Frozen Bark with Nuts and Fruits the way I am? It’s too convenient not to. A freezer-friendly treat that’s both healthy-ish and wildly customizable? Try some of the variations I mentioned, or even riff on this amazing idea from Foolproof Living’s Frozen Yogurt Bark with Berries (honestly, it’ll give you so much inspiration for new combos).
And before you take your next bite, why not dive into this delicious blueberry dream that tastes like breakfast and dessert? Whatever you do, stash some bark for yourself. Folks will raid your freezer for it—mark my words.
Greek Yogurt Frozen Bark with Nuts and Fruits

Greek Yogurt Frozen Bark with Nuts and Fruits
Ingredients
Method
- Line a baking tray with parchment paper.
- In a bowl, stir the Greek yogurt until well mixed.
- If desired, sweeten the yogurt with honey or maple syrup.
- Spread the yogurt evenly onto the lined baking tray, not too thin.
- Add your nuts and fruits on top, pressing them gently into the yogurt.
- Freeze for 2 hours or until solid.
- Once frozen, break into pieces and enjoy.